My grandmother kept a stack of church cookbooks on top of her refrigerator, the spiral kind with a different lady’s name under every recipe.
One page in the poultry section was so splattered you could barely read it.
The handwriting in the margin just said “more mustard,” underlined twice.
In her kitchen, anything called deviled meant one thing: mustard, a good hit of cayenne and something sharp to wake it all up.
When I went looking for that dish online years later, I found two camps.
Half the recipes soak the chicken in a sticky ketchup marinade, and the other half bury it under a buttery crumb crust that hides every bit of tang.
Neither one tasted like that splattered page.
So I rebuilt it the way I remembered it, and this deviled chicken keeps both the bite and the crunch.
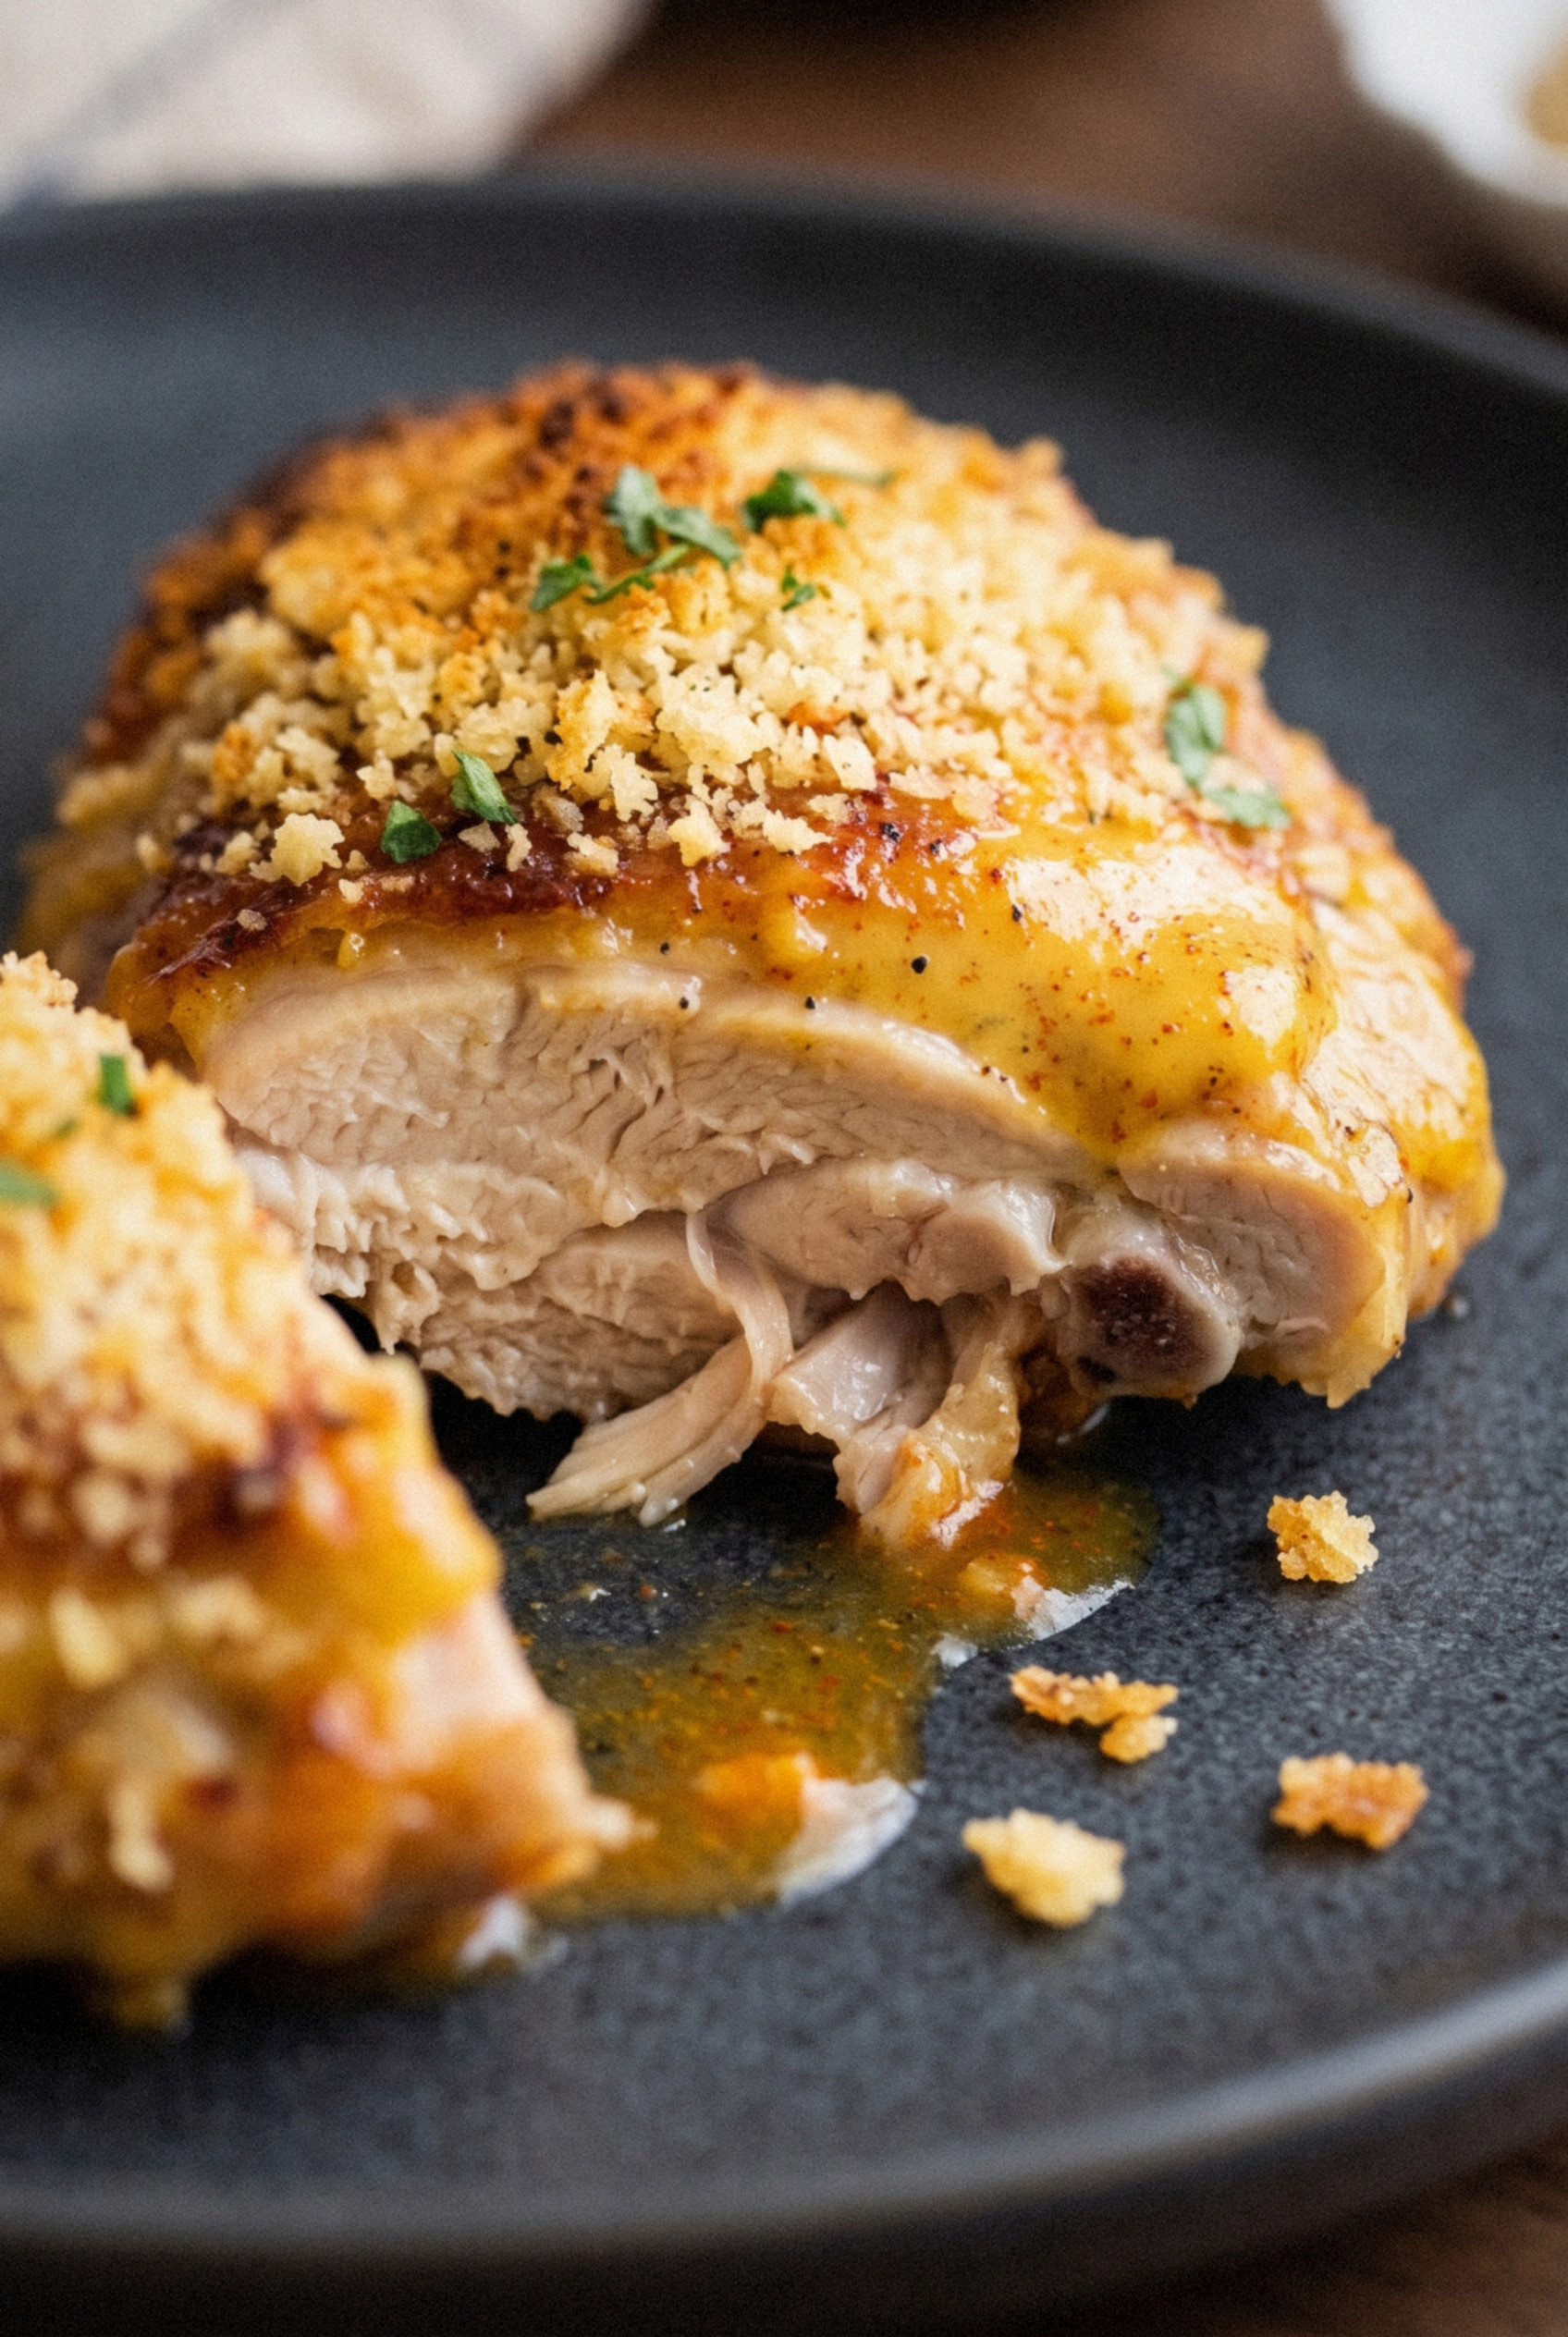
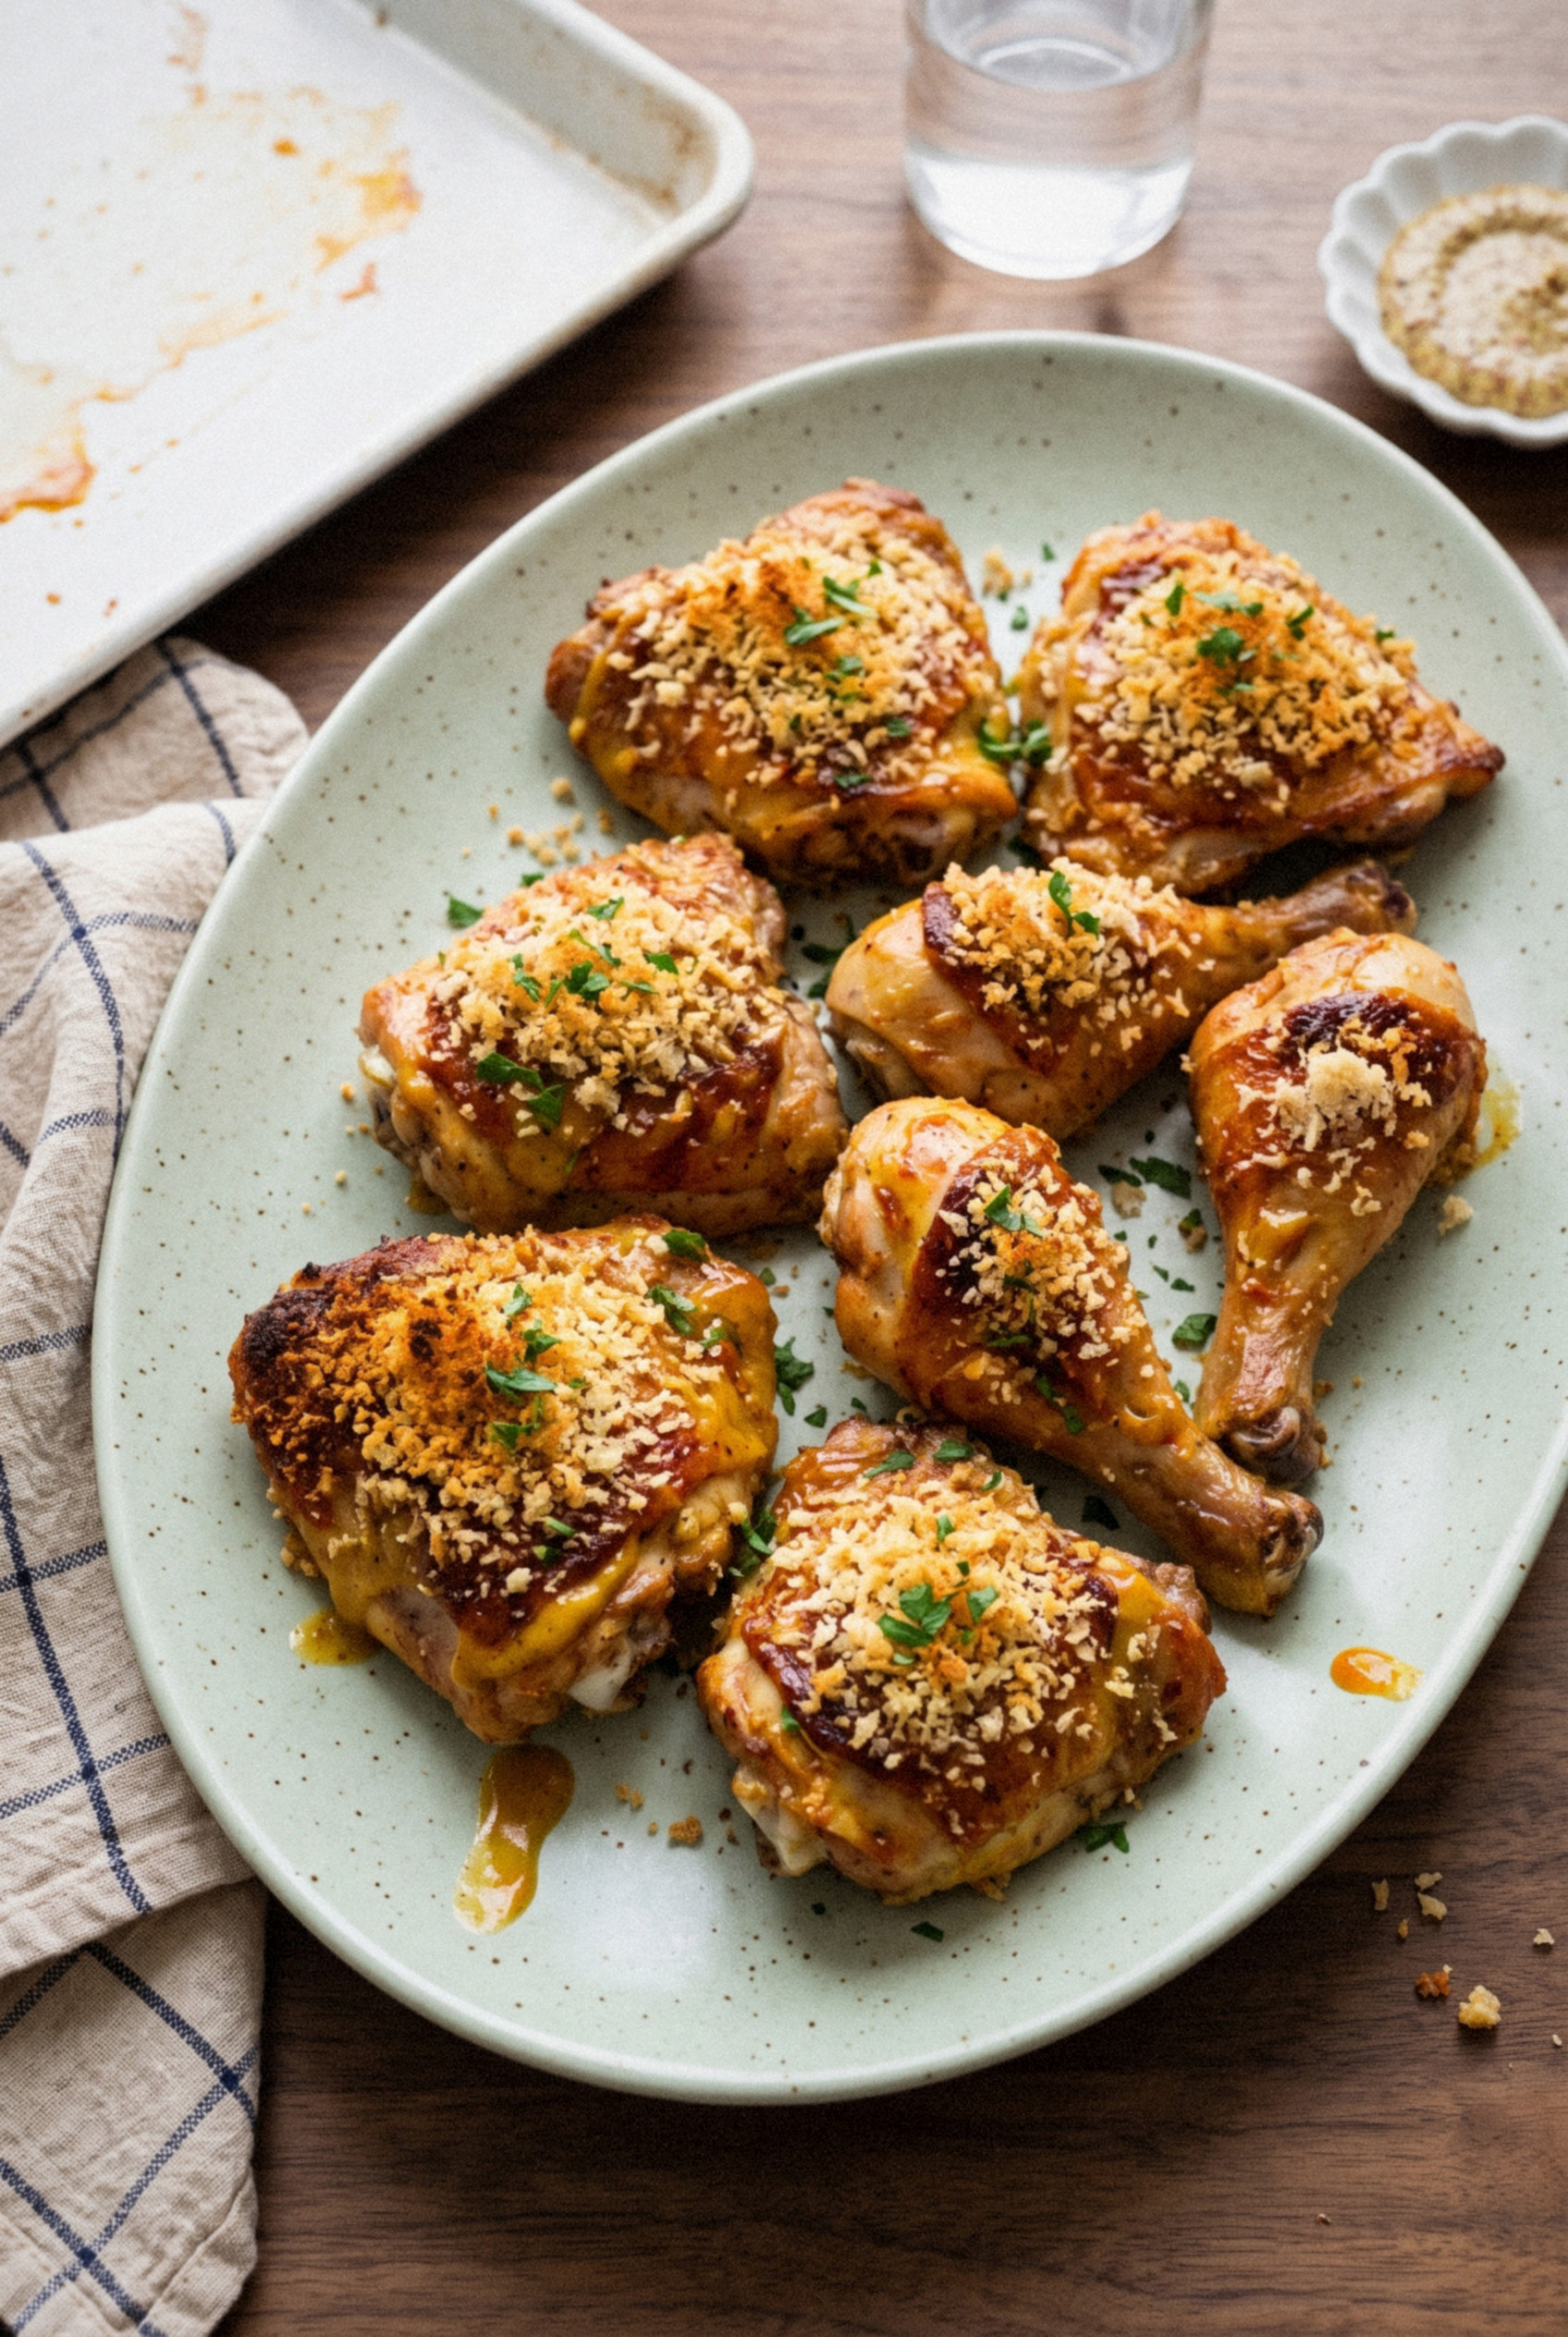
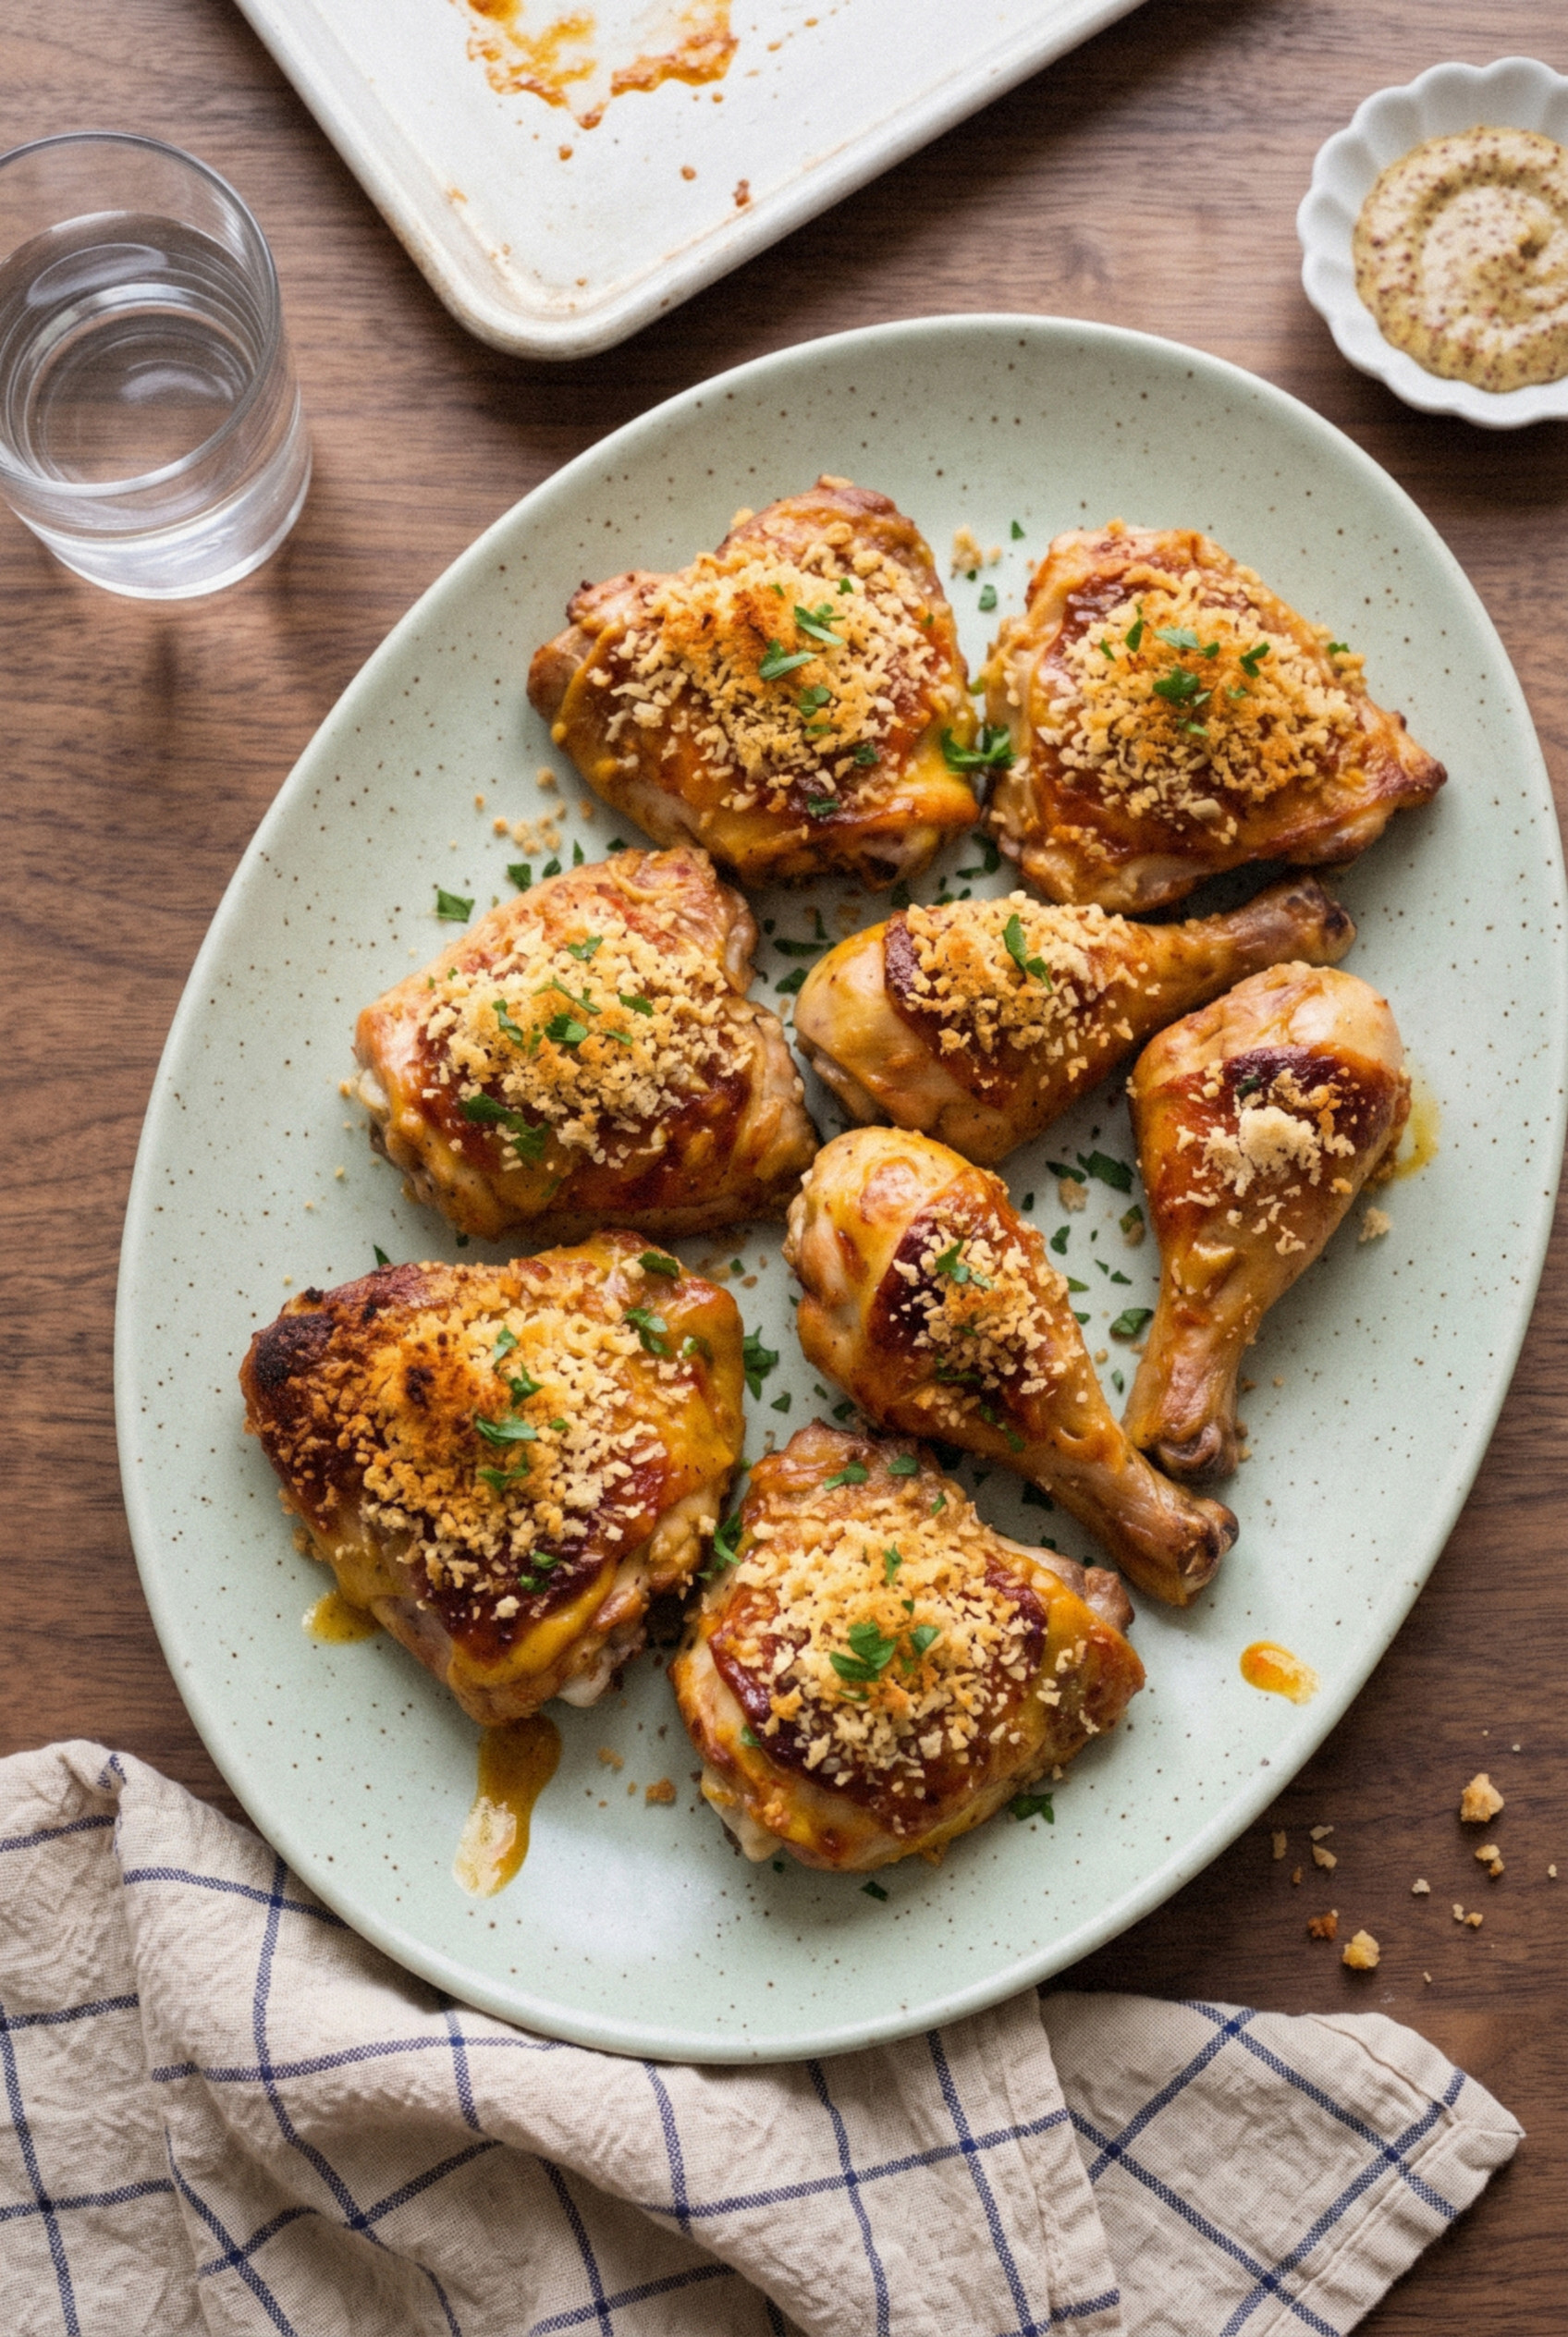
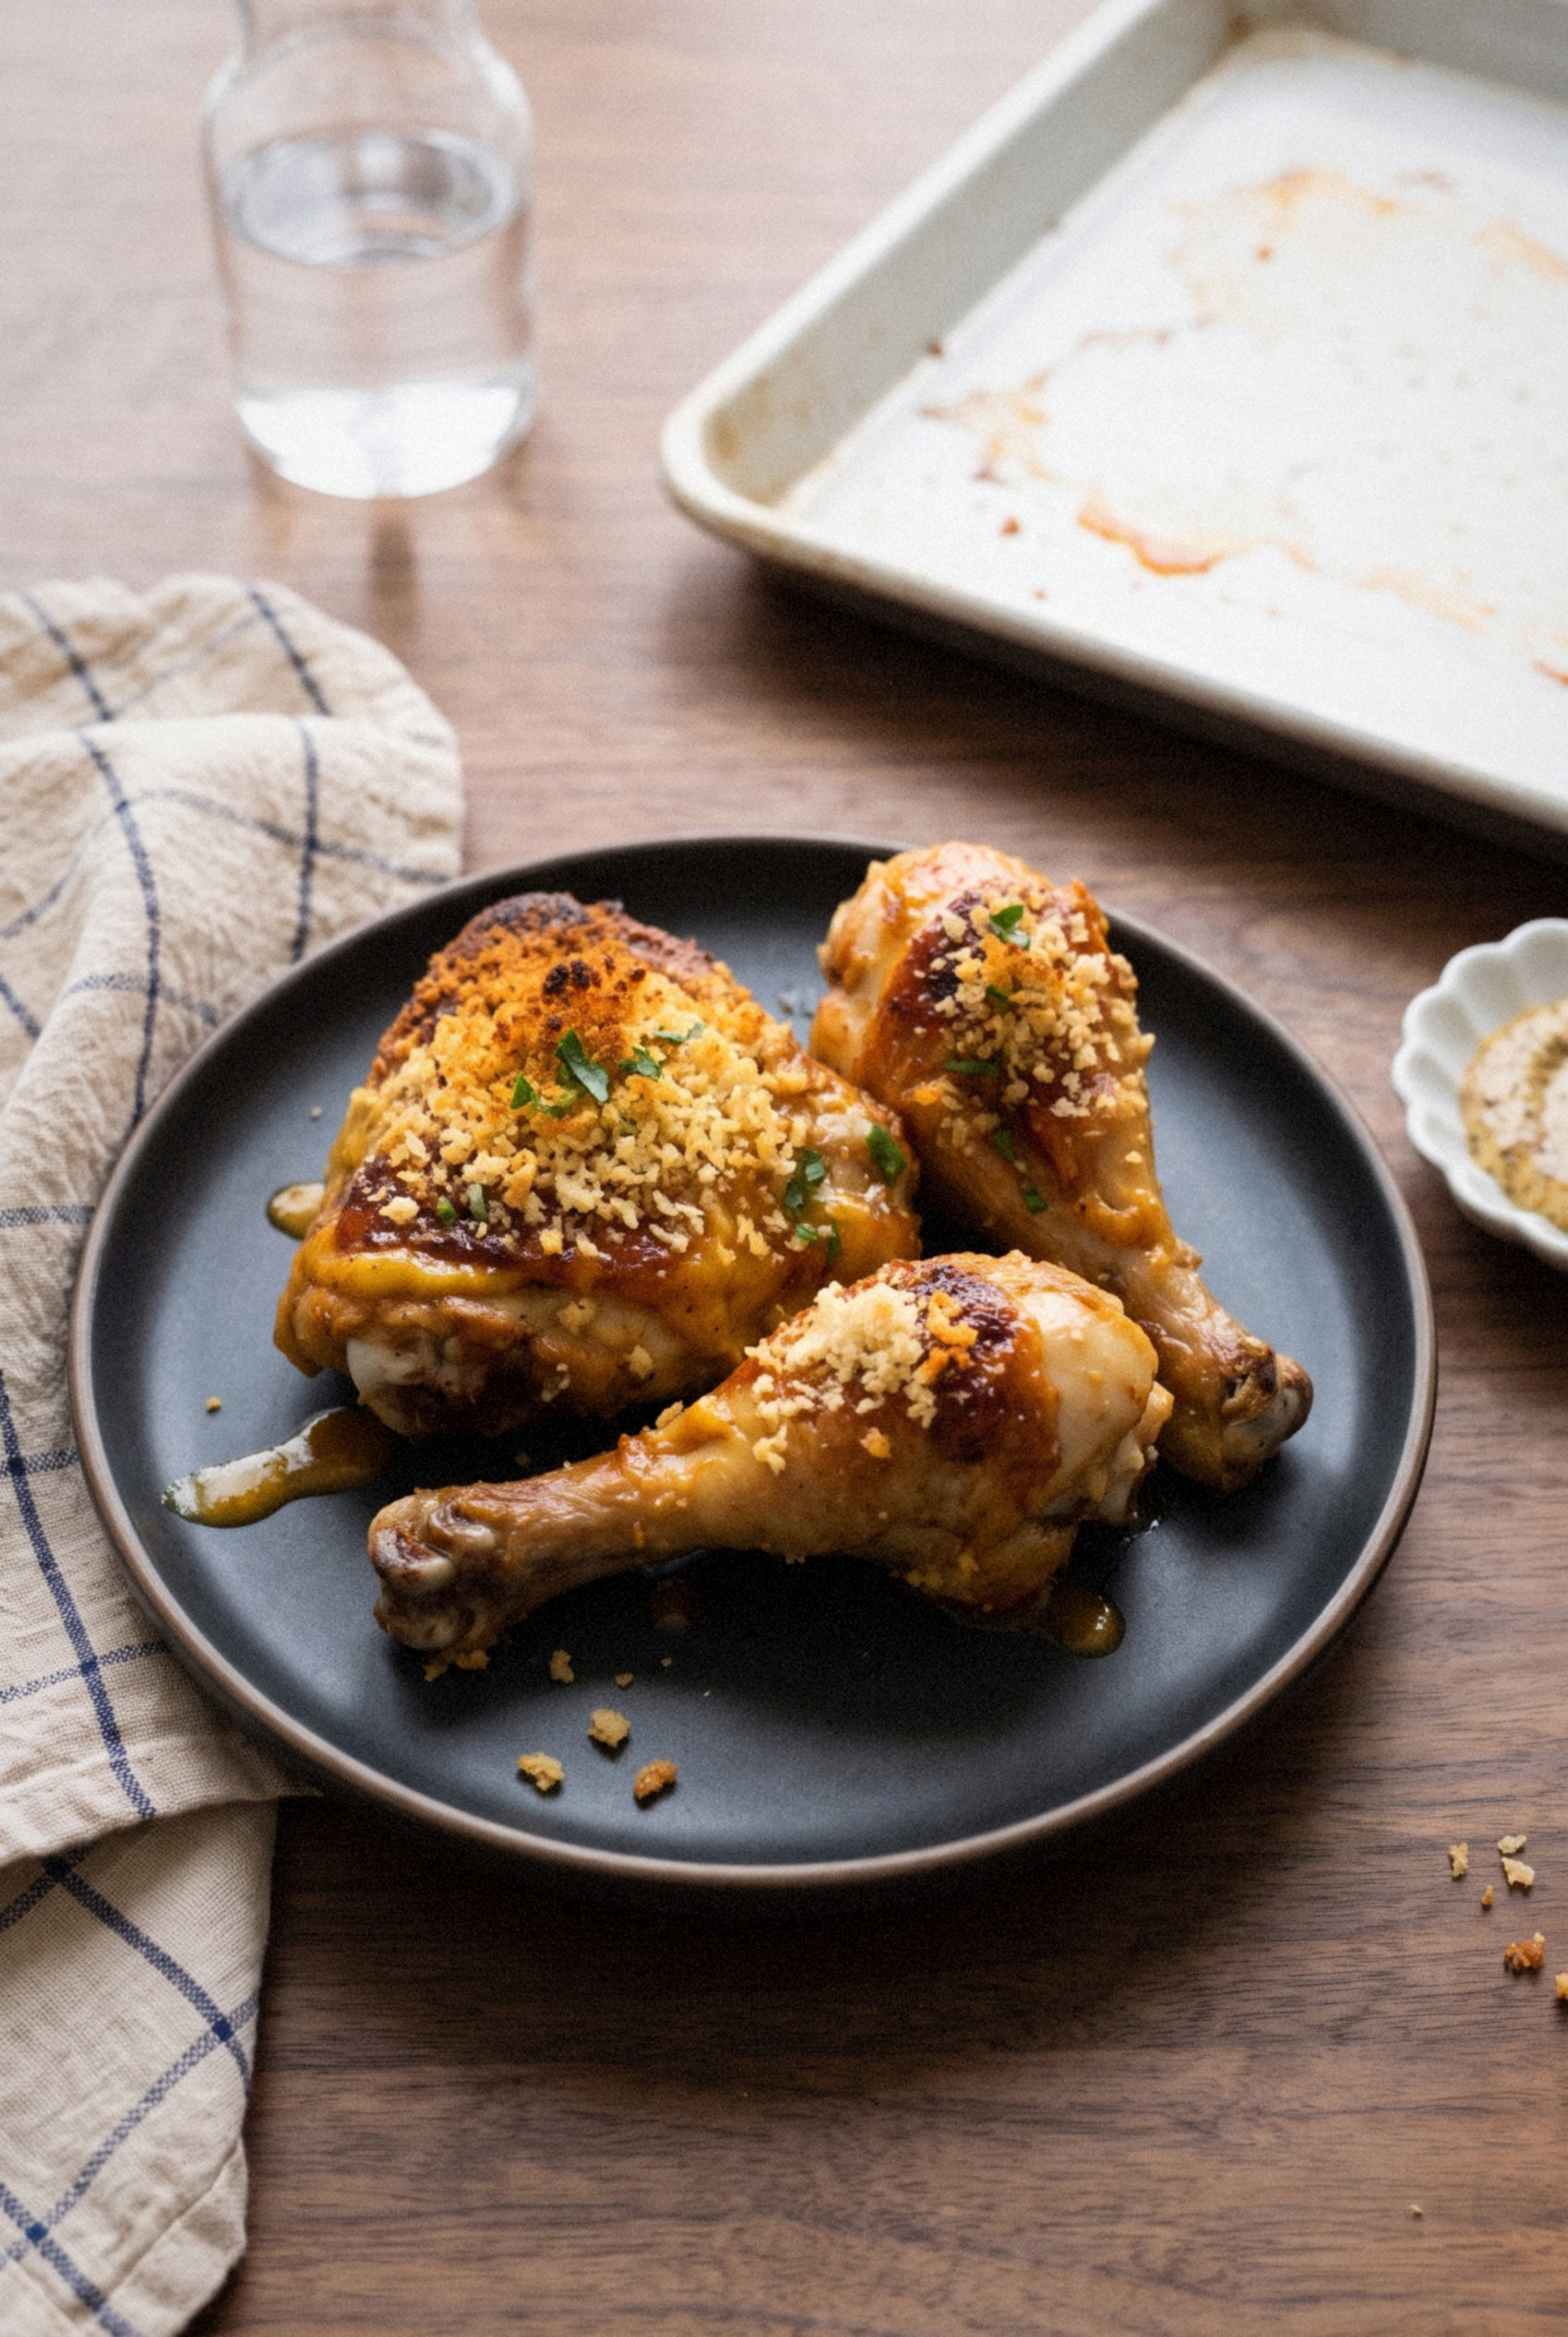
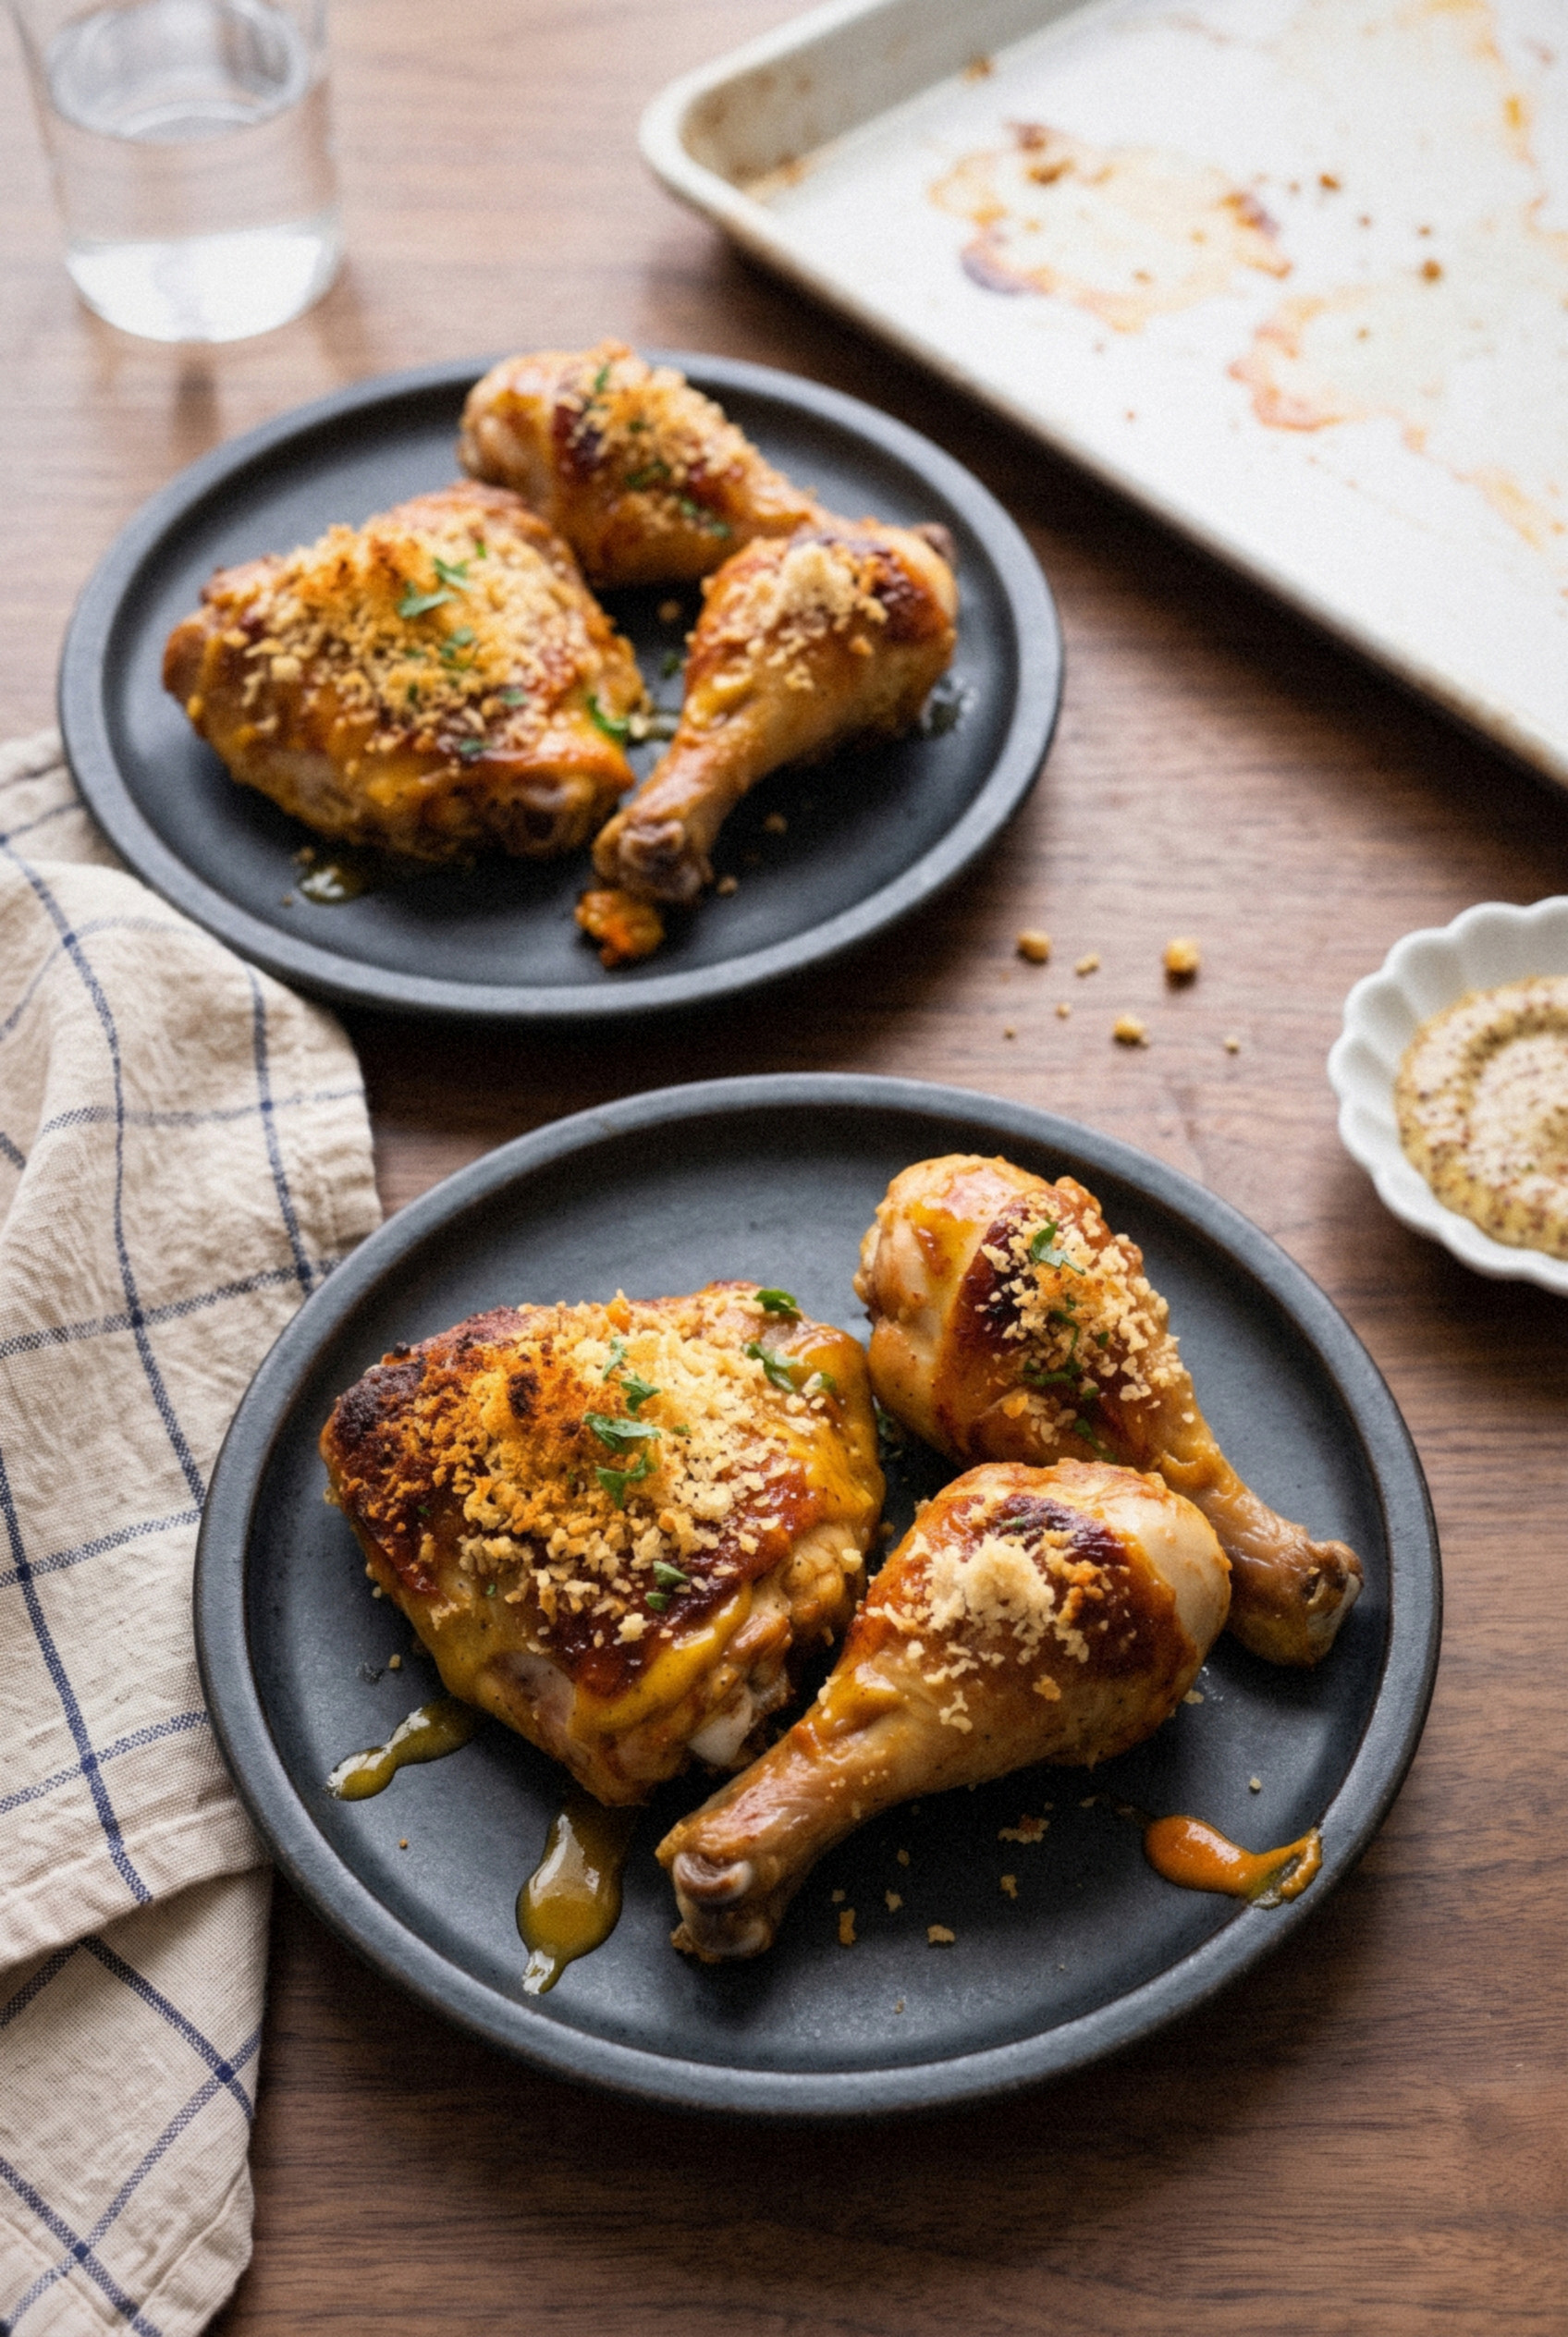
Bone-in thighs and drumsticks get painted with a sharp Dijon and butter mixture, roast until the skin renders, then get a panko topping halfway through so it turns golden instead of burning.
My family calls it sticky-finger chicken, and nobody bothers with a knife.
It all happens on one sheet pan in under an hour, with pantry staples you probably have right now.
Make it once and you’ll see why that margin note was underlined twice.
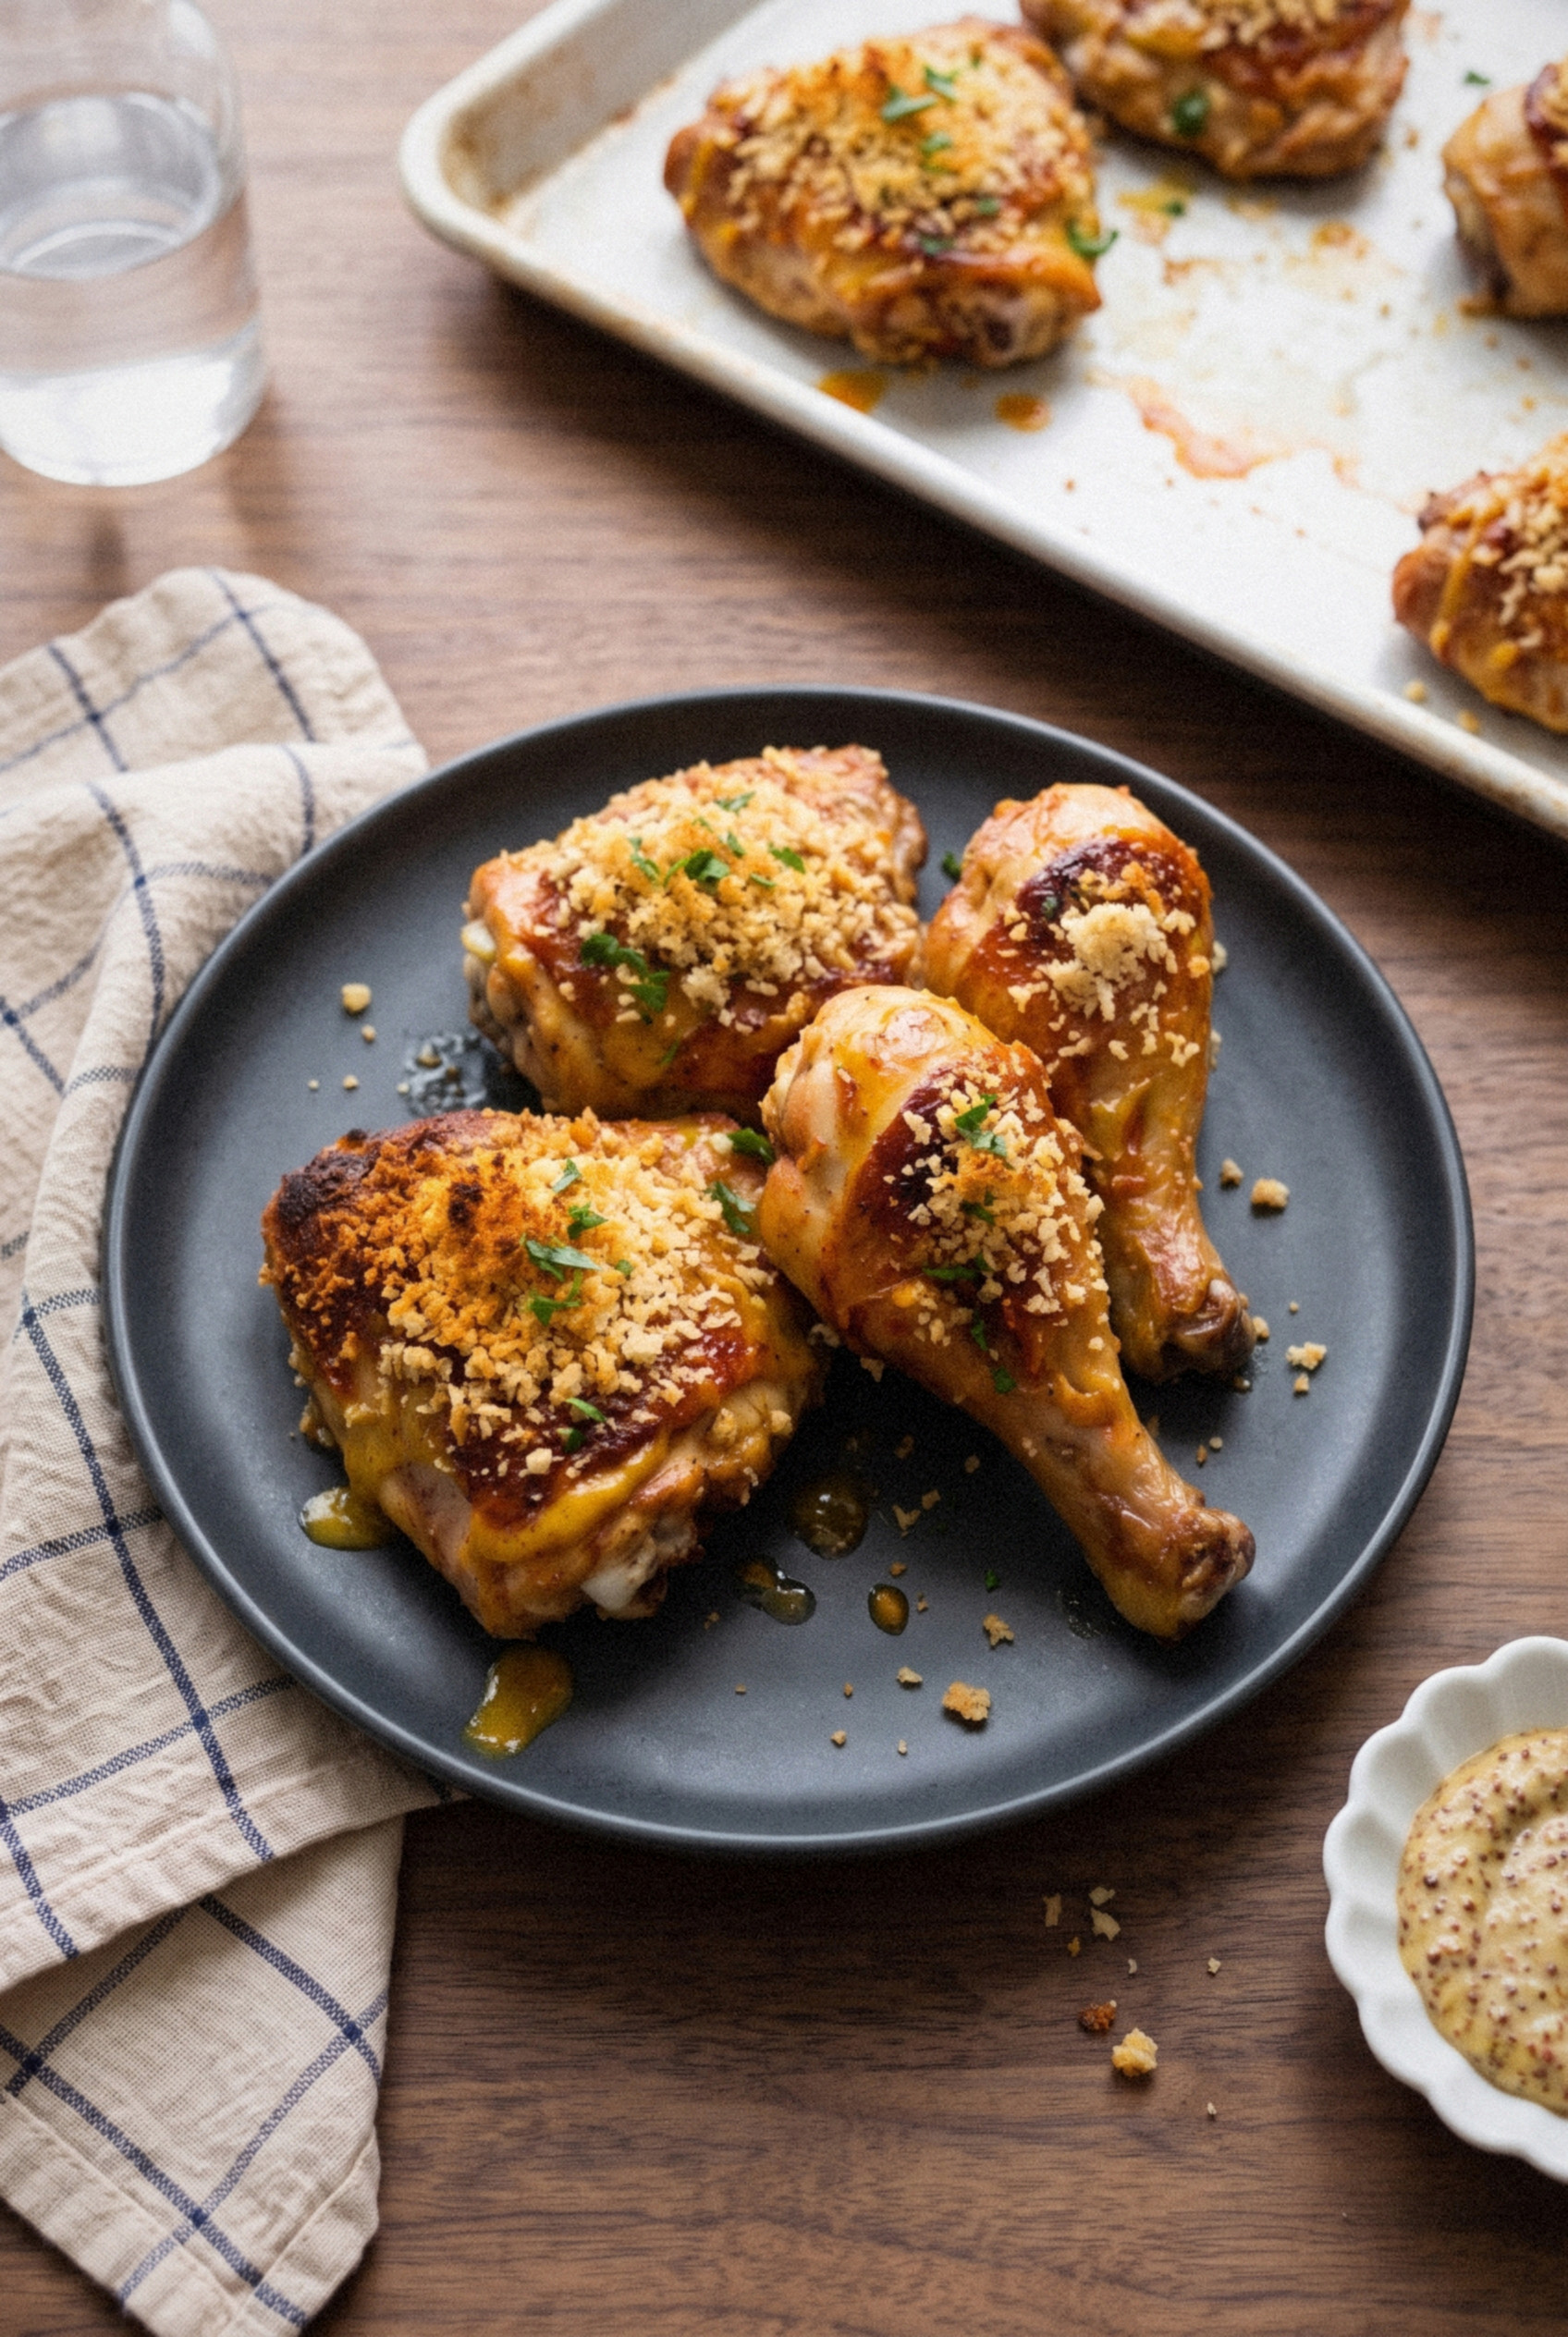
Table of contents
Why It’s Called Deviled Chicken
“Deviled” is an old cooking word for food that’s been given a fiery, sharp kick. English cooks were using it back in the 1700s for meats and eggs seasoned with mustard, cayenne and vinegar.
The name stuck because the seasoning was hot enough to feel a little wicked.
That’s the same reason we have deviled eggs and deviled ham today.
So what is devil style chicken? In American kitchens, it’s chicken coated in a mustard and cayenne mixture and baked or grilled, often with a crisp crumb on top.
You’ll also see Sri Lankan devilled chicken in search results, and that’s a completely different dish.
It’s a stir-fry of fried chicken tossed in a sweet chili and ketchup sauce with onions and peppers. Delicious, but not what my grandmother made!
What’s in Deviled Chicken
The ingredient list is short, and every item earns its place. Here’s what goes into my version and why.
- Bone-in, skin-on chicken (2 1/2 pounds). A mix of thighs and drumsticks, about 8 pieces. Dark meat stays juicy through a long roast and the skin turns crackly.
- Dijon mustard (3 tablespoons). The backbone of the paint. It brings sharpness and helps everything cling.
- Dry mustard powder (1 teaspoon). This is what gives that nose-tingling heat. Don’t skip it.
- Unsalted butter (4 tablespoons). Melted into the paint so the skin browns and the crumbs toast.
- Worcestershire sauce (1 tablespoon). A savory, salty depth you can’t quite name but would miss.
- Apple cider vinegar (1 tablespoon). The sharp acid that makes it taste deviled instead of just mustardy.
- Light brown sugar (1 tablespoon). Just enough to round out the vinegar and help the glaze caramelize.
- Cayenne pepper (1/2 teaspoon). A warm, steady heat. Use 1/4 teaspoon for mild or 1 teaspoon if you like it fiery.
- Smoked paprika (1/2 teaspoon). Color and a gentle smokiness.
- Panko breadcrumbs (3/4 cup). Lighter and crunchier than regular crumbs.
- Kosher salt and black pepper. For seasoning the chicken before the paint goes on.
- Fresh parsley (1 tablespoon). Chopped, for a little green at the end.
My Version of Deviled Chicken
I went with bone-in thighs and drumsticks for a reason. They can handle the high heat it takes to crisp the skin without drying out.
Boneless breasts will work, but they cook so fast that the crumbs barely get a chance to brown.
The other big decision was timing.
Most recipes either paint and bake, or crumb and bake, all in one go. When I put the panko on at the start, it scorched long before the chicken was done.
Now the mustard paint goes on first so it can soak into the scored meat. The crumbs go on halfway through, mixed with a little of the reserved paint so they’re seasoned all the way through.
Does that extra step matter? Every single time.
How to Make Deviled Chicken
This comes together in four simple stages. Here’s how I do it.
Step 1: Dry and Score the Chicken
Heat the oven to 425°F and set a wire rack inside a foil-lined rimmed baking sheet. Pat the chicken pieces very dry with paper towels, because wet skin steams instead of crisping.
Cut two or three shallow slashes, about 1/2 inch deep, into the meaty side of each piece. Season all over with 1 teaspoon kosher salt and 1/2 teaspoon black pepper, then arrange the pieces skin side up on the rack with space between them.
Step 2: Mix the Mustard Paint
In a small bowl, whisk the melted butter, Dijon, dry mustard, Worcestershire, cider vinegar, brown sugar, cayenne and smoked paprika until smooth. It should look like a loose, glossy paste.
Spoon 2 tablespoons of the paint into a second bowl and set it aside for the crumbs. Brush the rest over every piece of chicken, working it into the slashes.
Pro tip: Taste a tiny dab of the paint before you brush. If it doesn’t make you blink, add another pinch of cayenne.
Step 3: Roast, Then Add the Crumbs
Roast the chicken for 20 minutes, until the skin starts to render and turn golden at the edges. While it roasts, stir the panko into the reserved paint until every crumb is lightly coated.
Pull the pan out and press a spoonful of the crumbs onto the top of each piece. Return it to the oven for another 20 to 25 minutes, until the crumbs are deep golden and crisp.
Step 4: Check the Temperature
Use an instant-read thermometer in the thickest part of a thigh, without touching the bone. Dark meat is safe at 165°F, but it’s at its most tender at 175°F, when the connective tissue has softened.
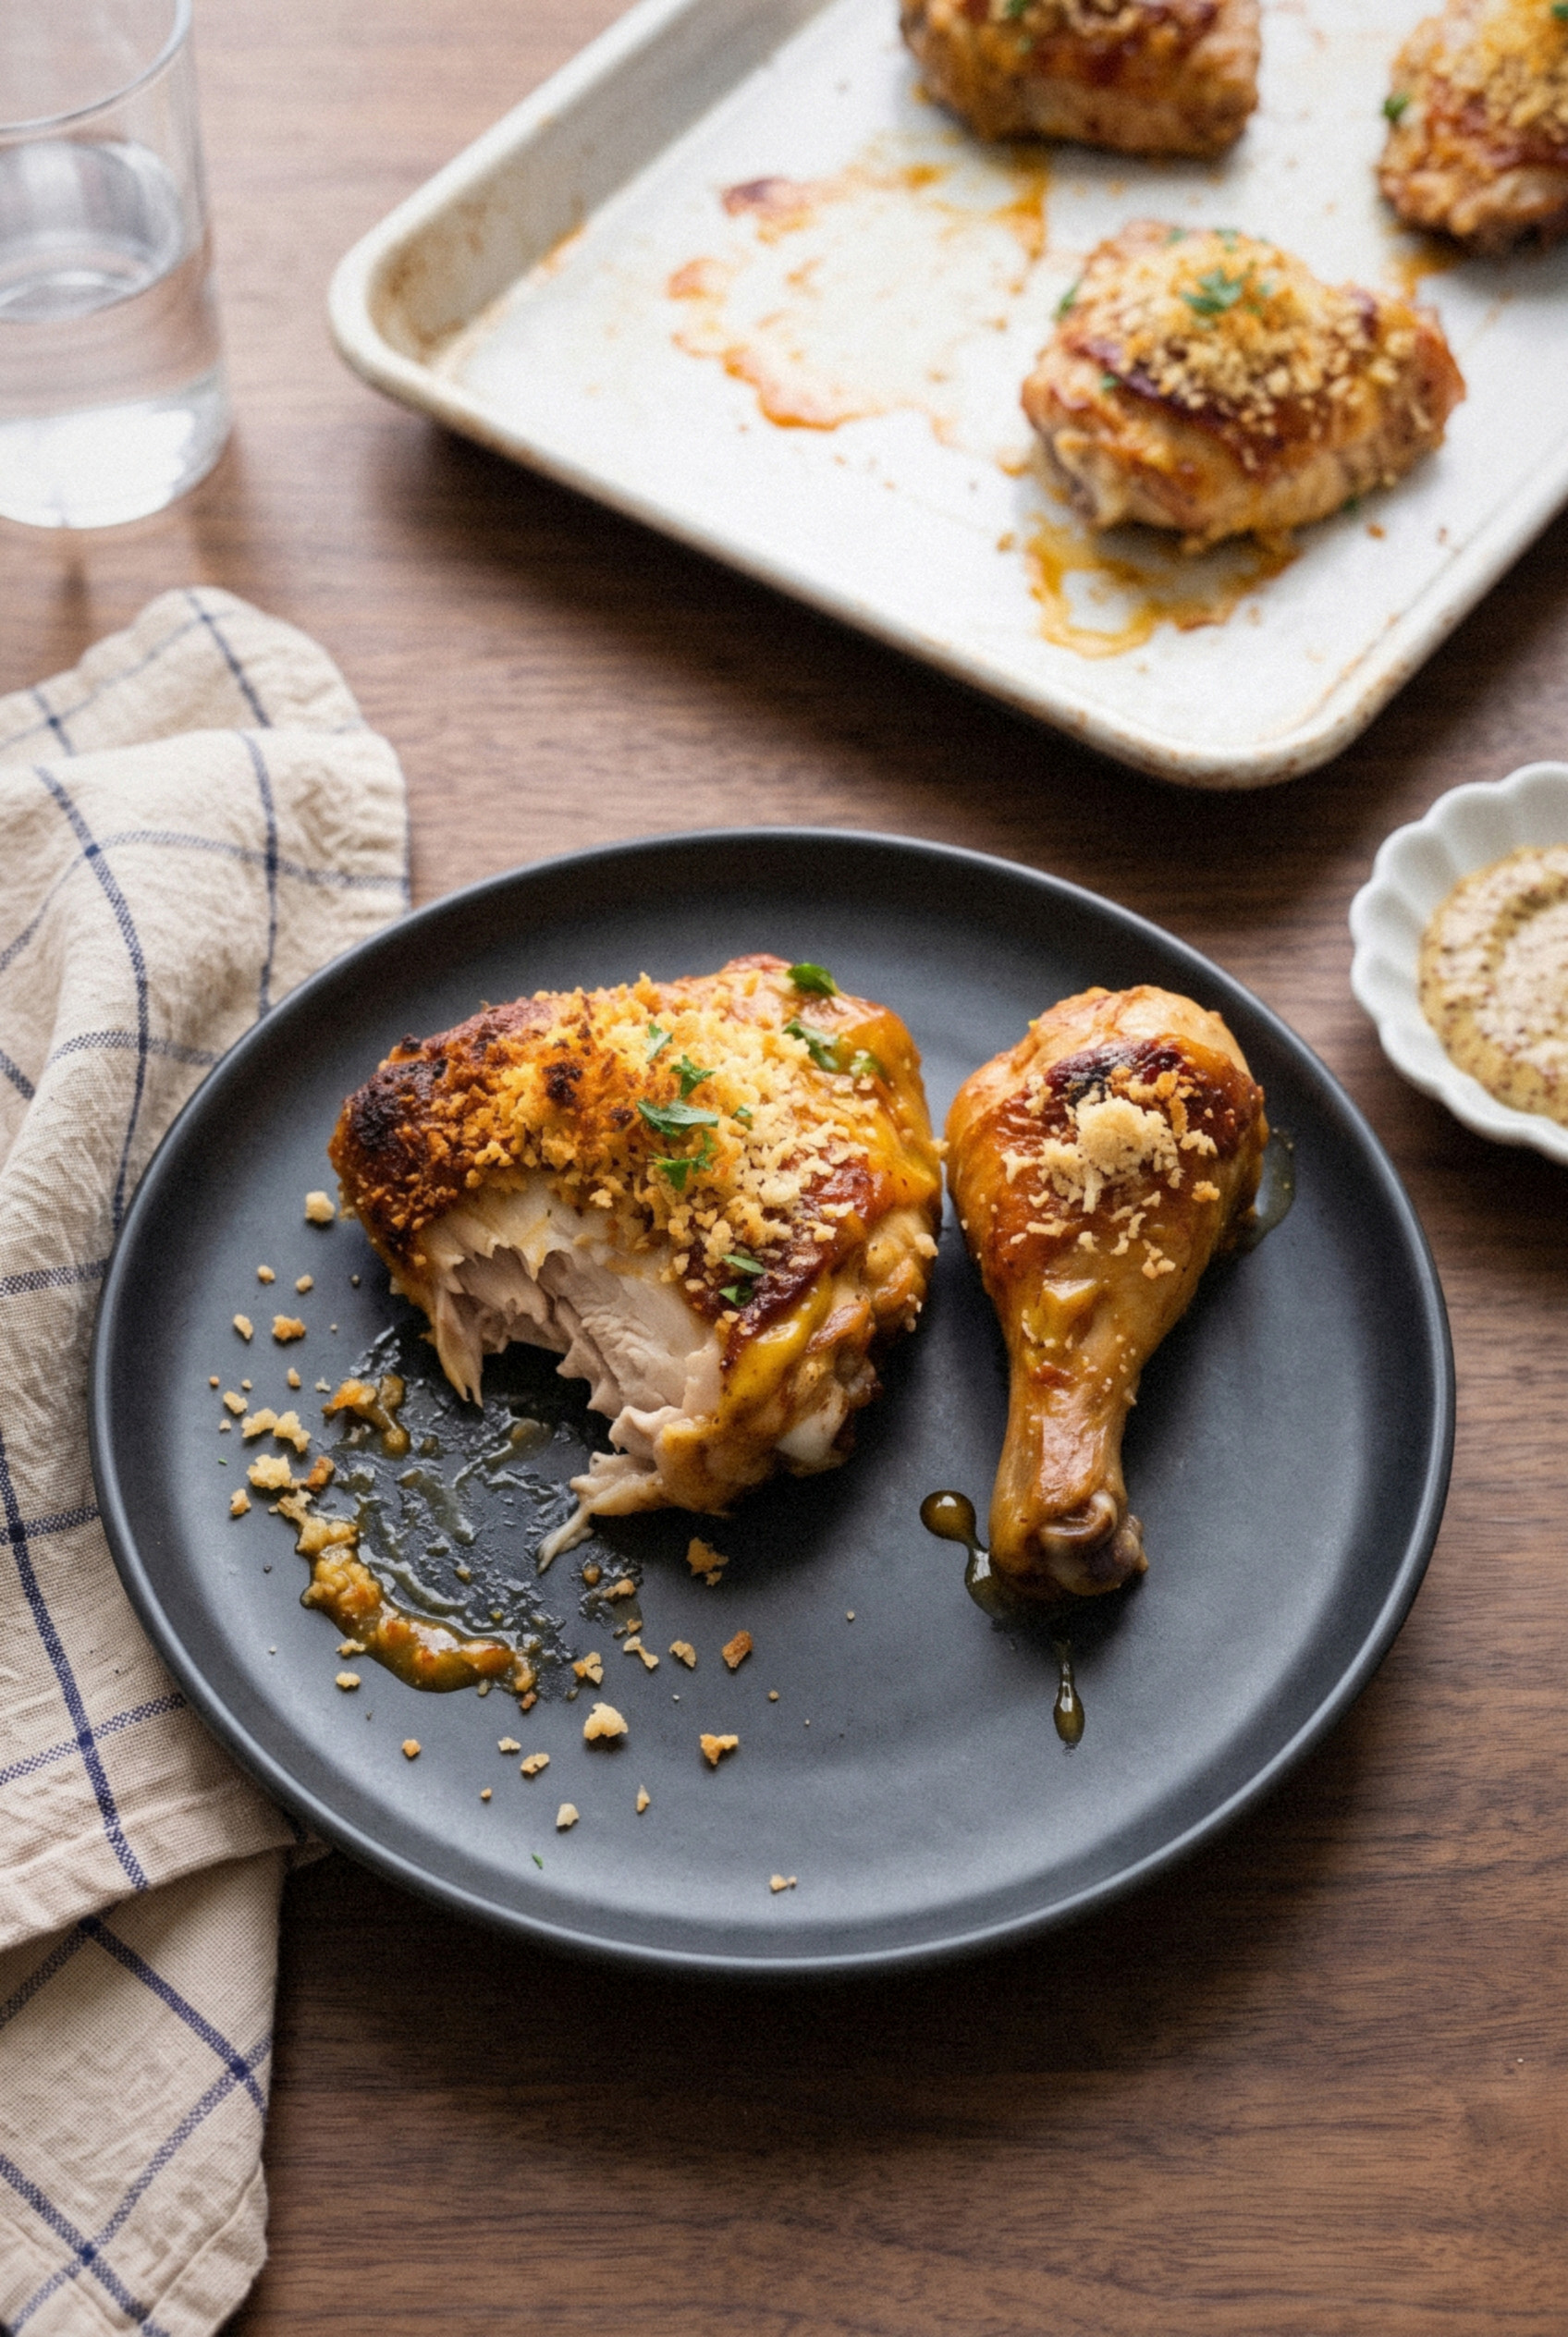
Let the chicken rest for 5 minutes on the rack, then sprinkle with parsley. The crust stays crunchy on the outside, juicy on the inside, and the bottoms stay crisp too.
Tips for the Best Deviled Chicken
A few small habits make a big difference here. These are the ones I never skip.
- Dry the skin well. Moisture is the enemy of crisp skin. If you have time, leave the seasoned pieces uncovered in the fridge for an hour before painting.
- Give each piece room. Crowded chicken steams. Leave at least an inch between pieces on the rack.
- Use a rack. Raising the chicken lets hot air reach the bottom so it doesn’t sit in its own drippings and go soggy.
- Wait on the crumbs. Adding panko at the start is the number one reason it burns. Halfway through is the sweet spot.
- Trust a thermometer. Bone-in pieces vary in size. Checking the temperature beats guessing every time.
- Swap the cut if you want. Bone-in breasts take about the same time. Boneless thighs need about 25 minutes total, with crumbs added at 10 minutes, to 165°F.
How to Make Deviled Chicken on the Grill
The grill gives you a smoky, charred version that’s perfect for summer. The crumbs don’t work over open flame, so I swap them for extra paint.
Make a double batch of the mustard paint. Set up the grill for two-zone heat, with one side at medium-high (400 to 450°F) and the other side unlit.
Brush the chicken and set it skin side up on the cool side. Cover and cook 25 to 30 minutes, until it reaches about 155°F.
Move the pieces over the hot side, brush with more paint, and turn them every minute or two for 3 to 6 minutes until charred in spots and 175°F inside.
Air fryer option: Cook painted pieces at 380°F for about 15 minutes, press on the crumbs, then cook 8 to 10 minutes more. Work in batches so they aren’t crowded.
Variations to Try
- Parmesan crust. Stir 1/4 cup finely grated Parmesan into the panko for a nutty, salty top.
- Honey mustard style. Swap the brown sugar for honey if your crowd likes it a little sweeter.
- Extra fiery. Add a splash of vinegar-based hot sauce to the paint along with the full teaspoon of cayenne.
- Deviled wings. Use 2 1/2 pounds of wings and roast 15 minutes before the crumbs, then 15 to 20 minutes after.
- Gluten-free. Use gluten-free panko and check your Worcestershire label.
Make-Ahead and Storage
This is a great make-ahead dinner. The paint actually tastes better after it sits on the chicken for a while.
- Paint ahead. Brush the chicken, cover the pan and refrigerate for up to 24 hours. Keep the reserved paint for the crumbs in a separate covered bowl. Let the chicken sit out for 20 minutes before roasting.
- Leftovers. Store cooled chicken in an airtight container in the fridge for up to 4 days.
- Reheating. Skip the microwave, which softens the crumbs. Reheat on a rack at 375°F for about 15 to 20 minutes until hot and crisp again.
- Freezing. Freeze cooked, cooled pieces in a freezer bag for up to 3 months. Thaw overnight in the fridge and reheat in the oven as above.
- Cold the next day. Honestly, I love a cold drumstick straight from the fridge. It’s a fantastic picnic or lunchbox option!
If you like sticky glazed thighs, my apricot chicken with couscous is another dinner I love.
What to Serve with Deviled Chicken
The sharp, tangy flavor pairs perfectly with something creamy or fresh. These are my go-to sides.
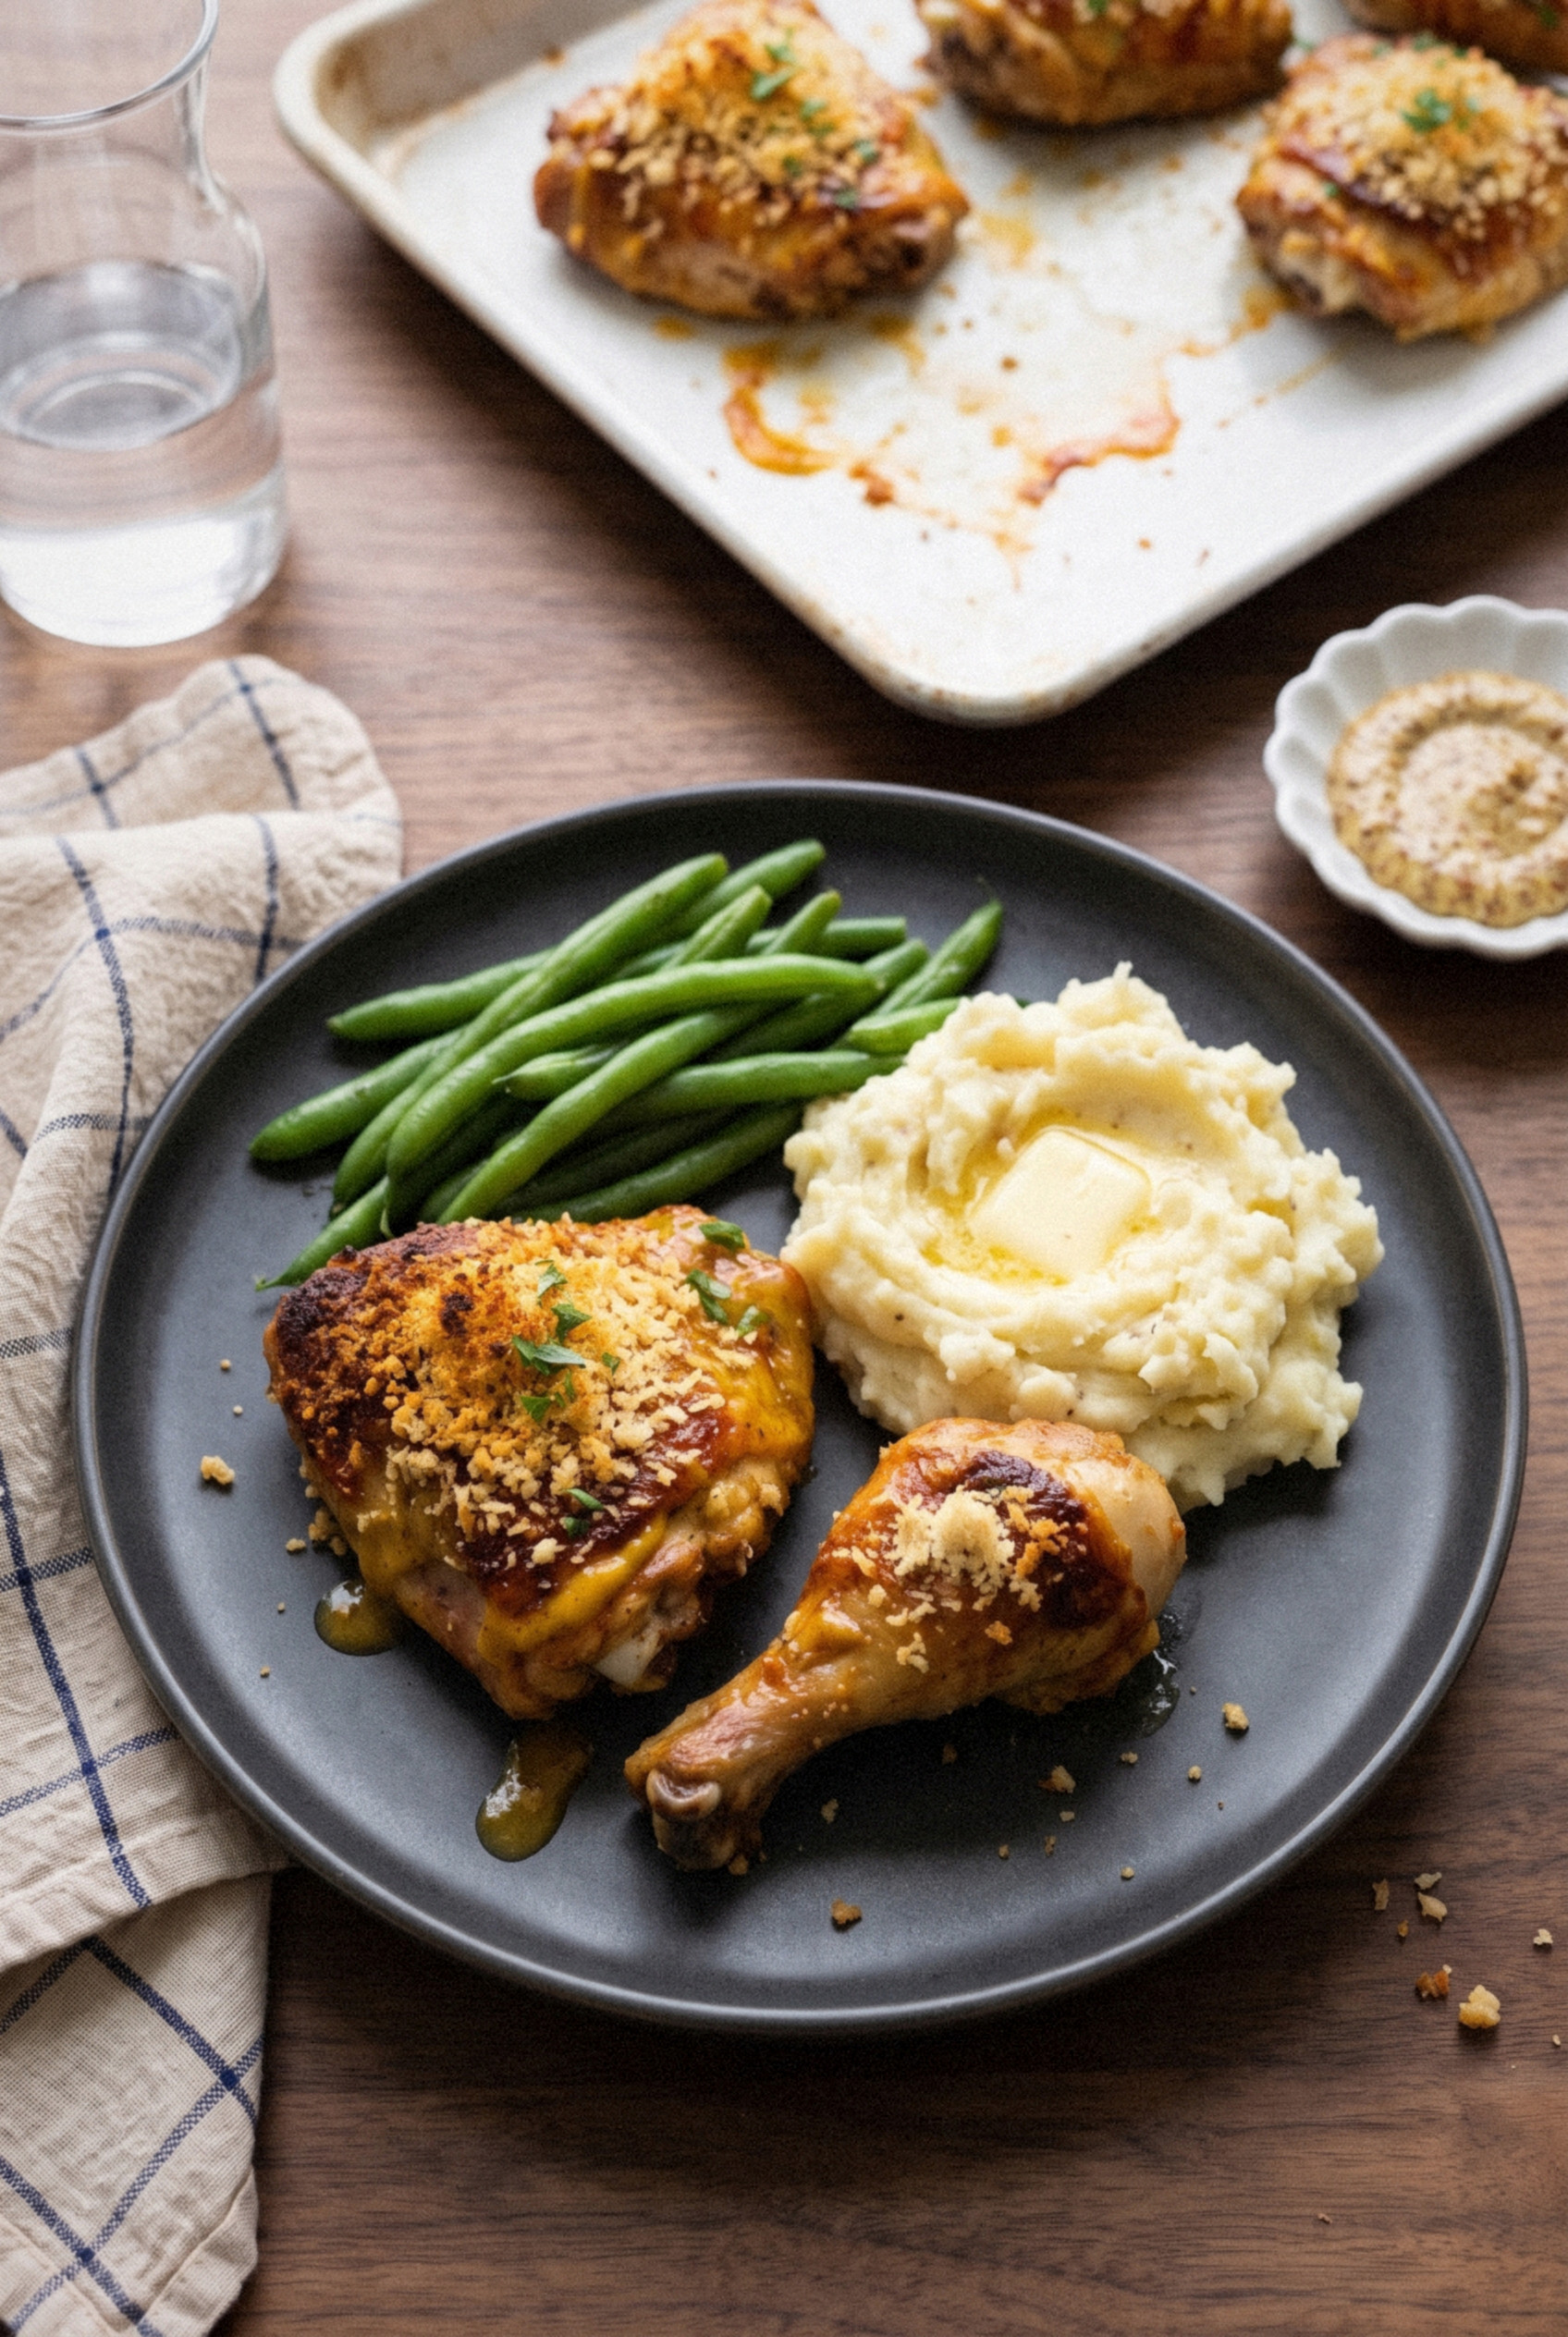
- Mashed potatoes. Buttery mash soaks up the mustardy drippings. Comfort food at its best.
- Creamy coleslaw. Cool, crunchy slaw balances the cayenne heat.
- Green beans. Roast them on a second sheet pan at the same temperature.
- Buttered rice. Simple and soothing, great if you go extra spicy.
- Corn on the cob. A must-try with the grilled version in summer.
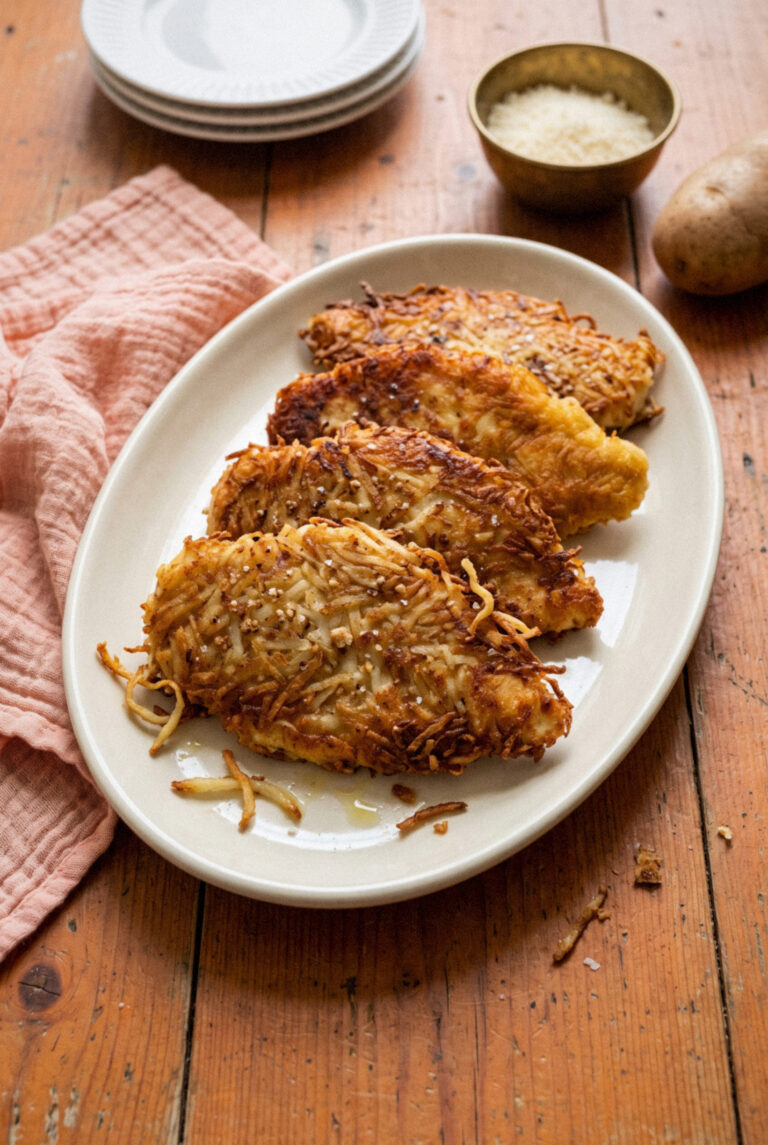
For another crispy chicken night, I make potato crusted chicken, which uses hash browns for the coating.
Who doesn’t love a dinner you can eat with your hands? Give it a try!
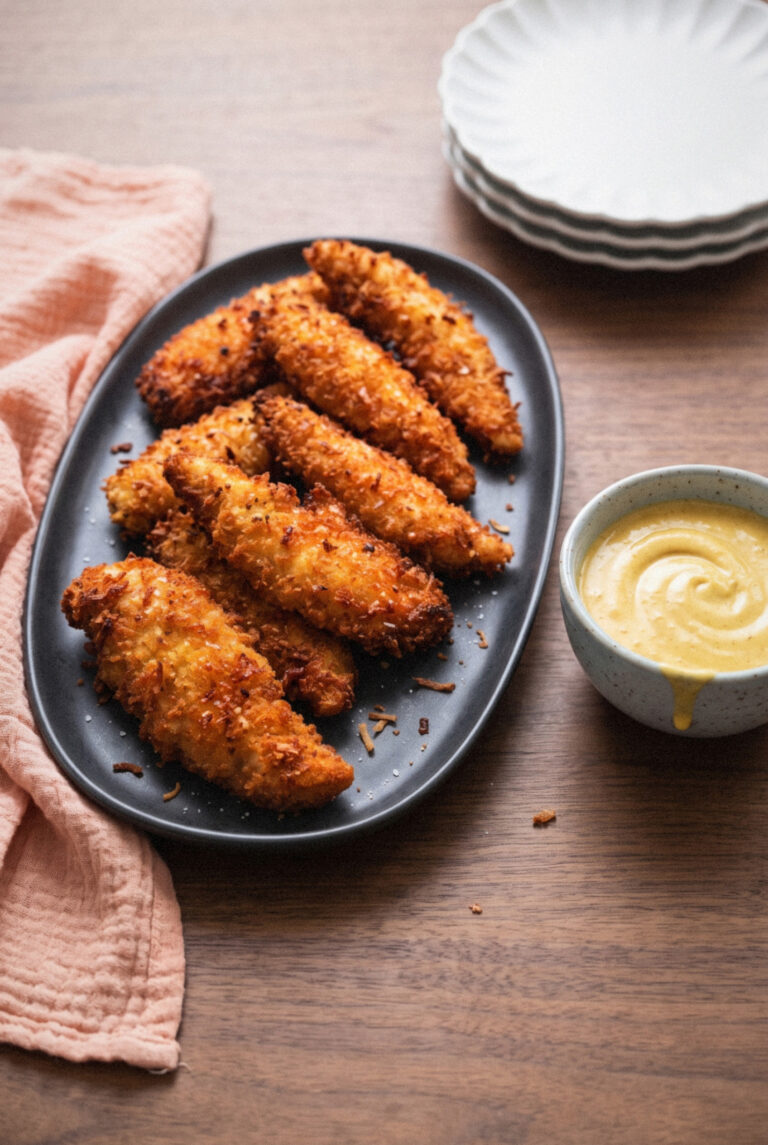
Dunk-worthy chicken is a theme here, and coconut chicken tenders come with a pineapple curry dip.
Crispy Deviled Chicken (Baked Mustard Chicken Thighs)
Ingredients
For the Chicken
- 2 1/2 pounds bone-in, skin-on chicken thighs and drumsticks about 8 pieces
- 1 teaspoon kosher salt
- 1/2 teaspoon black pepper
For the Mustard Paint
- 4 tablespoons unsalted butter melted
- 3 tablespoons Dijon mustard
- 1 teaspoon dry mustard powder
- 1 tablespoon Worcestershire sauce
- 1 tablespoon apple cider vinegar
- 1 tablespoon light brown sugar packed
- 1/2 teaspoon cayenne pepper 1/4 teaspoon for mild, 1 teaspoon for hot
- 1/2 teaspoon smoked paprika
For the Topping
- 3/4 cup panko breadcrumbs
- 1 tablespoon fresh parsley chopped, for garnish
Instructions
Prep the Chicken
- Heat the oven to 425°F. Line a rimmed baking sheet with foil and set a wire rack inside it.
- Pat the chicken very dry with paper towels. Cut 2 or 3 shallow slashes, about 1/2 inch deep, into the meaty side of each piece. Season all over with the salt and pepper and arrange skin side up on the rack, leaving space between pieces.
Make the Mustard Paint
- Whisk the melted butter, Dijon mustard, dry mustard, Worcestershire sauce, cider vinegar, brown sugar, cayenne and smoked paprika until smooth.
- Transfer 2 tablespoons of the paint to a second bowl and set aside. Brush the remaining paint over all the chicken, working it into the slashes.
Roast
- Roast for 20 minutes, until the skin begins to render and turn golden.
- Meanwhile, stir the panko into the reserved paint until evenly coated.
- Press the crumb mixture onto the top of each piece. Roast 20 to 25 minutes more, until the crumbs are deep golden and the thickest piece reads 175°F near the bone.
- Rest 5 minutes on the rack, then sprinkle with parsley and serve.
Notes
- Doneness: Dark meat is safe at 165°F but most tender at 175°F.
- Boneless thighs: Roast 10 minutes, add crumbs, then about 15 minutes more to 165°F.
- Make ahead: Paint the chicken up to 24 hours ahead and refrigerate, keeping the reserved paint separate.
- Storage: Refrigerate leftovers up to 4 days. Reheat on a rack at 375°F for 15 to 20 minutes.