Somebody always texts me at noon in December, asking if I can bring a sweet to a party that starts at six.
I never say no, and I never have time to bake.
So I go looking for a no-bake treat, and the search results always hand me the same two things.
One is a pan of peanut butter bars that needs an hour to set and a sharp knife to cut.
The other is a haystack, a scoop of chocolate and broken pretzels that slumps the second the room warms up.
Neither is what my mom called a pretzel stack.
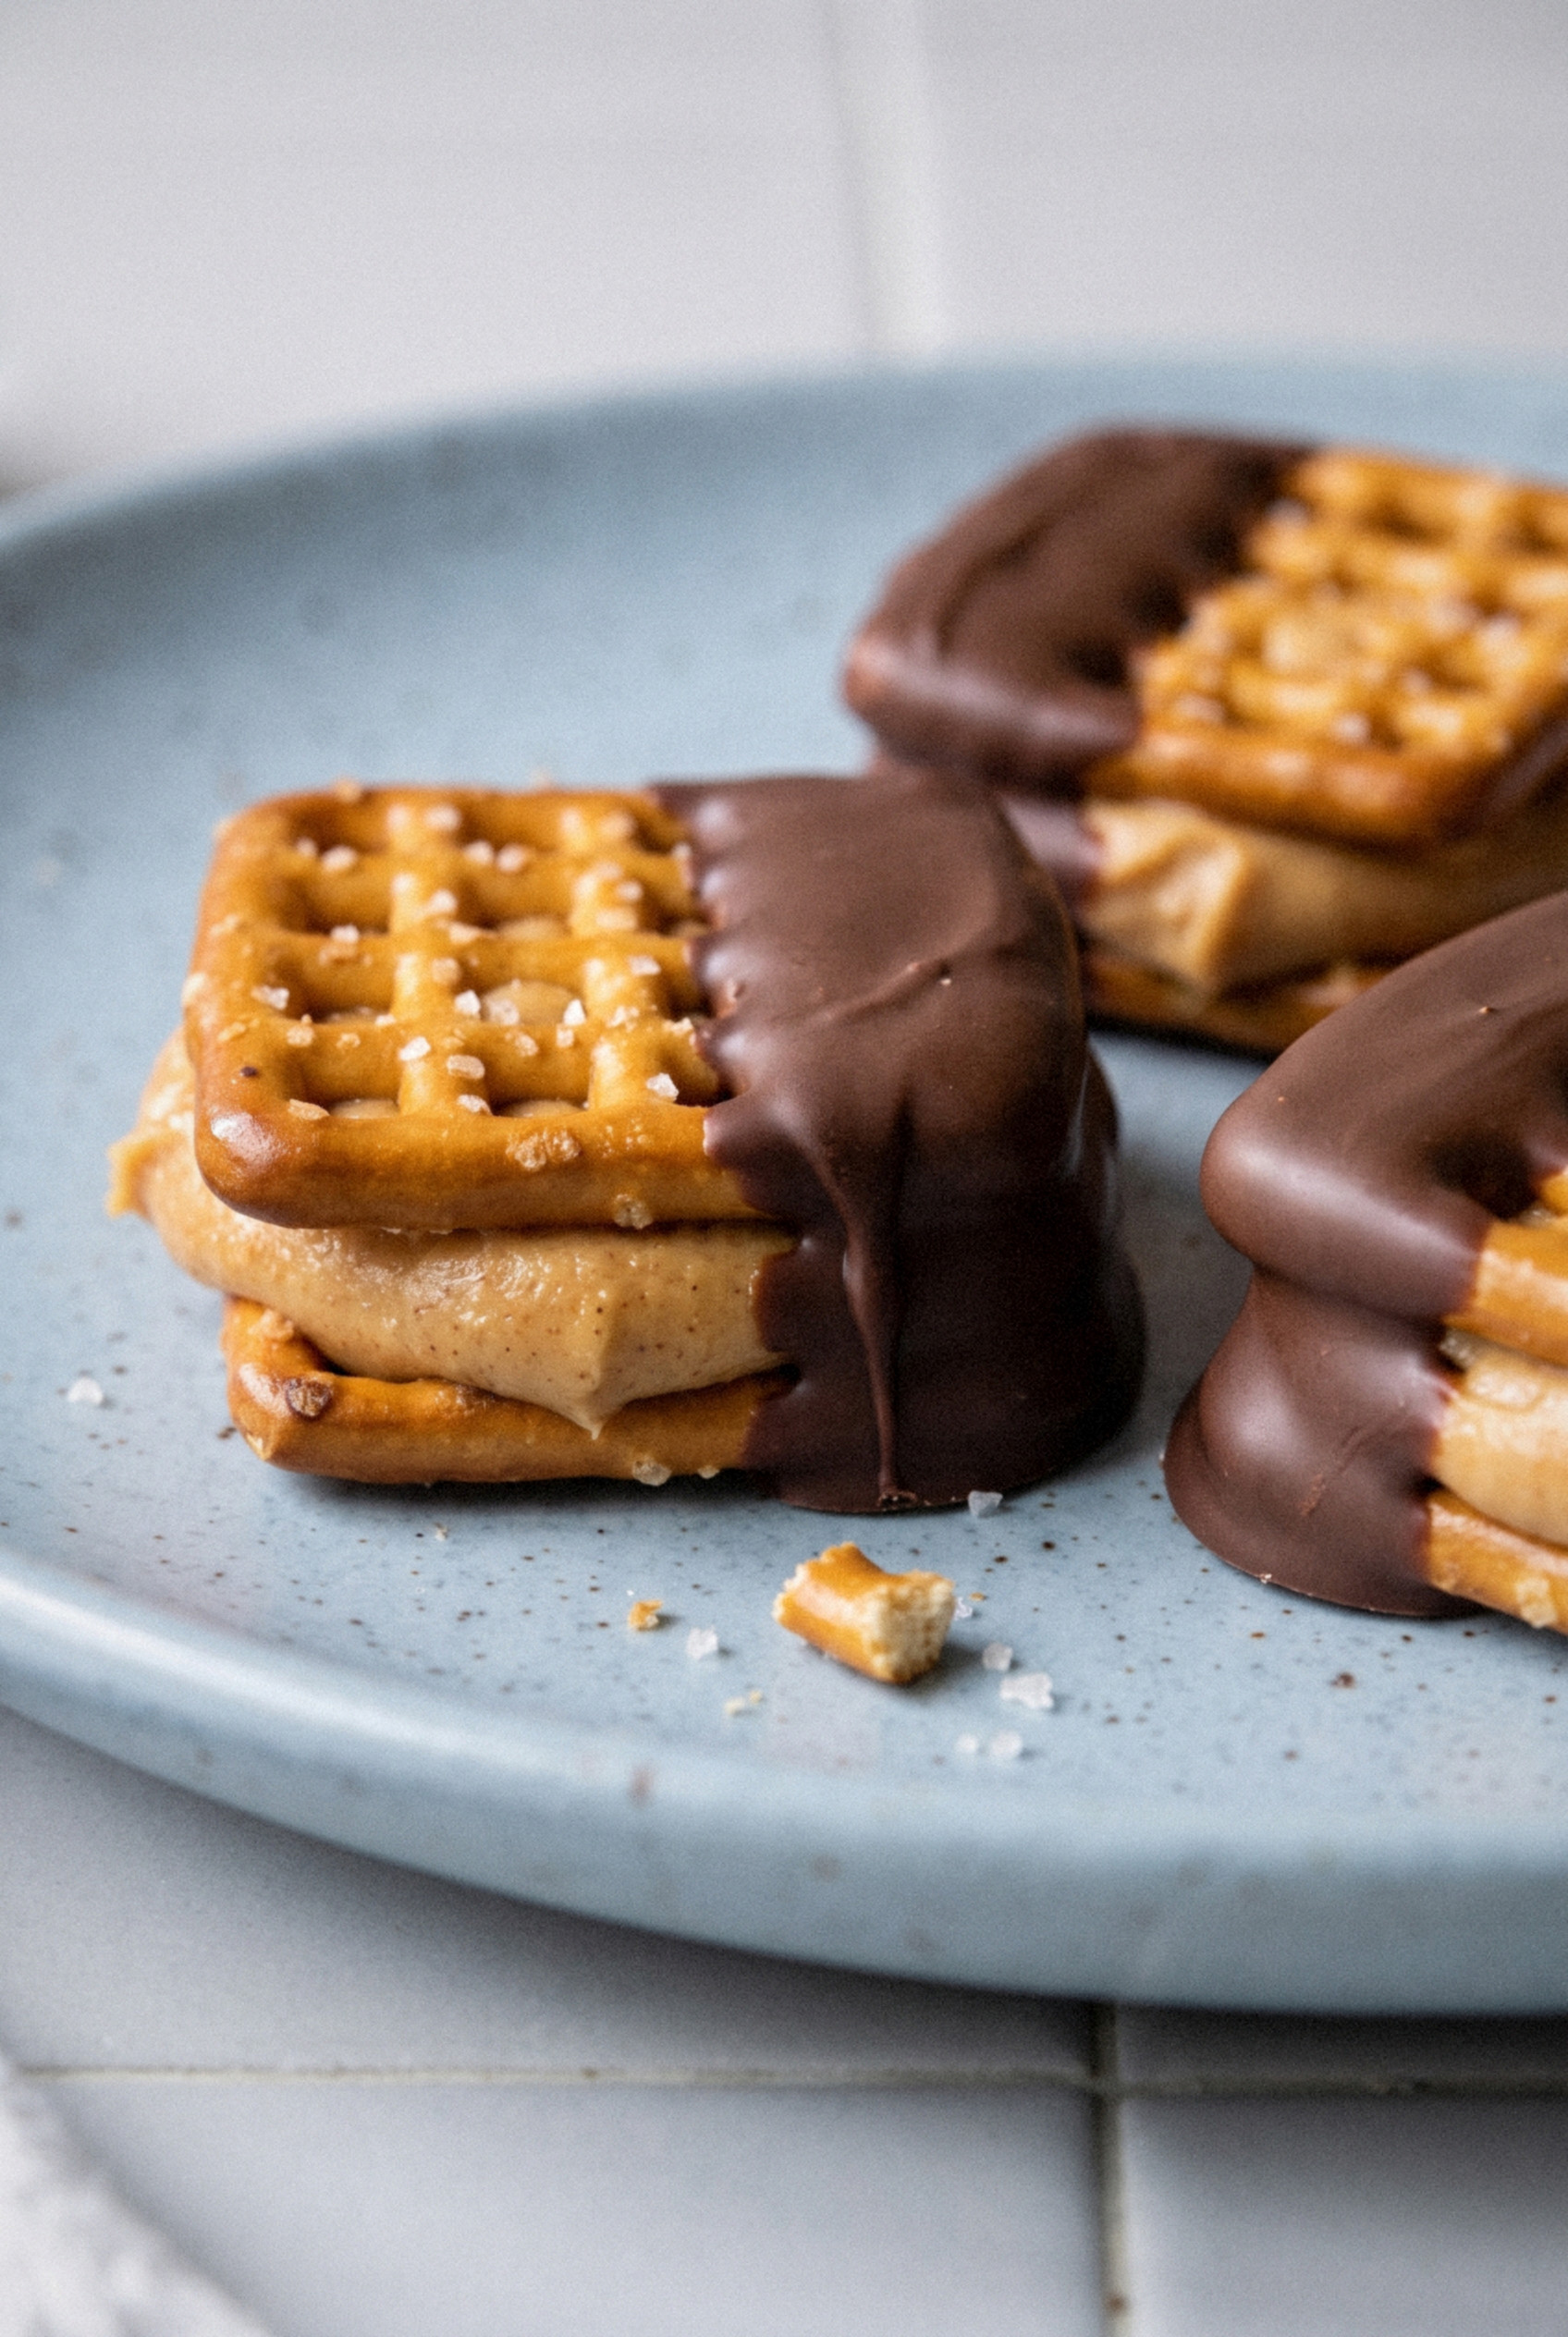
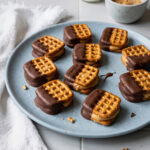
Hers was two little pretzels with a fat layer of sweet peanut butter in the middle, dipped halfway in chocolate.
I rebuilt that idea with a filling that tastes like the inside of a peanut butter cup, and these chocolate peanut butter pretzel stacks are now my go-to party move.
One batch makes 30 stacks, and you never turn on the oven.
A quick 20 minutes in the freezer before dipping keeps the filling exactly where it belongs.
They hold their shape on a platter all evening, and they always disappear before the bars do.
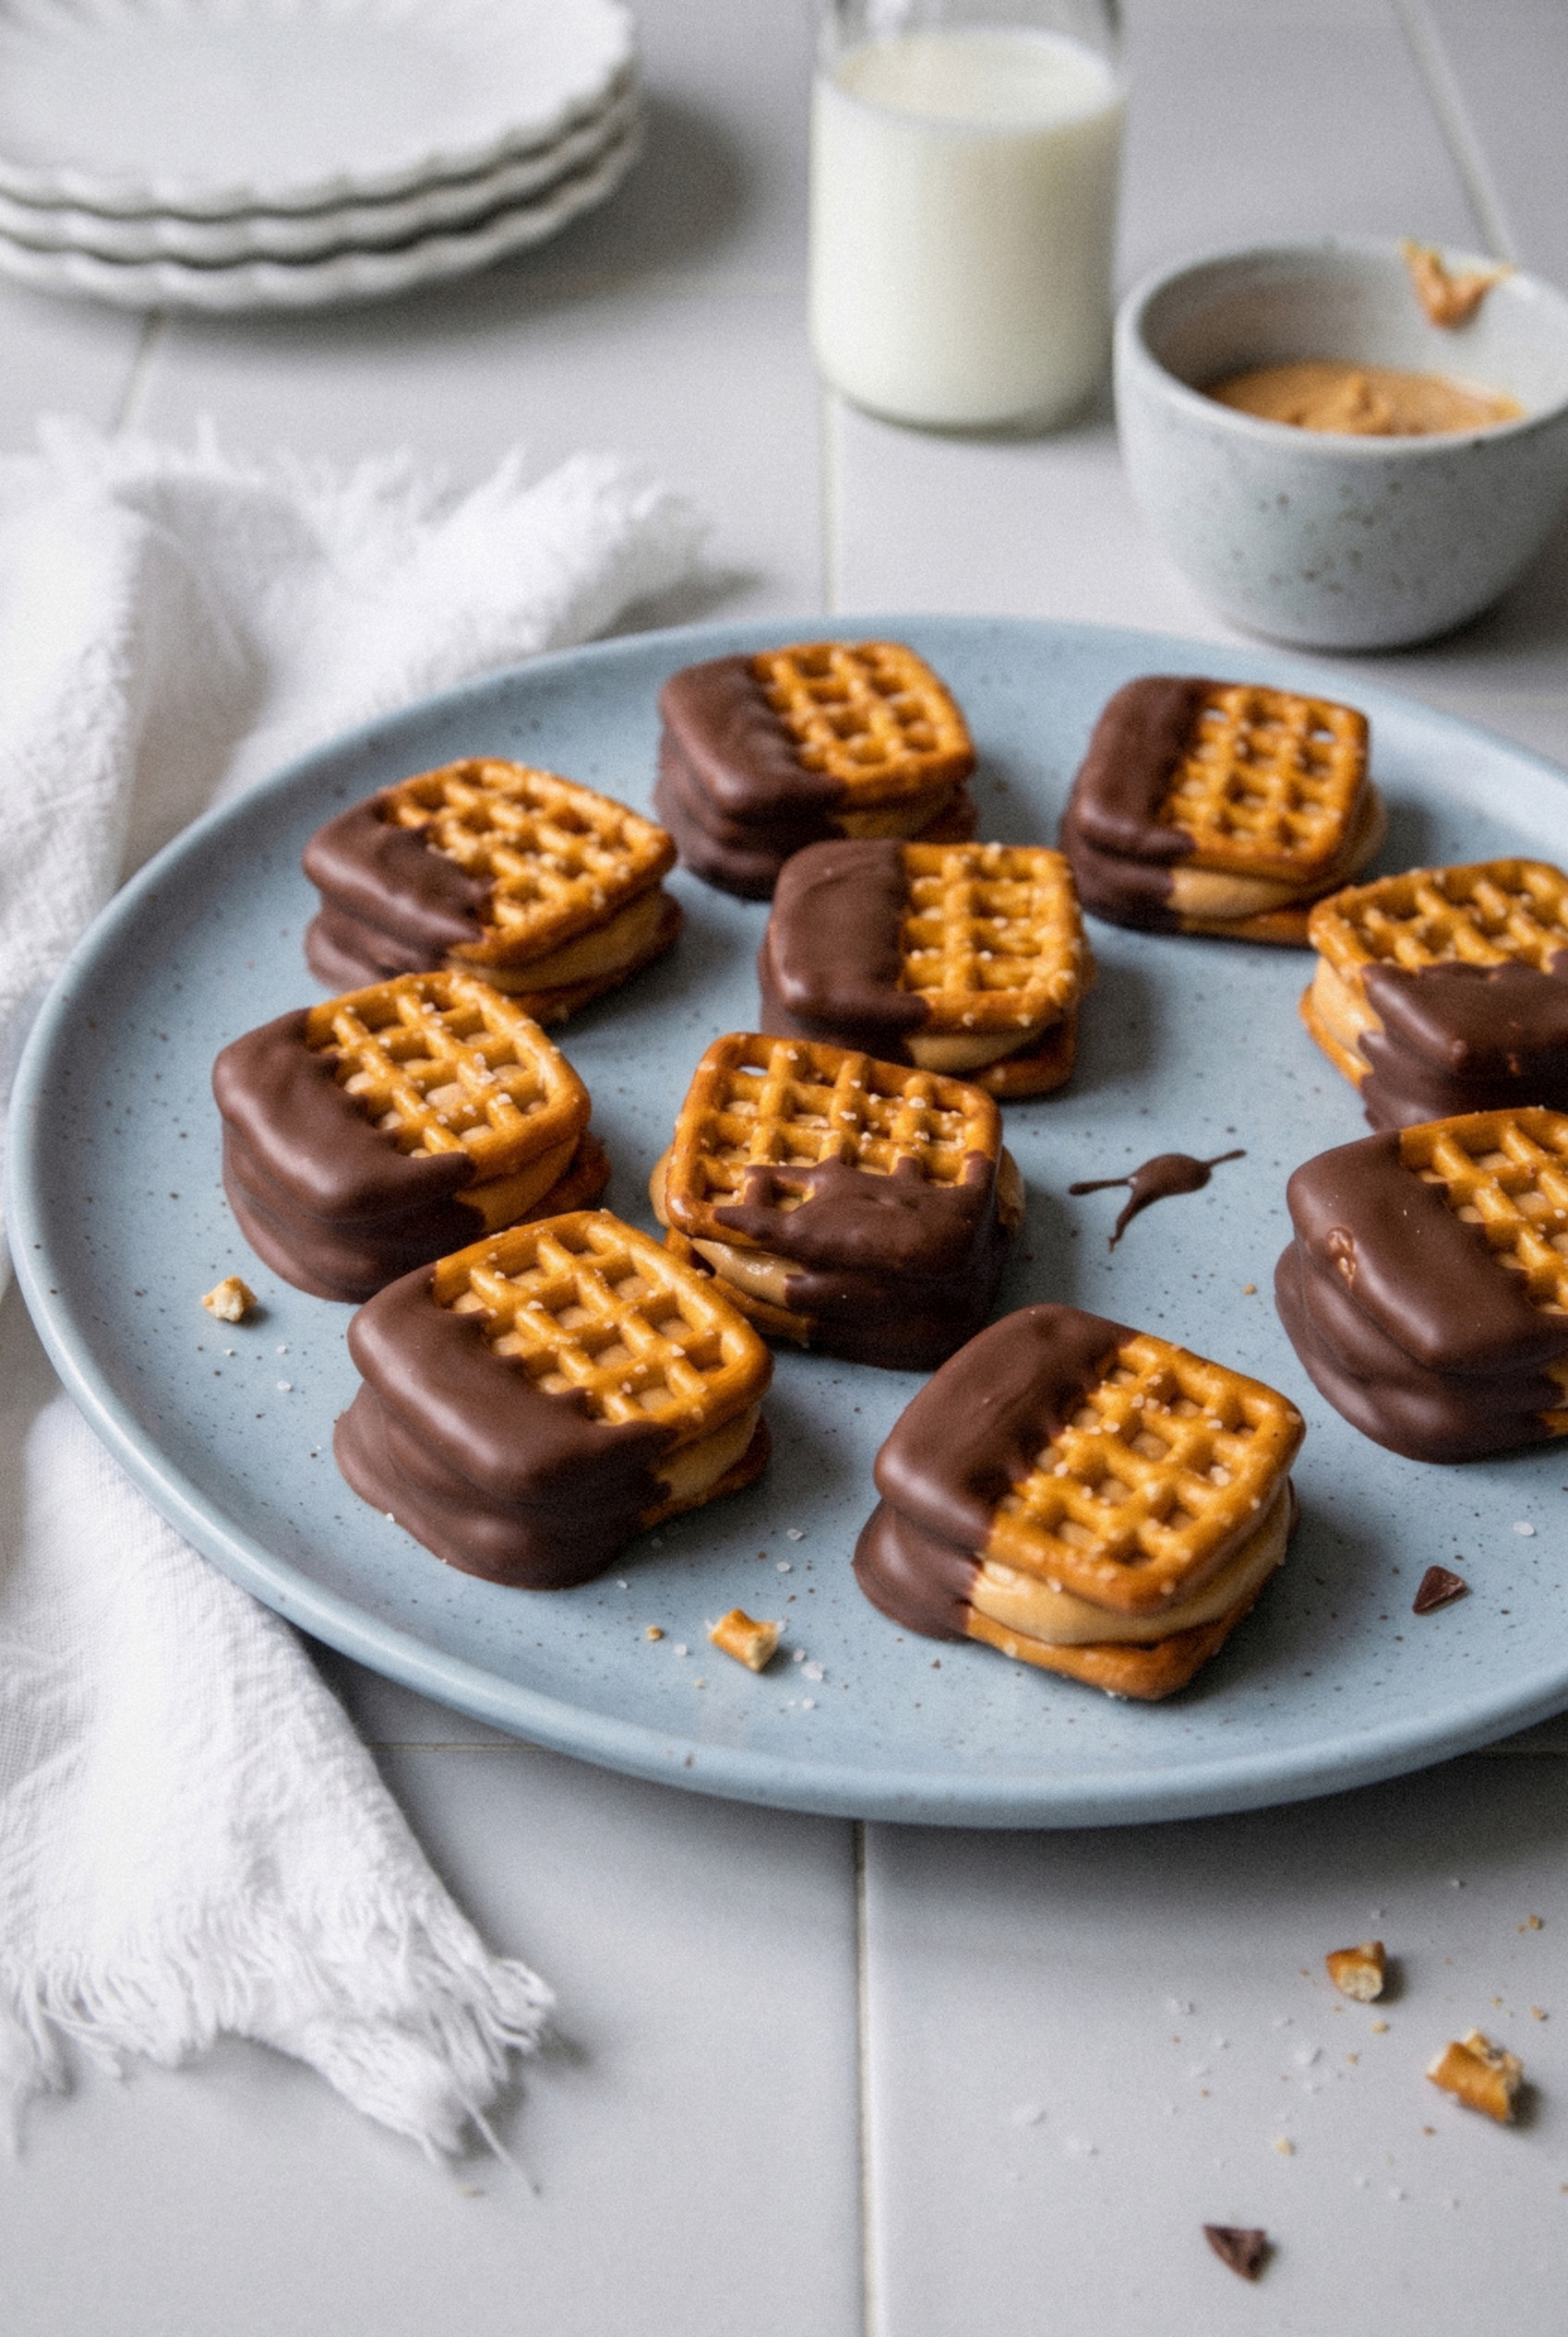
Table of contents
Why These Stacks Work
These are the no-bake treat I trust when the clock is running. They look like you fussed, and they take about an hour start to finish, most of it hands-off chilling.
- Sweet and salty in every bite. The salted pretzel shell cuts right through the rich peanut butter and chocolate, so nobody gets that too-sweet fatigue after two pieces.
- They hold their shape. Unlike haystacks, each stack is a tidy little sandwich with a firm chocolate coat, so it sits upright on a tray and travels well in a tin.
- No oven, no candy thermometer. A bowl, a spoon, a microwave and a baking sheet are all the gear you need.
- Make-ahead friendly. They keep for a week in the fridge, so you can make them on Sunday and forget about them until the party.
- A kid-friendly assembly line. Little hands are great at rolling peanut butter balls and pressing on the top pretzel. I handle the hot chocolate part.
Who doesn’t love peanut butter and chocolate together? Nobody I’ve ever fed.
Ingredients You Need
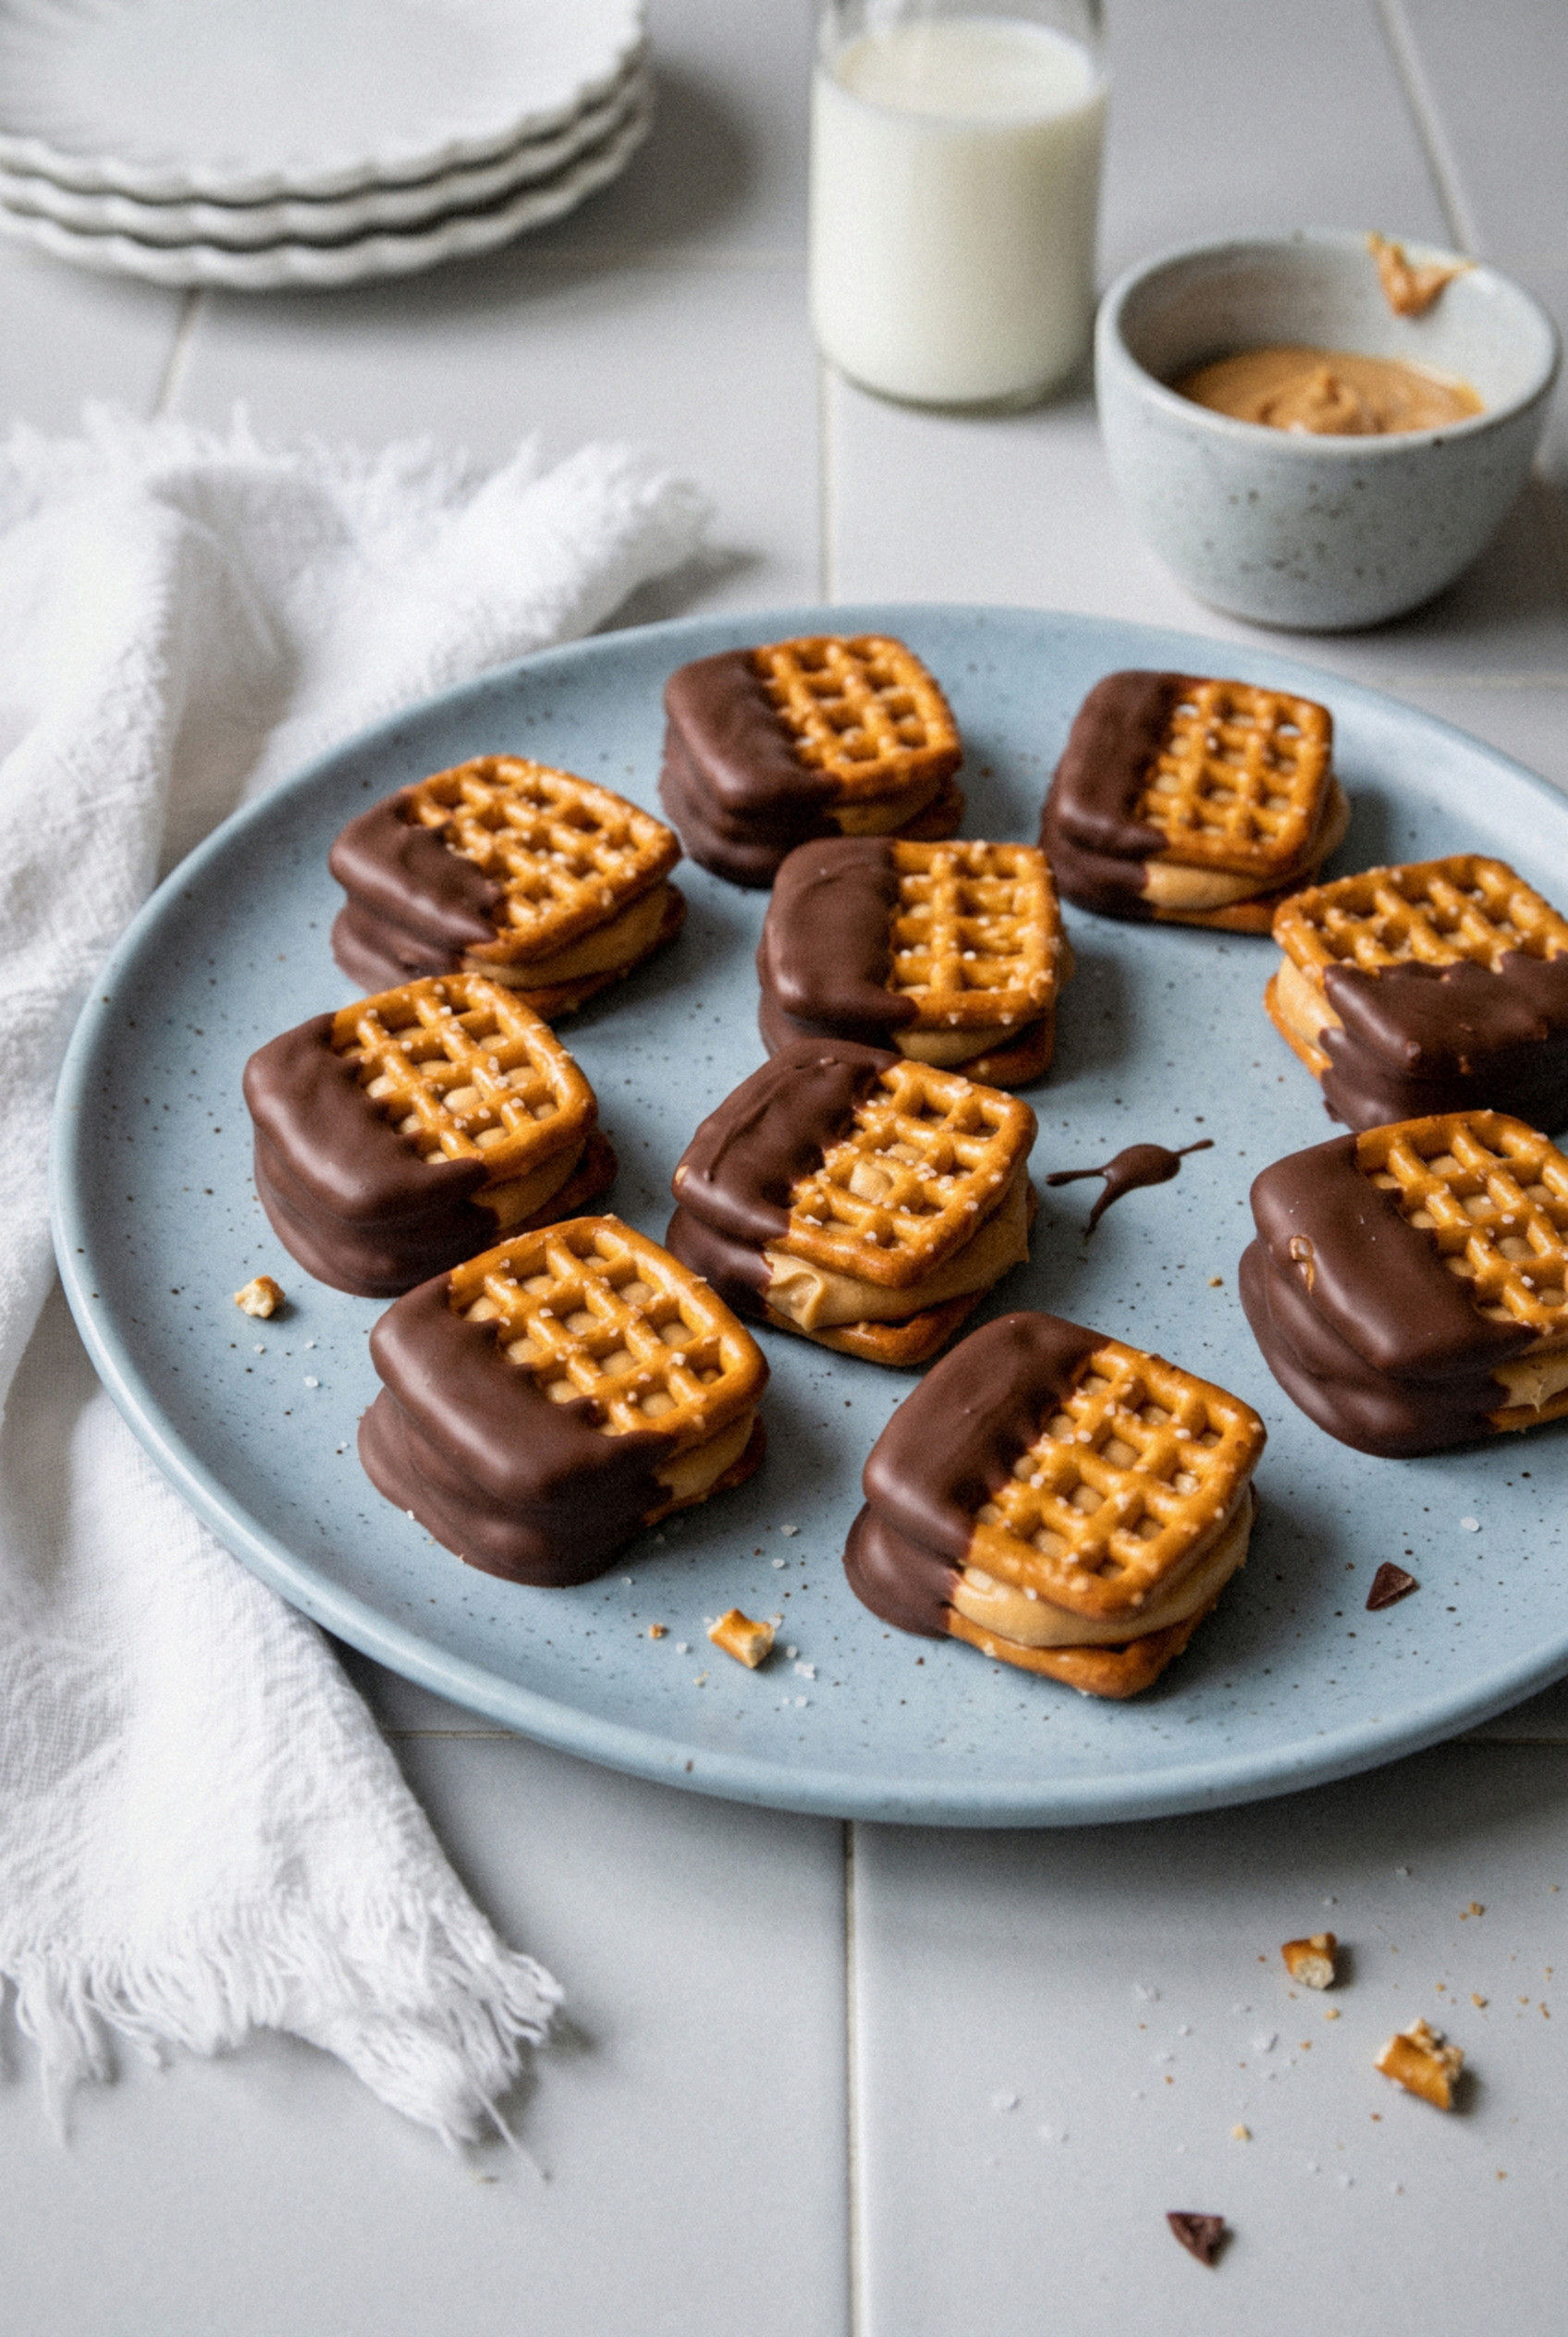
You need nine everyday ingredients, plus flaky salt if you like a little sparkle on top. Here’s what each one does and what to watch for.
- Mini square pretzels (60, about 2 cups). The flat little waffle squares stack neat and level, which is why I prefer them. Mini twists work too, they just sit a little crooked. Pick out any broken ones before you start.
- Creamy peanut butter (3/4 cup). Use a regular, processed creamy peanut butter for this. Natural peanut butter separates and makes the filling oily and crumbly, and it never rolls into a smooth ball.
- Unsalted butter (2 tablespoons), softened. A little butter keeps the filling soft and fudgy instead of chalky once it’s cold.
- Powdered sugar (1/2 cup, plus extra if needed). This thickens the filling so you can roll it. Keep another 1/4 cup nearby in case your peanut butter runs soft.
- Light brown sugar (1/4 cup), packed. This is my favorite part. It gives the filling that slightly grainy, caramel-ish taste of a peanut butter cup center.
- Vanilla extract (1/2 teaspoon). Just enough to round out the peanut flavor.
- Fine salt (a pinch). It sounds odd with salted pretzels, but it wakes up the filling.
- Semisweet chocolate (8 ounces). A chopped baking bar melts the smoothest. Chocolate chips are fine too, use about 1 1/3 cups.
- Coconut oil or vegetable shortening (1 teaspoon). This thins the melted chocolate so it coats in a thin, glossy layer instead of a thick blob. It matters most if you use chips, which melt thicker.
- Flaky sea salt (optional). A few flakes on the wet chocolate make them look bakery-fancy.
Substitutions
- Gluten-free. Swap in gluten-free mini pretzels. Everything else in the recipe is naturally gluten-free, but check your chocolate label if you’re baking for someone with celiac.
- Other nut butters. Almond butter or sunflower seed butter both work. Sunflower butter makes a nut-free version for school parties, though it can turn slightly green when it sits. That’s harmless.
- Different chocolate. Milk chocolate makes them sweeter and more candy-like. Dark chocolate makes them more grown-up. White chocolate looks pretty for the holidays but is the sweetest of all.
- Crunchy peanut butter. It works if you love texture, but the balls are a bit harder to roll smooth.
How to Make Chocolate Peanut Butter Pretzel Stacks
The method is mix, roll, stack, freeze, dip and set. Line a large baking sheet with parchment paper and clear a flat spot in your freezer before you start.
Step 1: Mix the Filling
In a medium bowl, stir the 3/4 cup peanut butter and 2 tablespoons softened butter together until smooth. Add the 1/2 cup powdered sugar, 1/4 cup brown sugar, vanilla and a pinch of salt. Stir until it comes together into a thick, soft dough that pulls away from the bowl.
Pro tip: Press a bit between your fingers. If it sticks like glue, work in more powdered sugar, 1 tablespoon at a time.
Step 2: Roll the Peanut Butter Balls
Scoop the filling by the heaping teaspoon and roll it into 30 balls, about 3/4 inch across. A small cookie scoop keeps them even, which keeps your stacks level.
Step 3: Build the Stacks
Set a ball on the flat side of one pretzel. Top with a second pretzel and press gently until the filling spreads almost to the edges. Line the stacks up on the parchment as you go.
Step 4: Freeze Before Dipping
Freeze the tray for 20 minutes. This is the step that keeps the stacks from sliding apart in the warm chocolate, so please don’t skip it.
Can you use the fridge instead? Sure, just give it a full hour.
Step 5: Melt the Chocolate
While the stacks chill, put the chopped chocolate and 1 teaspoon coconut oil in a small, deep microwave-safe bowl. Microwave in 20-second bursts, stirring after each one, until just a few lumps remain. Then keep stirring off the heat until it’s completely smooth.
Step 6: Dip and Set
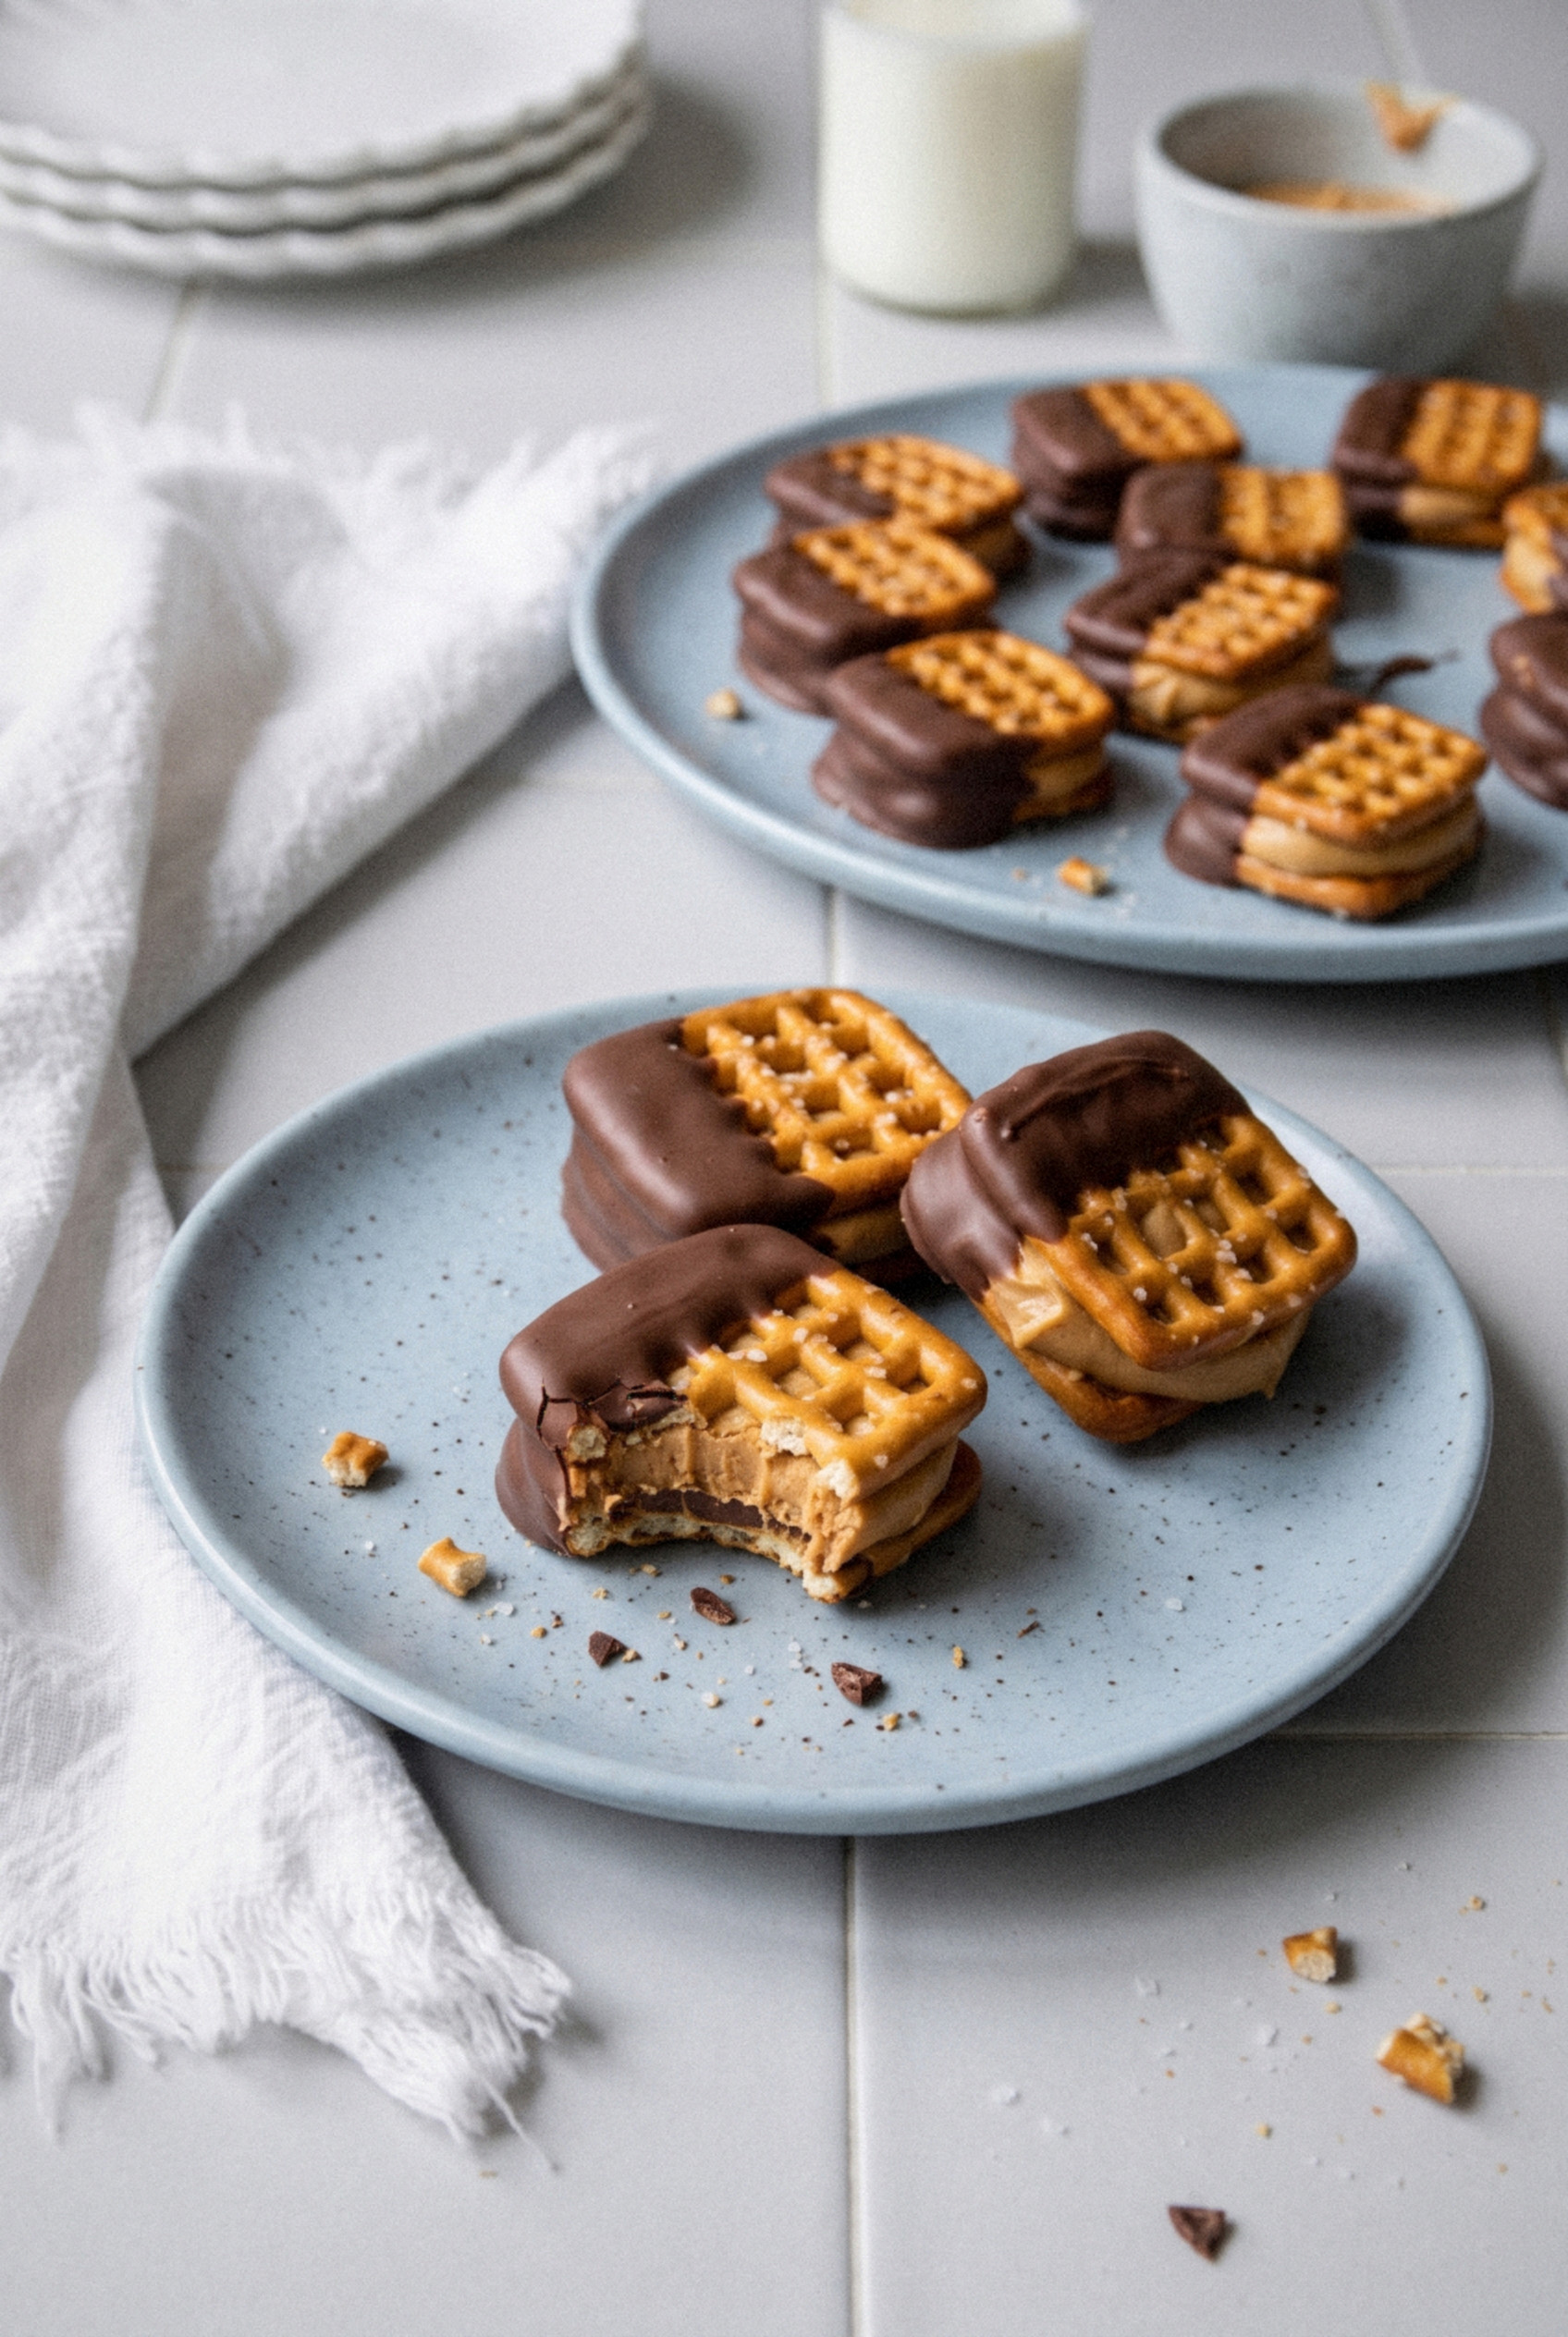
Hold a cold stack by one edge and dip the other half straight down into the chocolate, so half the sandwich is coated and half shows bare pretzel. Let the extra drip off for a second, then scrape the bottom lightly on the rim of the bowl and lay it flat on the parchment. Sprinkle with flaky salt while the chocolate is still wet.
Chill the tray for 10 minutes, or until the chocolate is firm and no longer glossy. That’s it, they’re ready to serve.
Tips for Clean Stacks
A few small habits make the difference between tidy stacks and a smeared mess. I learned most of these the sticky way.
- Fix the filling texture first. Too soft? Add powdered sugar. Too stiff and crumbly? Add 1 teaspoon more peanut butter. It should feel like soft play dough.
- Keep everything COLD. Dip straight from the freezer. If your kitchen is warm, pull out half the tray at a time and leave the rest frozen.
- Use a deep, narrow bowl. The chocolate stays deeper, so you get a clean, even dip line with less chocolate.
- Use a fork if your fingers get messy. Balance the stack on a fork, dip, and tap the fork on the bowl to shake off the extra.
- Don’t overheat the chocolate. Scorched chocolate turns thick and grainy, and there’s no fixing it. Short bursts and lots of stirring.
- Salt while it’s wet. Flaky salt won’t stick once the chocolate sets.
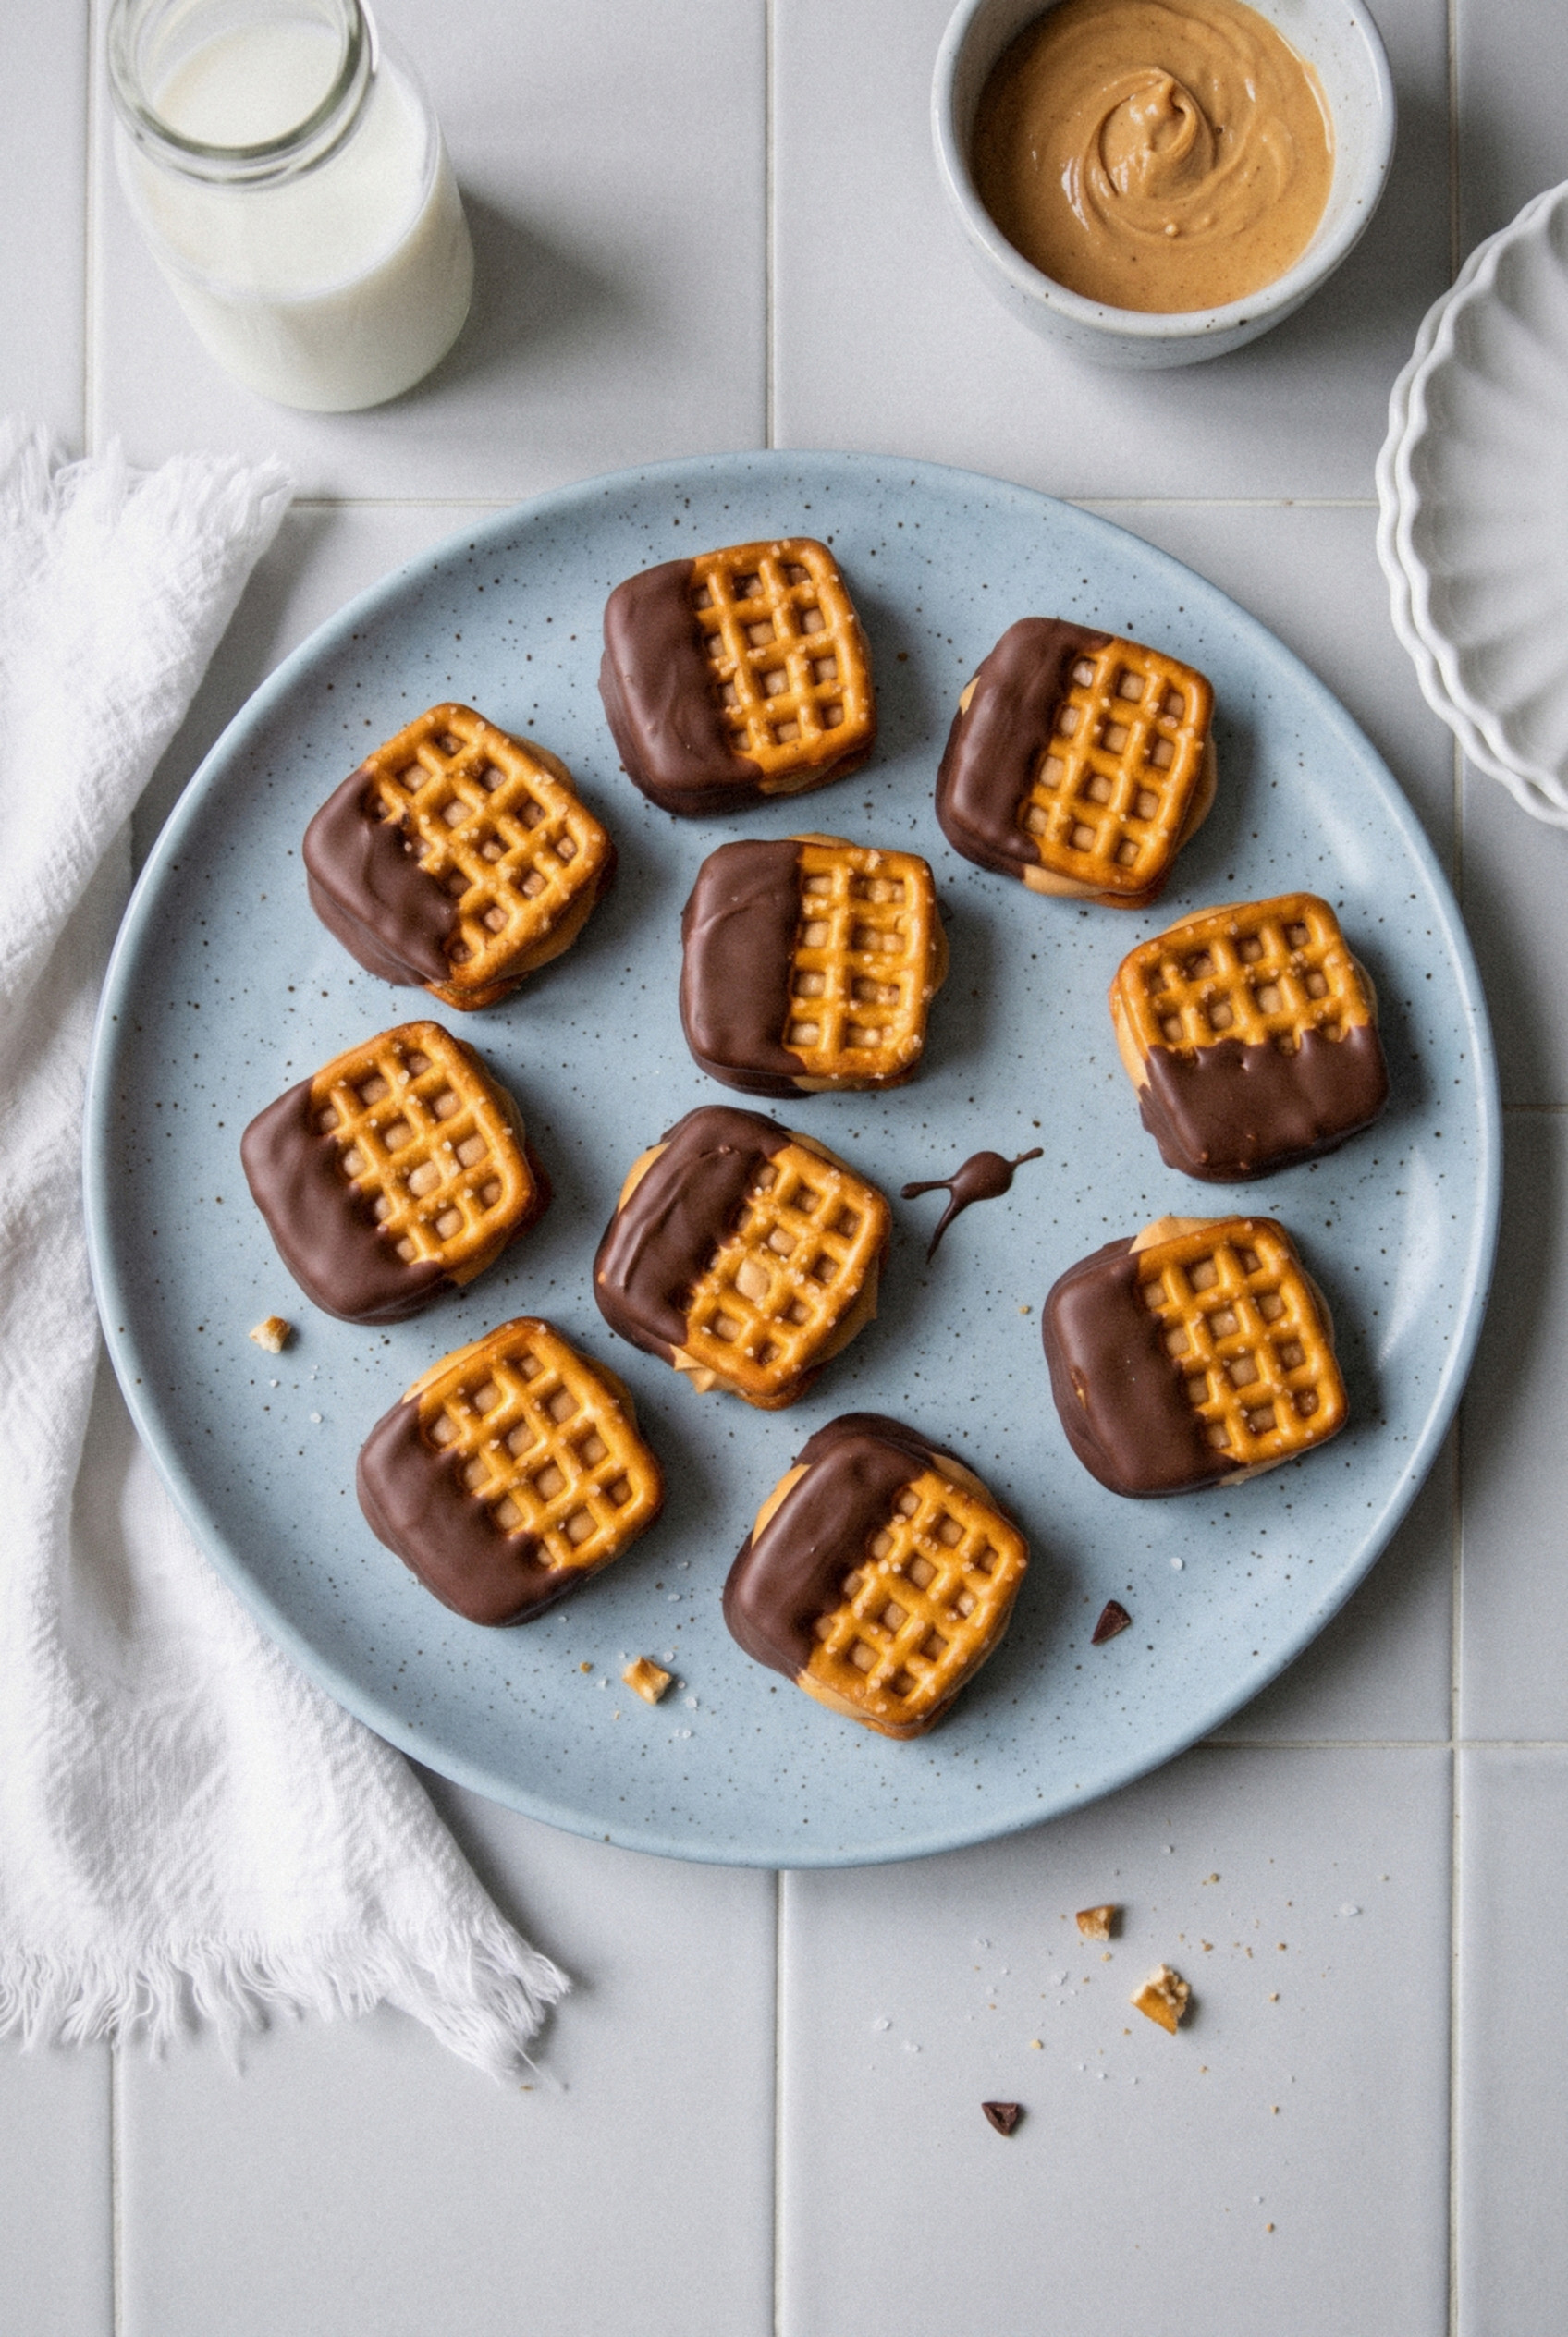
How to Melt Chocolate for Dipping
The chocolate is the part most people worry about, and it’s simpler than it looks. You aren’t tempering here, so the fridge does the setting for you.
The microwave method in the steps is the fastest. Stop heating while a few small lumps are still visible, because the warm chocolate melts them as you stir.
Prefer the stovetop? Set a heatproof bowl over a saucepan with 1 inch of barely simmering water. Make sure the bowl doesn’t touch the water, and stir until smooth.
Keep every drop of water out of the bowl. Even a little splash can make melted chocolate seize into a stiff paste.
If the chocolate starts to thicken halfway through dipping, warm it for 10 seconds and stir again.
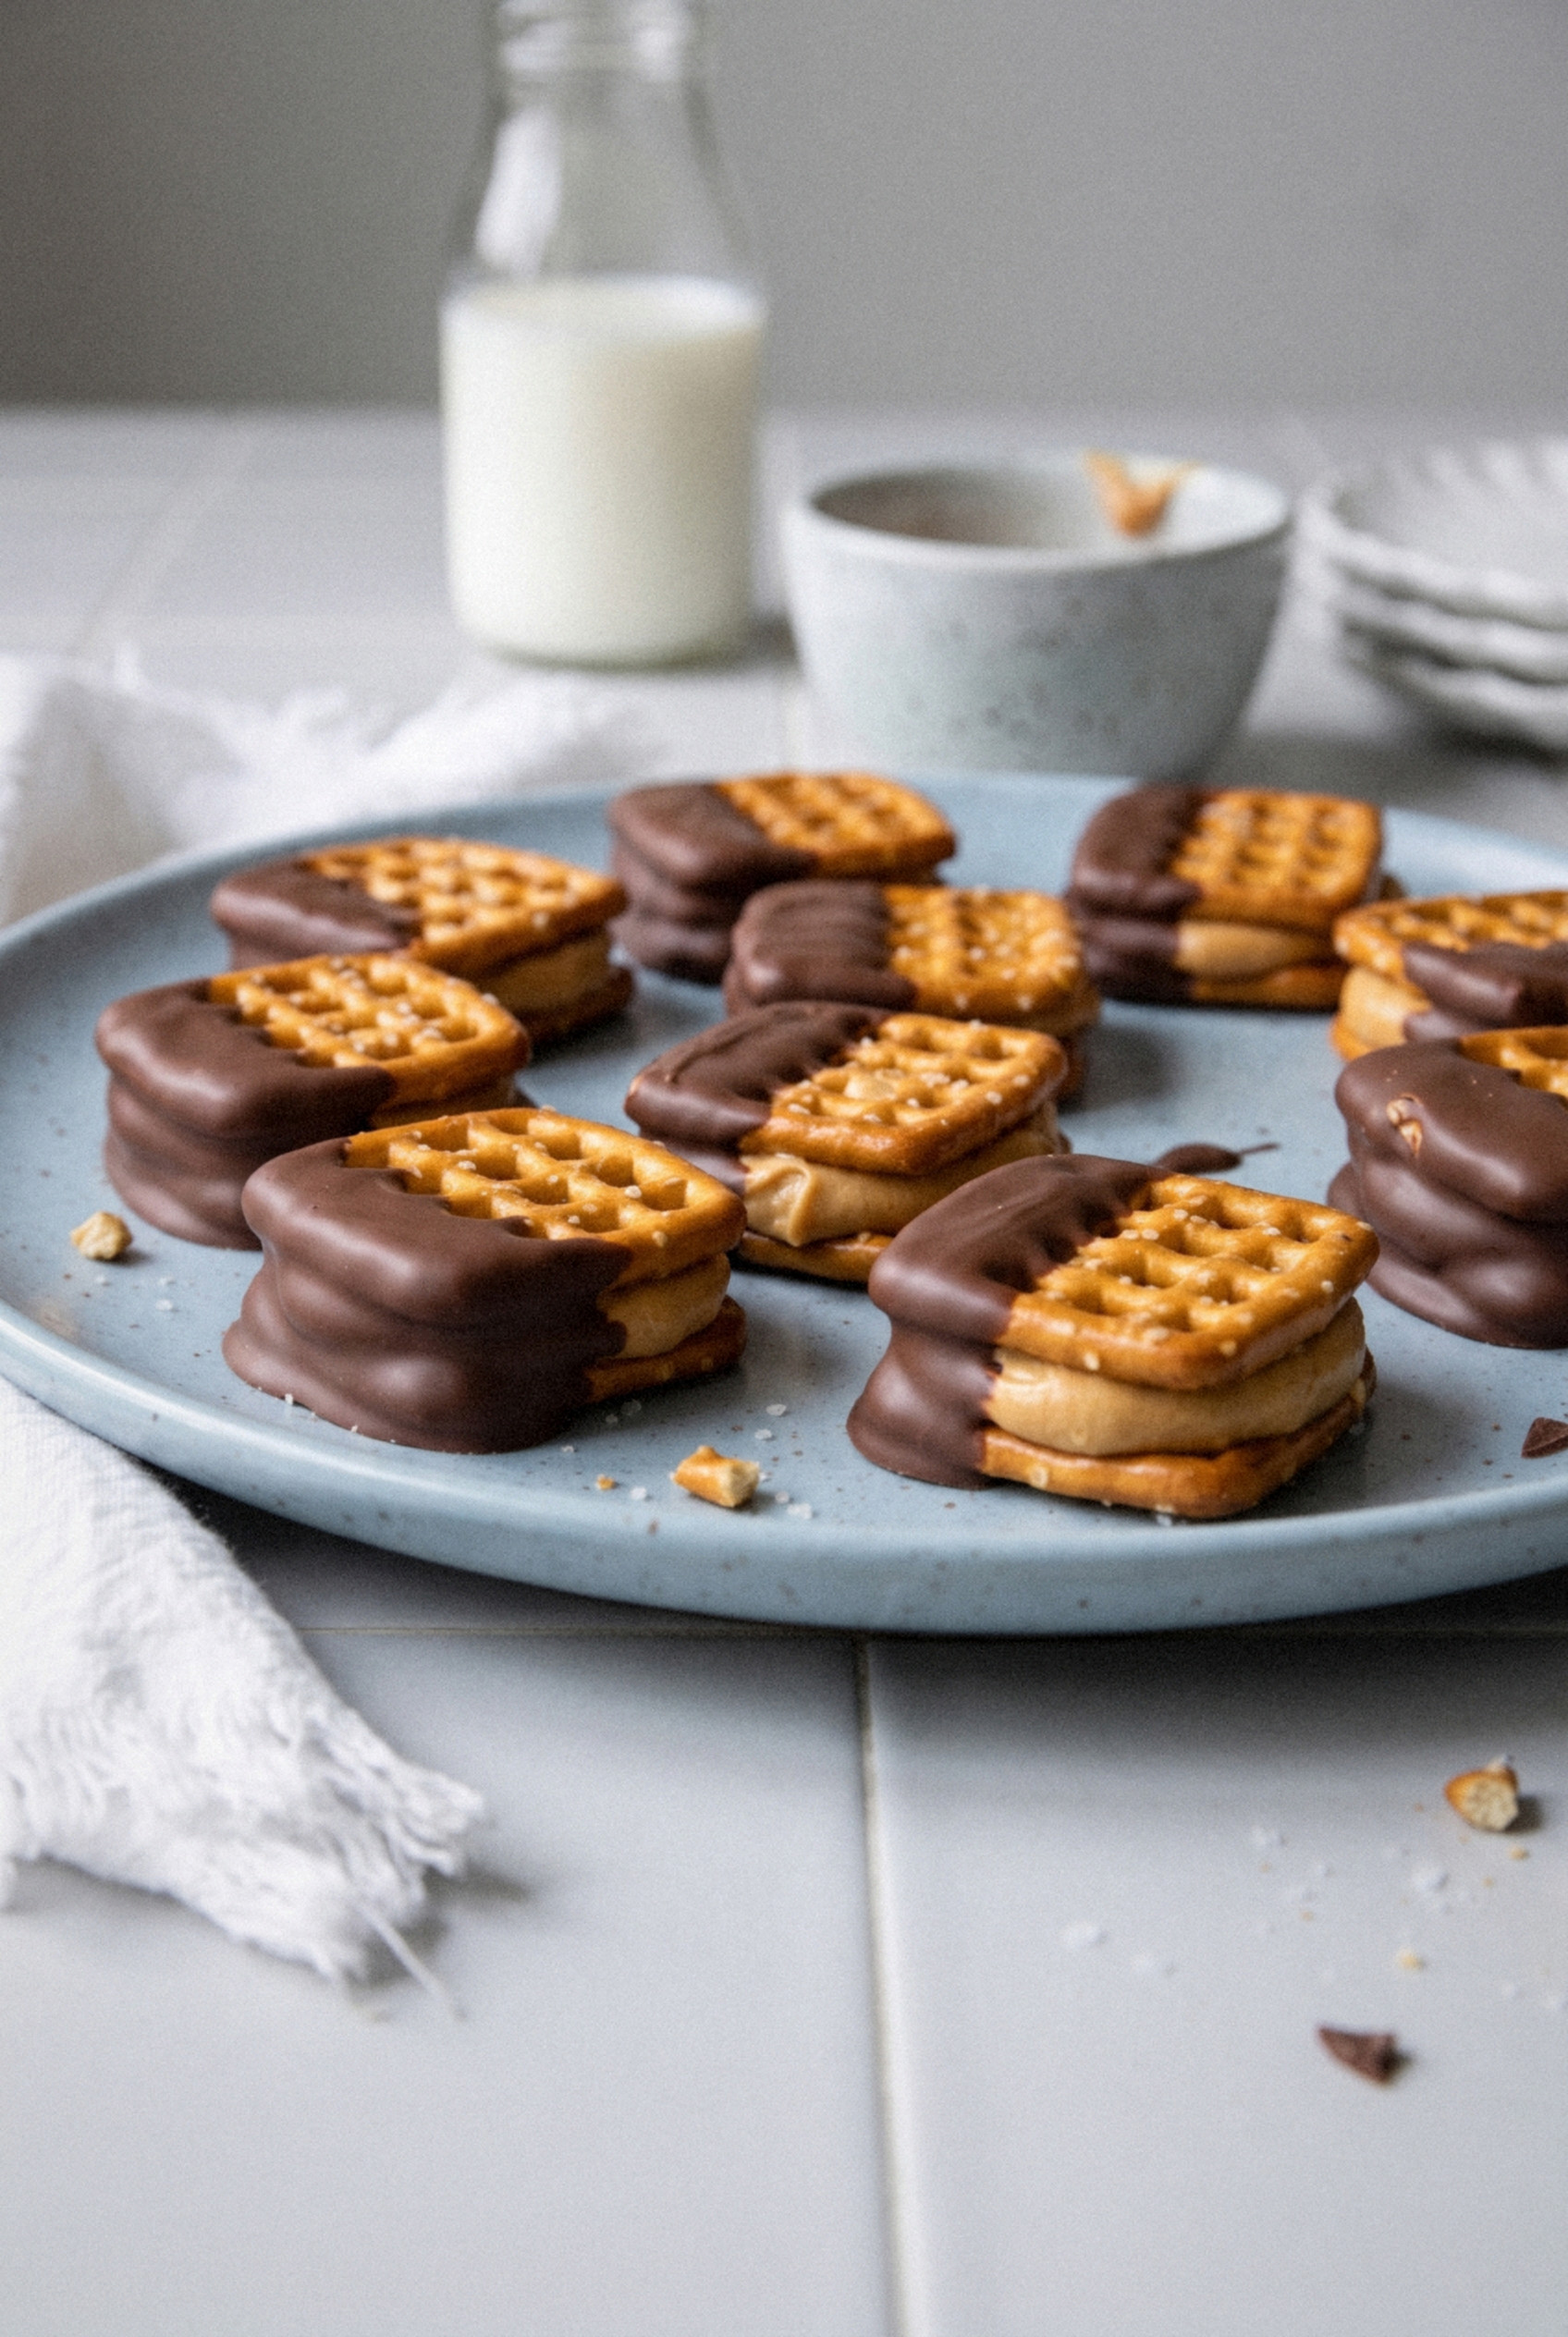
Variations to Try
- Drizzle finish. Dip in semisweet, then drizzle with melted white chocolate once set. It looks festive with zero extra effort.
- Holiday sprinkles. Swap the flaky salt for red and green sprinkles at Christmas or pastel nonpareils in spring.
- Fully coated. Dunk the whole stack and lift it out with a fork for a candy shop look. You’ll need about 12 ounces of chocolate.
- Peanut crunch. Press finely chopped salted peanuts onto the wet chocolate.
- Chocolate filling. Stir 1 tablespoon of cocoa powder into the peanut butter for a double chocolate stack.
Serving and Make-Ahead Ideas
These were born for cookie trays and party tables. They hold up at room temperature for a few hours, so they’re safe on a buffet.
- Cookie swaps and holiday trays. They add a salty, crunchy bite next to all the sugar cookies.
- Game day. Put them out next to the chips and dip and watch them vanish.
- Edible gifts. Layer them in a tin with parchment between the layers. Kept cool, they look just as tidy when the lid comes off.
- Make them ahead. Build and dip them up to 1 week before the party and keep them in the fridge. Set them out about 10 minutes before serving so the filling softens a little.
- Double the batch. Everything doubles cleanly. Melt the chocolate in two rounds so it stays fluid.
They look great on a cookie tray next to no-bake peanut butter clusters.
Worth making a double batch? Every single time.
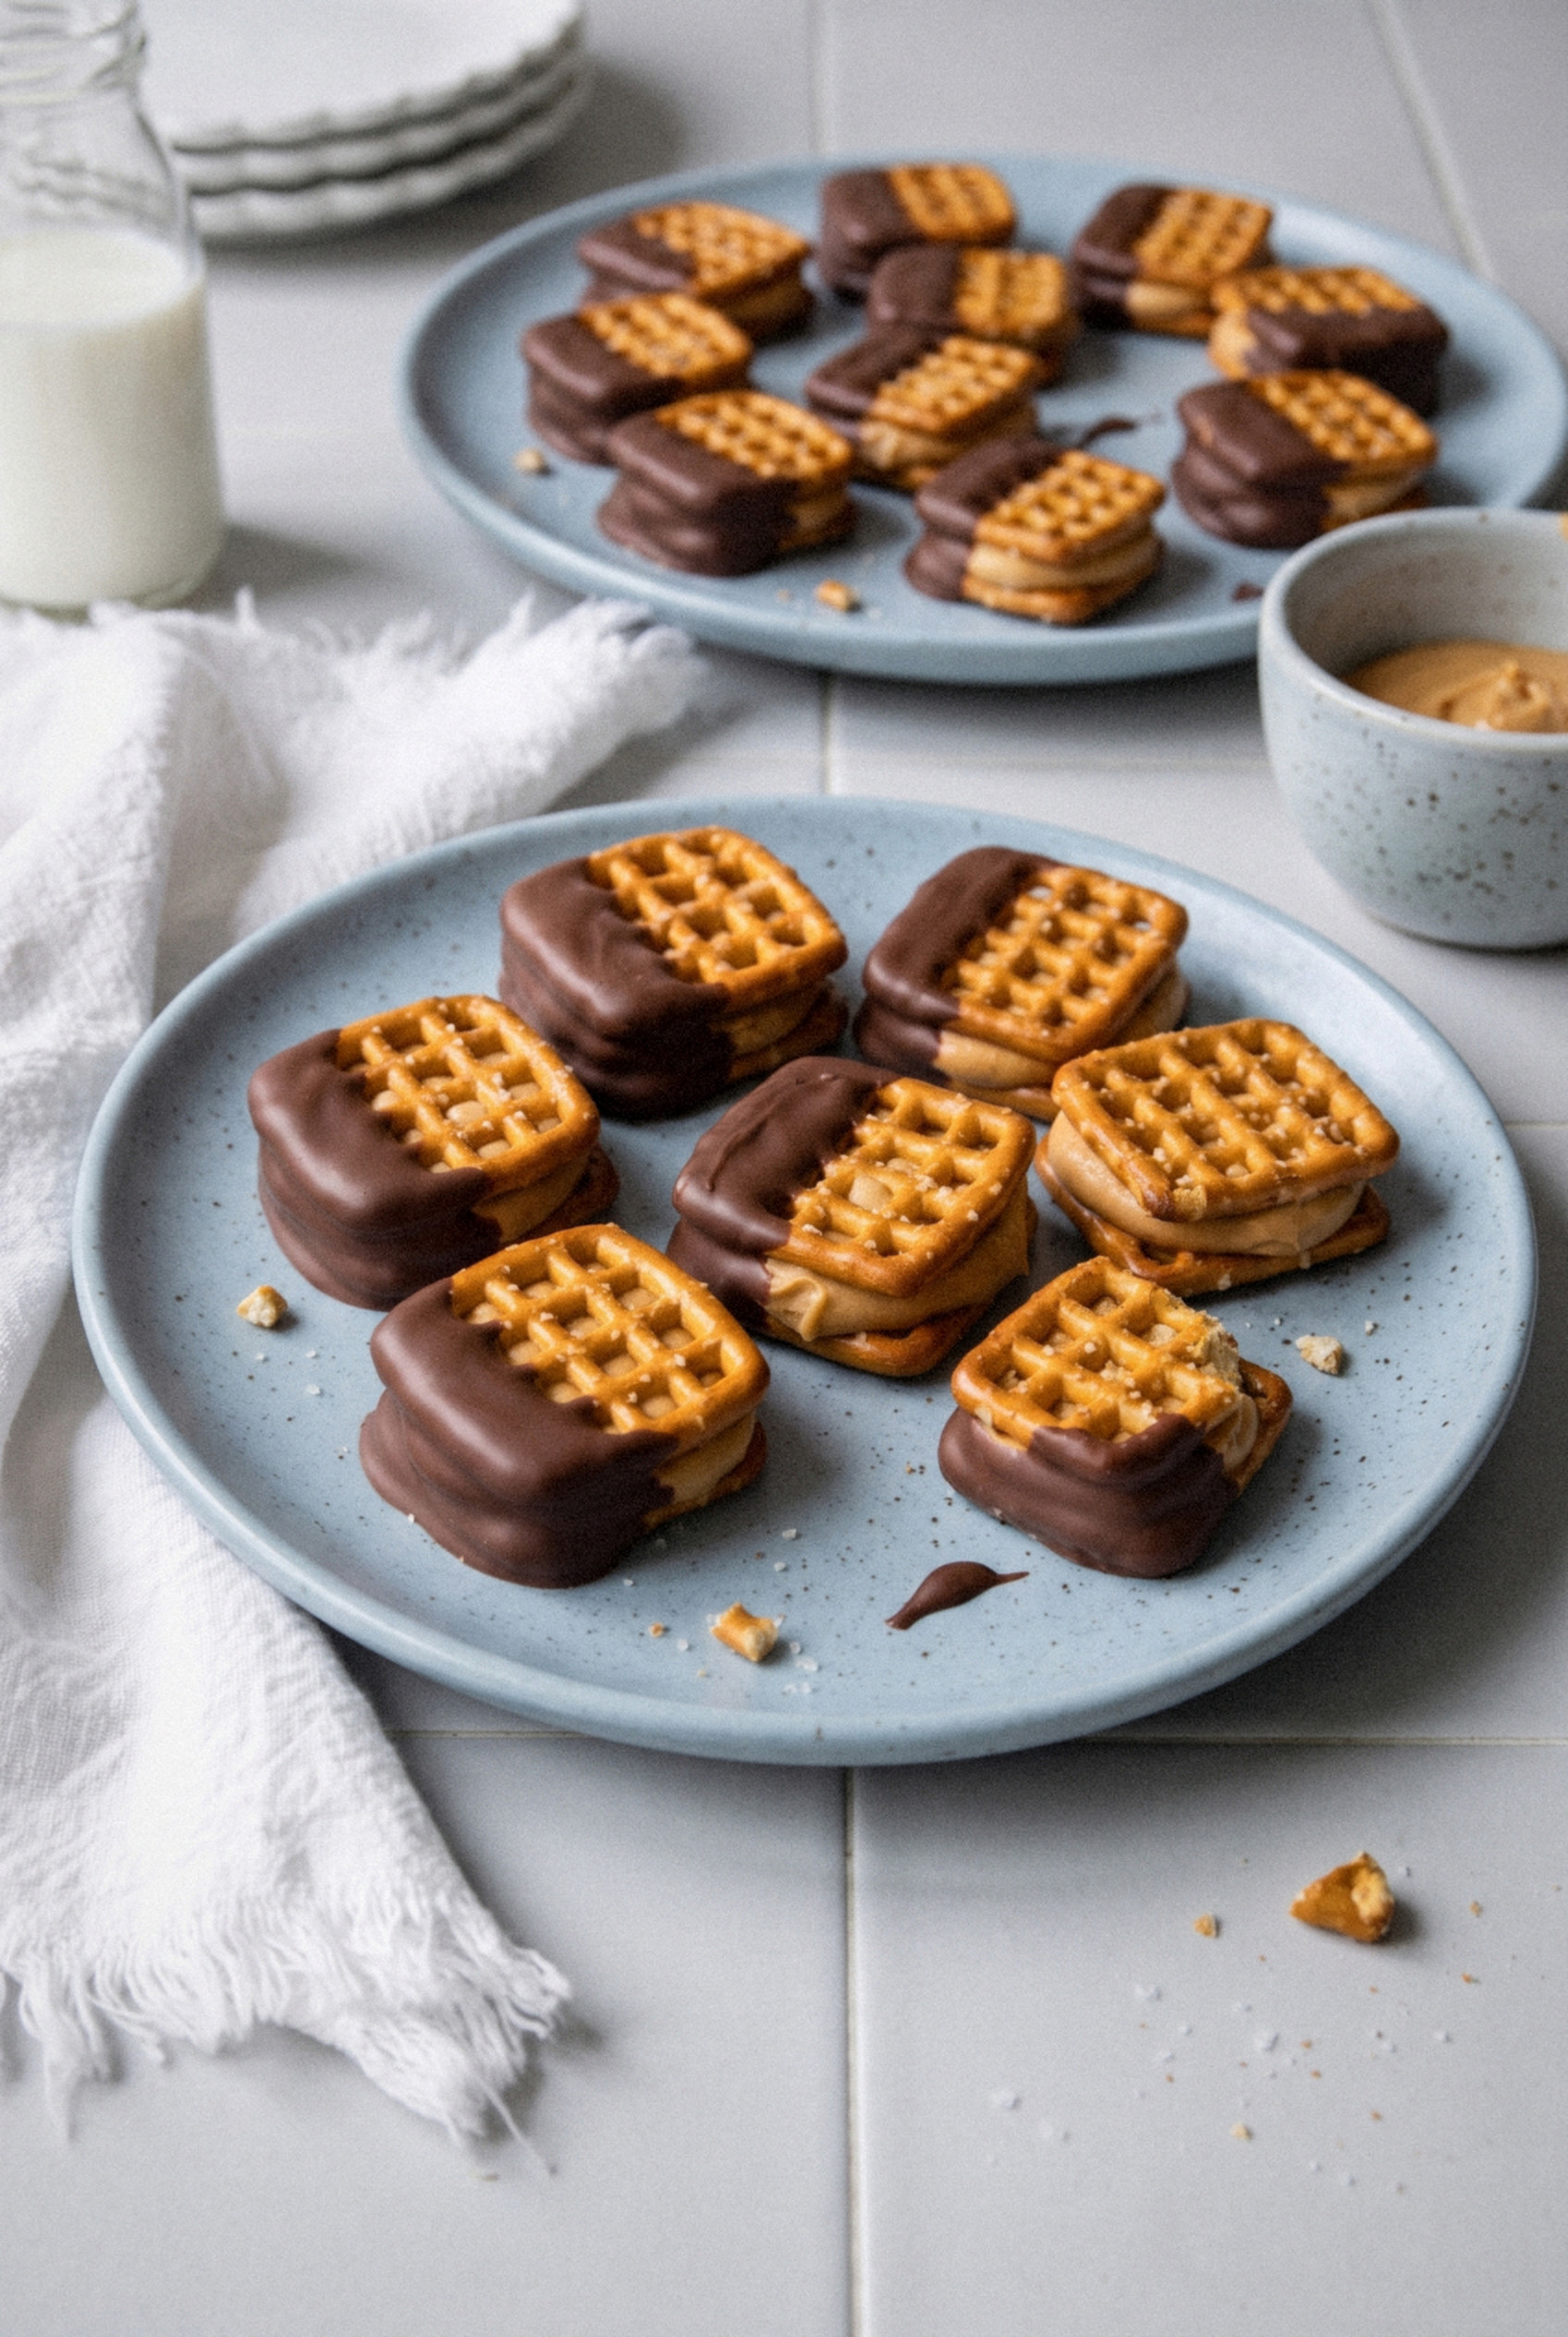
How to Store Pretzel Stacks
Cold storage keeps the chocolate snappy and the pretzels crisp. Always use an airtight container, because pretzels go stale fast in open air.
- Refrigerator. Store in an airtight container with parchment between layers for up to 1 week.
- Room temperature. In a cool kitchen they’re fine for 2 days. In a warm room the chocolate softens and gets smudgy.
- Freezer. Freeze in a single layer until firm, then move to a freezer bag for up to 3 months. Thaw in the fridge overnight so condensation doesn’t spot the chocolate.
Fair warning: they taste pretty great straight from the freezer, so the stash shrinks fast.
Give them a try at your next party. I promise they’ll be the first thing gone from the tray!
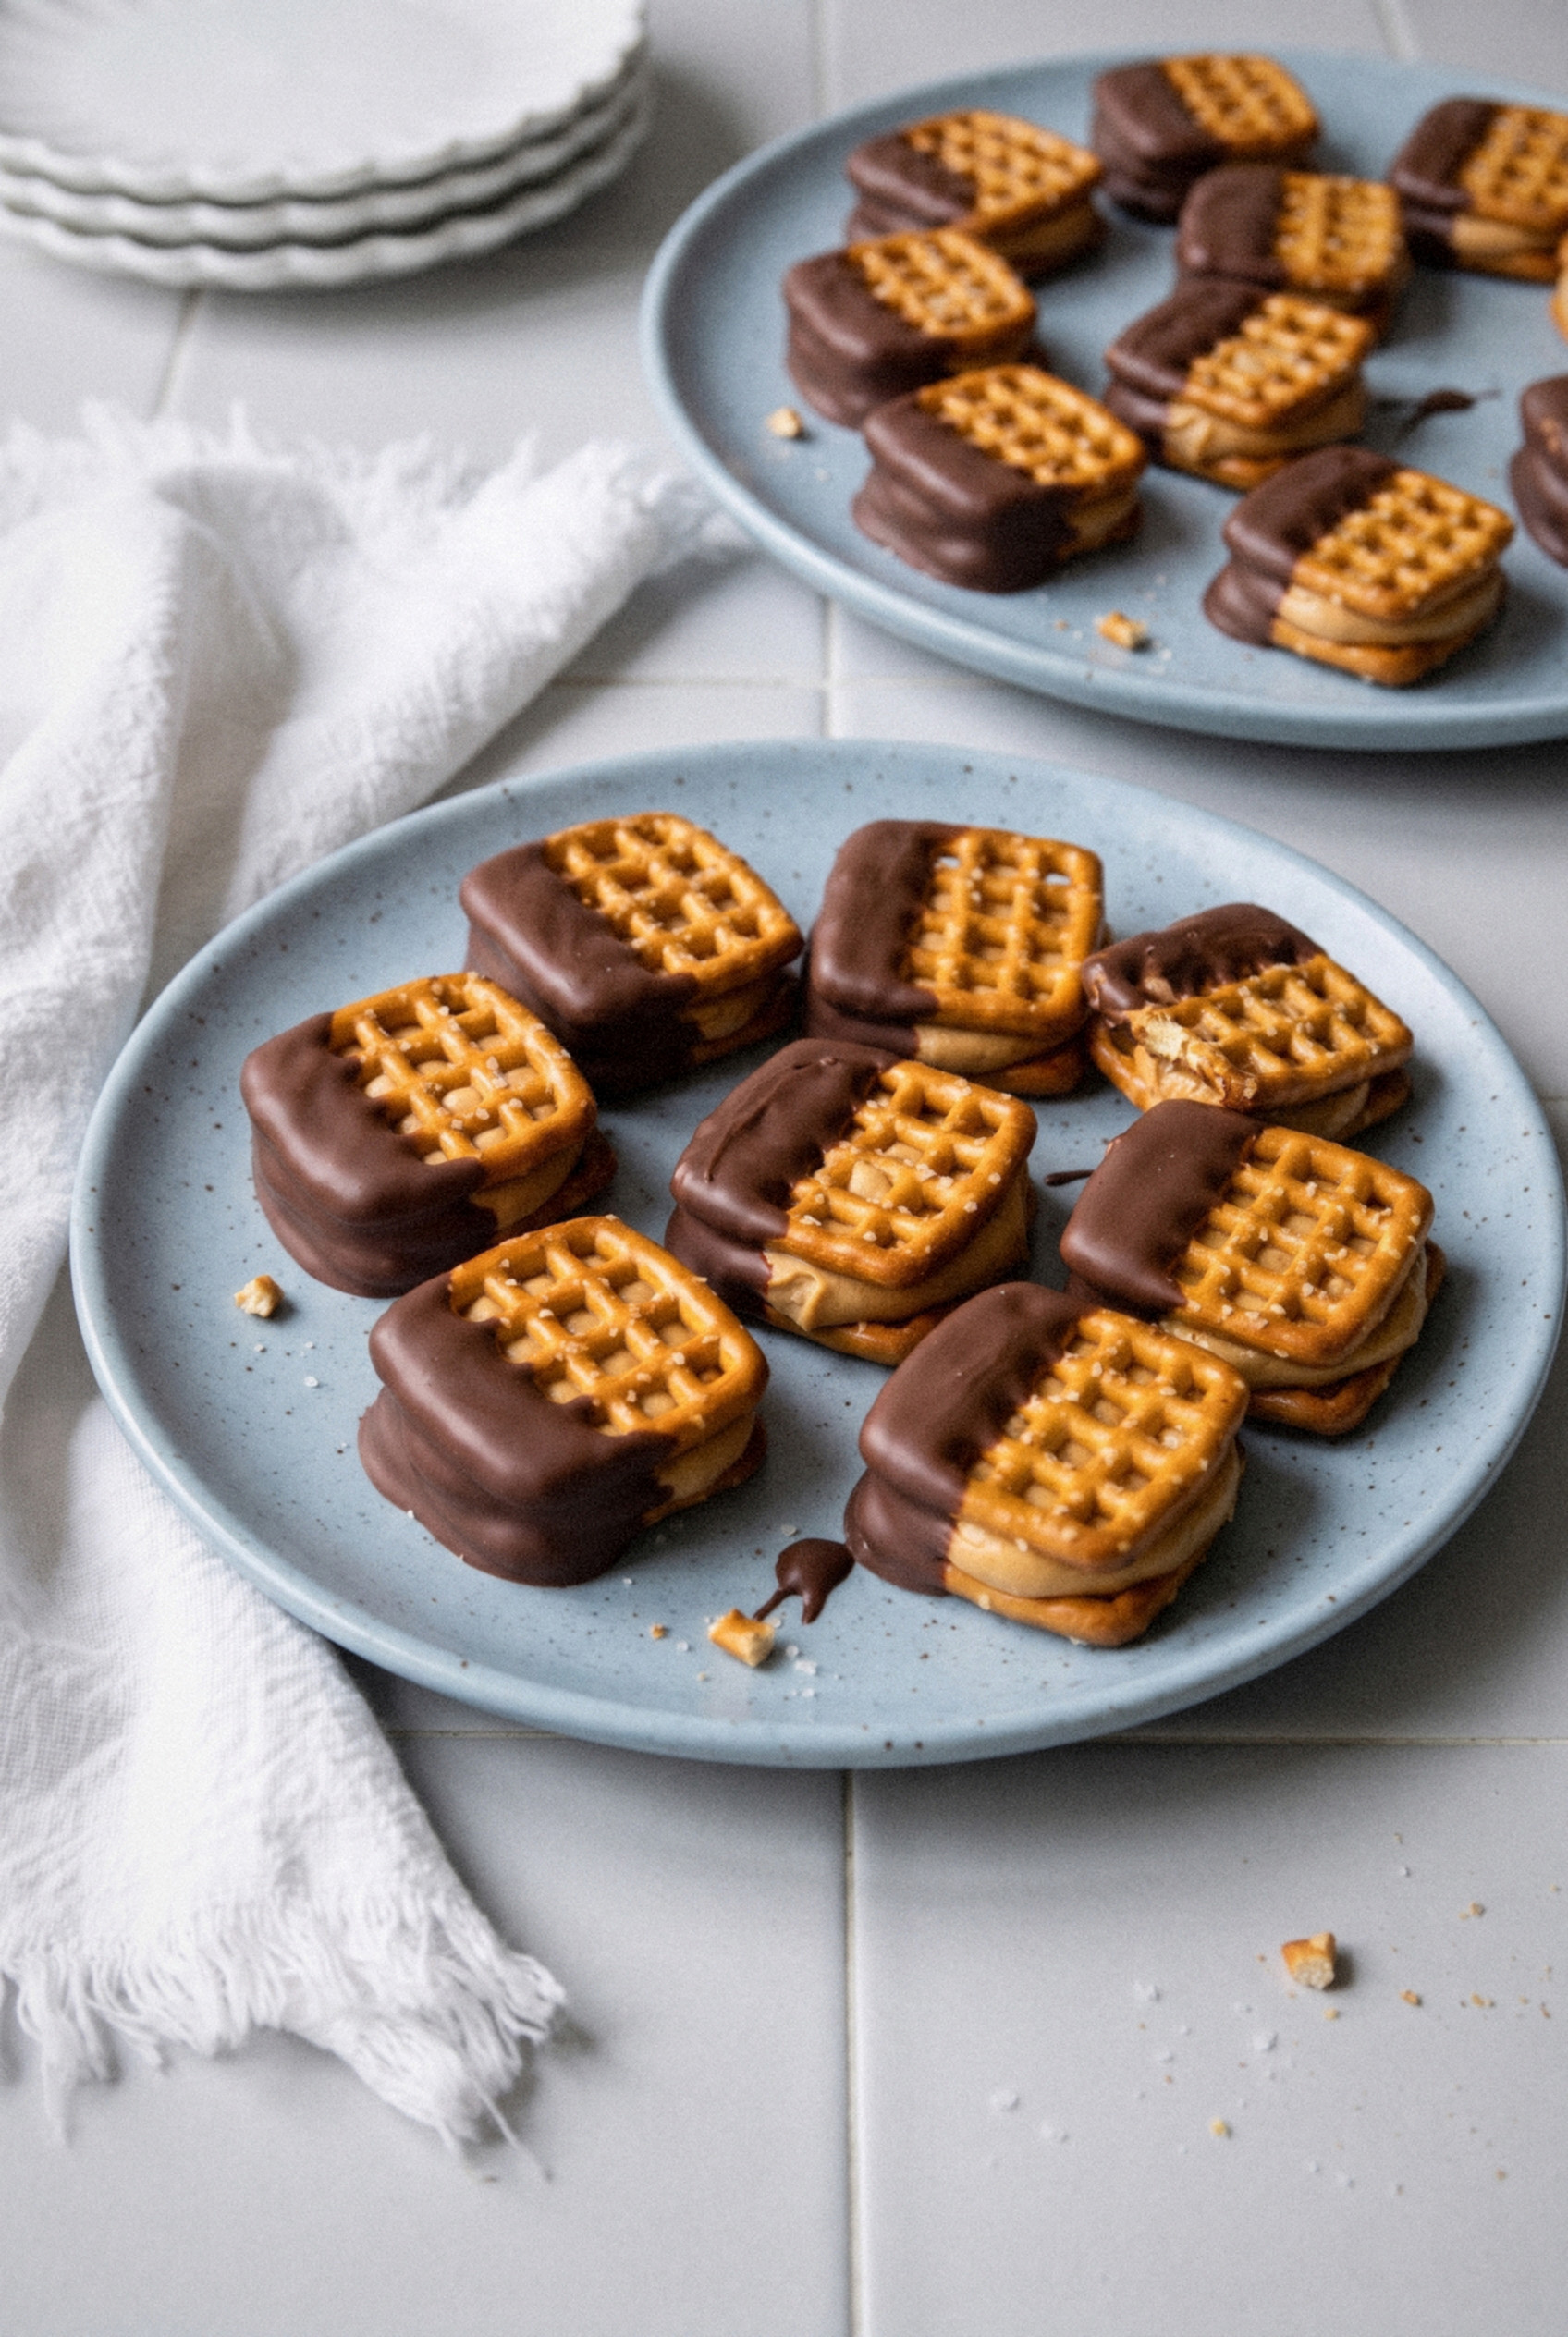
No-Bake Chocolate Peanut Butter Pretzel Stacks
Ingredients
For the Peanut Butter Filling
- 3/4 cup creamy peanut butter regular, not natural
- 2 tablespoons unsalted butter softened
- 1/2 cup powdered sugar plus up to 1/4 cup more if needed
- 1/4 cup light brown sugar packed
- 1/2 teaspoon vanilla extract
- 1 pinch fine salt
For the Stacks
- 60 mini square pretzels about 2 cups, unbroken
- 8 ounces semisweet chocolate chopped, or 1 1/3 cups chips
- 1 teaspoon coconut oil or vegetable shortening
- flaky sea salt optional, for topping
Instructions
Make the Filling
- Line a large baking sheet with parchment paper and clear a flat space in the freezer.
- In a medium bowl, stir the peanut butter and softened butter until smooth. Add the powdered sugar, brown sugar, vanilla and salt and stir into a thick, soft dough. If it is very sticky, work in more powdered sugar 1 tablespoon at a time.
- Roll the filling into 30 balls, about 3/4 inch across.
Build and Chill
- Set each ball on the flat side of a pretzel, top with a second pretzel and press gently until the filling spreads almost to the edges. Place on the prepared baking sheet.
- Freeze for 20 minutes, or refrigerate for 1 hour, until the filling is firm.
Dip and Set
- Place the chocolate and coconut oil in a small, deep microwave-safe bowl. Microwave in 20-second bursts, stirring after each, until almost melted, then stir until smooth.
- Holding one edge, dip each cold stack halfway into the chocolate so half of it is coated. Let the excess drip off, scrape the bottom lightly on the rim and lay it flat on the parchment. Sprinkle with flaky salt while wet, if using.
- Refrigerate for 10 minutes, until the chocolate is firm. Serve chilled or at cool room temperature.
Notes
- Peanut butter: Use regular processed creamy peanut butter. Natural peanut butter makes an oily, crumbly filling.
- Chocolate chips: Chips work, but the coconut oil is important to thin them for dipping.
- Gluten-free: Use gluten-free pretzels and check the chocolate label.
- Storage: Refrigerate airtight with parchment between layers for up to 1 week, or freeze up to 3 months and thaw in the fridge.