Blueberry Puff
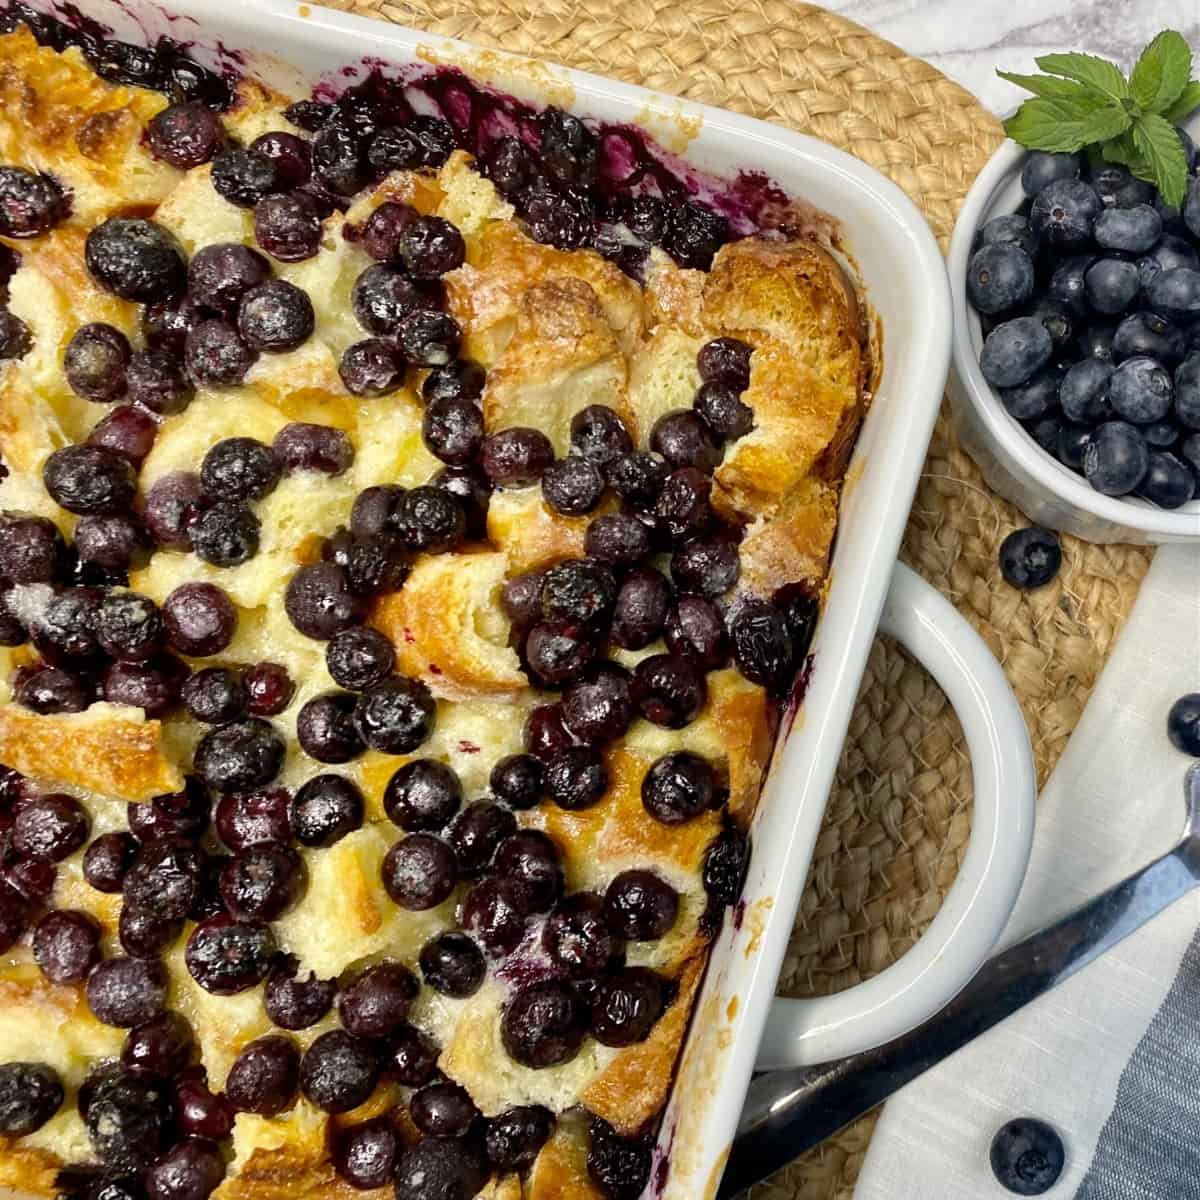
This blueberry puff recipe is a showstopper for any brunch! It is across between a French toast bake and a bread pudding with croissant rolls.
This blueberry puff recipe is a showstopper for any brunch! It is across between a French toast bake and a bread pudding with croissant rolls.

This easy cheese ball recipe is perfect for any party appetizer or get together. A mixture of 3 different cheeses is combined with ranch seasoning and rolled in chopped pecans for the best cream cheese ball ever!
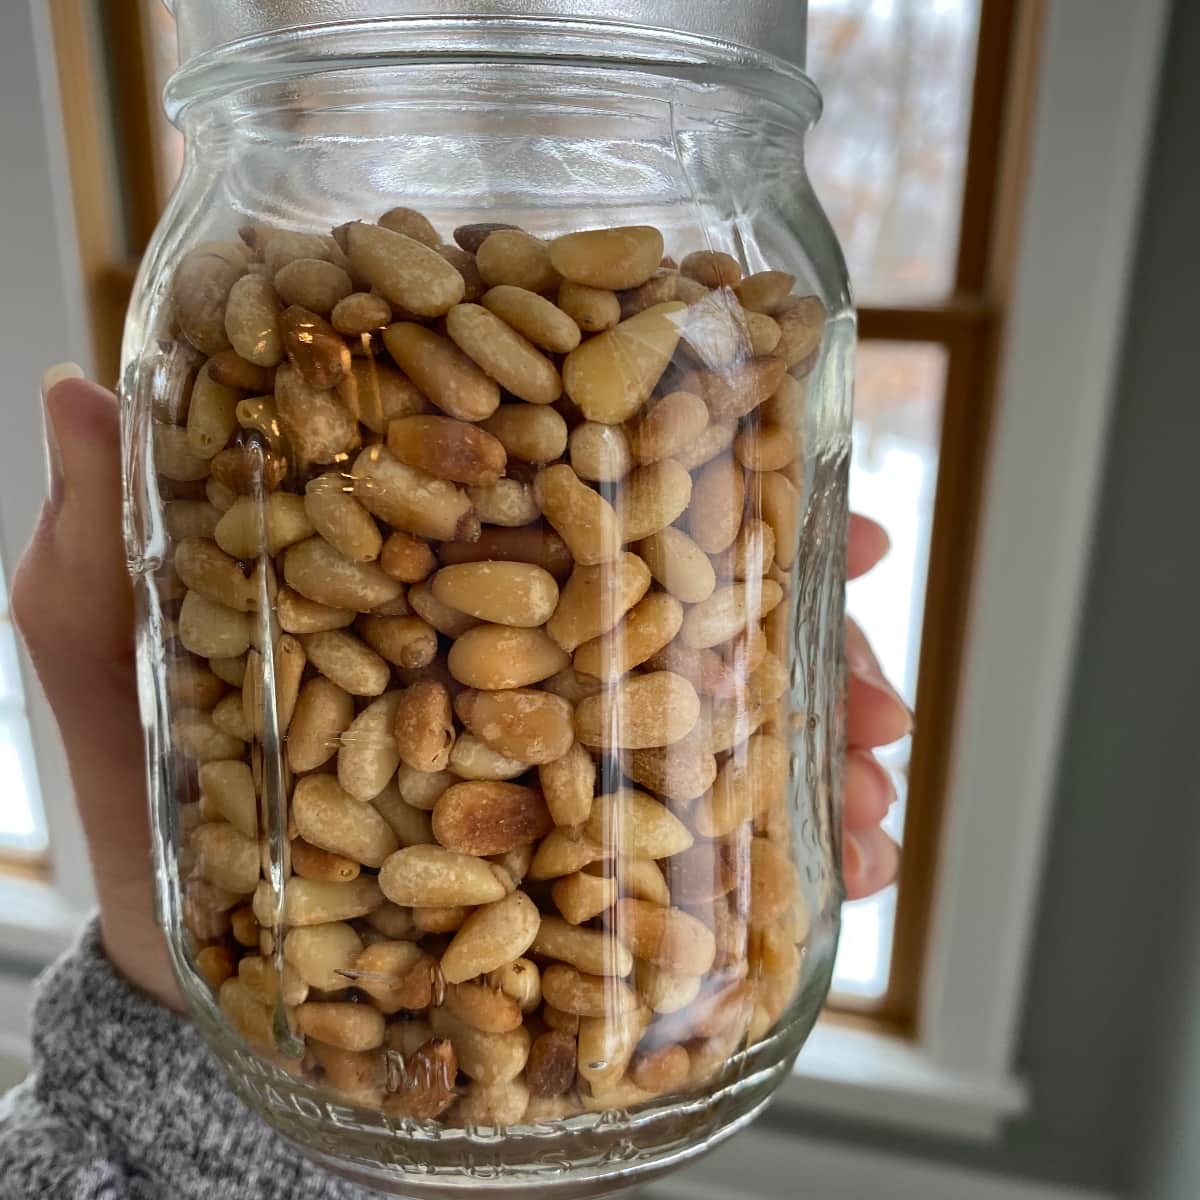
Pine nuts are staple part of Mediterranean cuisine and many Lebanese dishes. Toasting pine nuts is key get that nutty flavor without any bitterness. Maybe you have never had a pine nut before. I have and I love them. In fact we use them all the time and I will show you how to toast … Read more
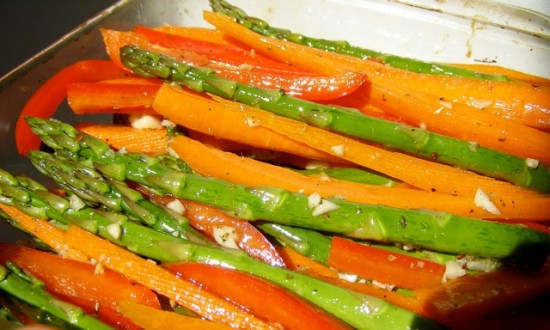
I fell in love with roasted vegetables about a year and a half ago and have been experimenting with them ever since. I’ve yet to find a veggie that doesn’t work well with this method. And even my pickiest kiddos enjoy the taste and texture of every roasted veggie I’ve made so far. Springtime Roasted … Read more
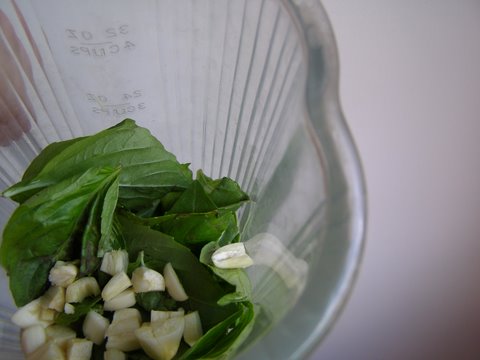
I love pesto! It is so simple, versatile and full of flavor. I rely on it alot in the summer because it’s meant to be served cold or at room temperature. There seems to be endless ways to use pesto. It definitely works for me! Because of this love of pesto I have, I’ve … Read more