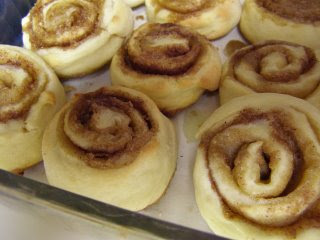
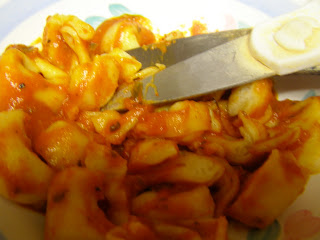
Junior-Sized Baking Day
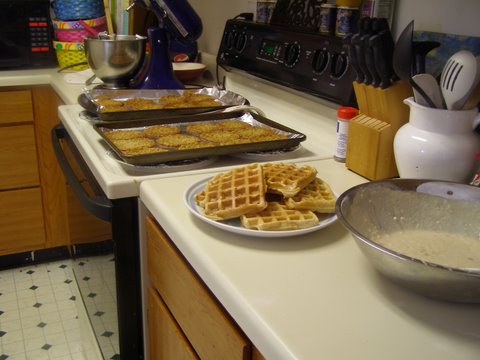
Whenever Crystal posts about doing a baking day, I always get a little excited to doing some extra baking, whether I was planning to or not. It worked rather nicely this week since I really needed to get some done but couldn’t find the motivation. So I decided to do a few things and have … Read more