Oven Roasted Green Beans
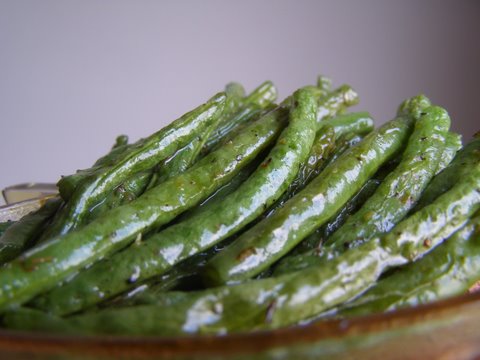
This super simple side dish just screams Spring. (And it’s alliterative too.) I love fresh green beans and I always make sure we get our fill throughout spring and summer. When prepared this way, they make as tasty a snack as they do a side dish. I should know; I snack on them a lot! … Read more