
As soon as the craving hits for a sweet, doughy treat, my mind goes straight to nostalgic memories of weekend trips to the local donut shop growing up.Though I loved picking out an assortment of …

City Chicken
This weekend, my in-laws came over to celebrate a VERY late Christmas with us. When I was thinking of the menu for the night, I kept thinking back to the first time we all went out to dinner together. …
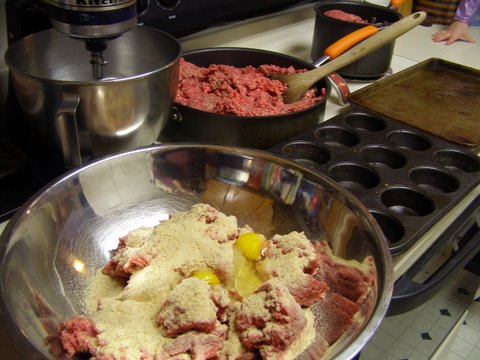
What To Do With 12 Pounds of Ground Beef
I spent this morning in the kitchen, tackling 12 pounds of ground beef and filling the freezer for later in the month. I didn’t get to all the things I mentioned in my list yesterday, but I’m still …
Continue Reading about What To Do With 12 Pounds of Ground Beef →